

Sithicus
-
Content Count
230 -
Current Reward Set
27.00 EUR -
Joined
-
Last visited
Posts posted by Sithicus
-
-
Hahaaaa dat photobomb

-
I suppose I don't have many things I'm that proud of in GW2, but my proudest gaming achievement to date is easily this gem from Pillars of Eternity...
Triple Crown SOLO involves completing the game on Expert Mode (turns off all ease of use options, makes the game more immersive and unpredictable), Path of the Damned (anyone remember Icewind Dale 2's Heart of Fury mode?) which makes all enemies significantly stronger, while also spawning much more enemies, then Trial of Iron, where you have a single save game for the entire playthrough, which is deleted if you die; and then ALL of this without taking any party members throughout the game/ Poured ma soul into this
Less than 0.1% of people who played it have got this, it's easily my best gaming achievement -
 1
1
-
-
-
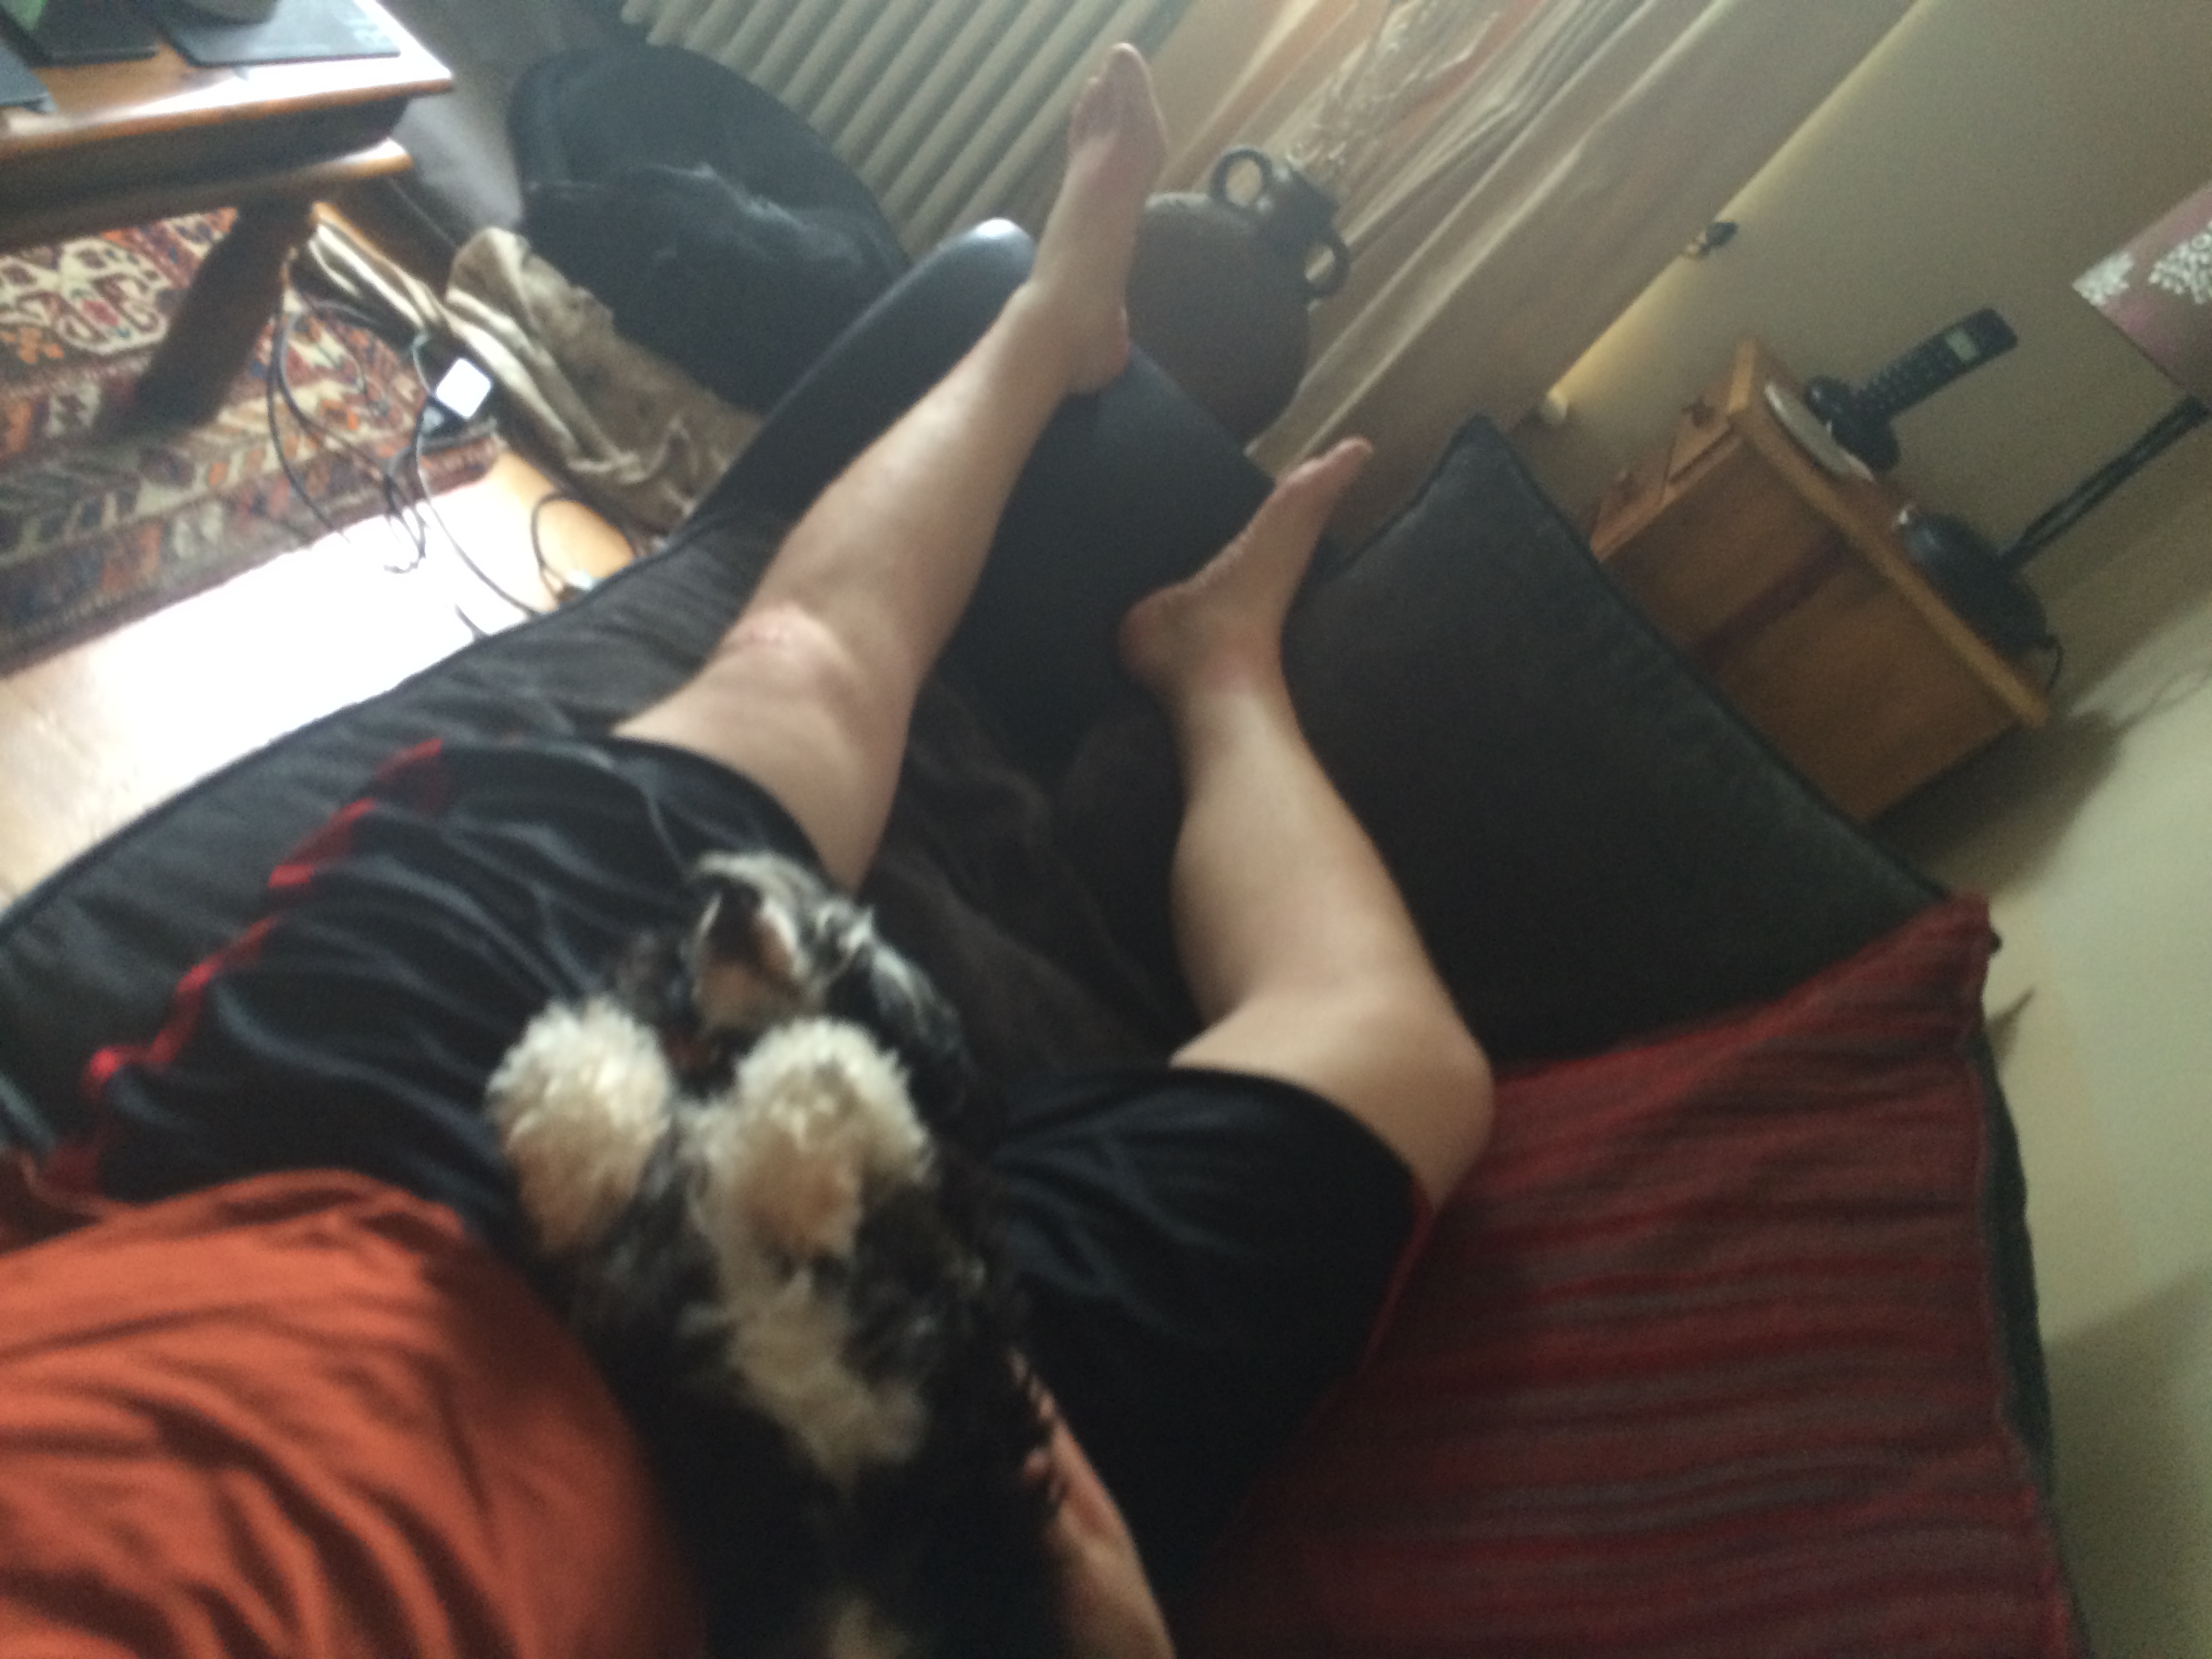
That's one sweet pup
-
-
I like how this ended up being like one of those "Spot the difference" things, where you compare two similar pictures.
-
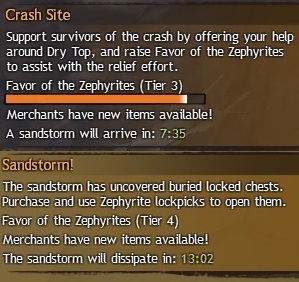
Dry Top is the first zone in the Maguuma Wastes. After the destruction of the Zephyr Sanctum, the Zephyrites crash landed there and are in a constant struggle for survival against the harsh environment and plenty of Inquest.
The Dry Top meta event cycles every hour on the hour. There is a 40 minute Crash Site phase, and a 20 minute Sandstorm phase, at the beginning of each hour the meta (and Favour Tier) reset, and the Crash Site begins anew at Tier 1.
What is "Tier 6"?
When players complete events during the Crash Site phase, it increases the Favour of the Zephyrites and once enough Favour has been earned, the next Tier is unlocked up to a maximum of Tier 6. Completing more events unlocks higher tiers of Favour, up to a maximum of Tier 6. Players have 40 minutes to complete as many events as possible during the Crash Site phase, because at 40 minutes past the hour the Sandstorm begins. During the Sandstorm Favour is locked, Buried Locked Chests appear, and a new set of events will spawn.
Ok so completing events increases Favour, which increases Tiers, but what does any of that actually mean?
The currency accepted by Dry Top vendors is Geodes, and completing an event rewards an amount of Geodes, the higher the tier, the higher the number of Geodes you receive as follow:
- Crash Site: 1 + 1*Favour Tier Geodes (e.g. Tier 3 rewards 4 Geodes)
- Sandstorm: 2 + 2*Favour Tier Geodes (e.g. Tier 6 rewards 14 Geodes)
In addition to receiving more Geodes, merchants offer a higher discount the higher the Favour Tier achieved. There is no constant formula for this, each item has differing discounts depending on what it is, other items remains the same price, and other items cannot be purchased unless a minimum of Tier 3 is reached during the Crash Site phase. A list of items and their discounts at different tiers can be seen here.
How do you get to Tier 6?
This is where we get down to the nitty gritty of things. In short, to get to Tier 6 the map has to complete almost every event that spawns on the map, as quickly as possible. This takes some coordination to achieve, because timing is very important, as well as knowing where to be. Before going further, the imagine below is an annotated map of Dry Top. The events inside coloured bubbles are the Crash Site events, and the events with no coloured bubble are the Sandstorm events. A few events have a * next to them, this indicates that an event can award bonus Favour if certain conditions are achieved (this is indicated on the event dialogue box).
The best way I have found for reaching Tier 6 is to use 3 different teams of people, the East Team, West Team and Special Team. All of these teams can now be nested into a single Squad thanks to being able to assign sub-teams within the squad. Each team targets specific events, I made a simple spreadsheet to highlight the events that each team should pursue at what time, you can see it here. This resource is mostly for the Special Team, because East and West follow a set cycle of events, whereas the Special Team has to tackle events that fall off these cycles, all over the map.
Crash Site Phase XX:00 to XX:40
East Team
The Event cycle for the East Team is as follows:
Race* -> Moa -> Queen (Nochtli) -> South Mine -> Town -> North Mine | Repeat until South Mine on the Third Cycle.
This cycle can be completed 2 and a half times roughly before the Sandstorm arrives. The East team requires the most people, because the Race, South Mine and North Mine events have objectives that require a larger number of people to be completed quickly, and North Mine has a bonus which is difficult to achieve especially in a timely manner; as such, this is the team in which the Commander runs with.
West Team
The West Team has a short cycle which comprises as follows:
Skritt Supplies -> Inquest Suit | Repeat until the end of the third Skritt Supplies.
However there is another cycle on West which requires 1 - 2 people maximum. This is as follows:
Escort Rustbucket -> Collect Beetles -> Inquest Suit | Repeat until the third Collect Beetles.
The reason the second cycle requires 1 - 2 people is because the events scale quite poorly. With more than 3 people, these events can start spawning Elite mobs, which makes the whole thing take longer, and in a Tier 6 run, time is of the essence. Once the Collect Beetles event is finished, the person(s) doing the second cycle can rejoin everyone else for the Inquest Suit event.
Special Team
The special team has a very important job in a Tier 6 run, and that is completing events that fall off the East and West cycles. Special Team should have around 7 or 8 people, but at least 5 at minimum. The Special Team does not move together, but individually or in pairs, to take out events across the map (NOTE: it is highly recommended that you bring a character with all Dry Top waypoints for maximum maneuverability). The list of events to be completed by Special Team, and the times they occur can be seen in the spreadsheet, and their locations can be seen on the map above (also present in the spreadsheet).
As you can see in the Spreadsheet, events spawn every 5 minutes, and events of the same colour spawn at the same time, for example at the beginning of the Crash Site phase, Special Team has Tendril A*, Tendril B*, Crash Survivors and Shaman to deal with. The following events should be prioritized:
- Tendril A*
- Tendril B*
- Basket*
These events are a priority because of the bonus Favour available. To achieve the bonuses for Tendrils A and B, kill the small vines before the big vine. For Basket, ensure the Inquest steal no supplies from the Basket. The number of baskets increases with the number of people present, so again only 1 or 2 people, which makes Special Team ideal.
As mentioned previously, Special Team is less cyclic than East or West, and requires people to react to what events are up at the time. It is a good idea to coordinate in Party Chat so you can split up between events effectively. I realize Special Team sounds daunting for people who have not done it before, but I would encourage you to try it out, as long as there is at least 1 person who is very familiar with Special Team, they will be able to help you get used to it.
So this covers the Crash Site phase...
Sandstorm Phase XX:40 - (XX+1):00
During the sandstorm, there is only one team, everybody follows the Commander. The event cycle is as follows:
Mite Farm -> Haze -> Dev Queen (+Burglar) -> Sand Giant -> Mite Farm -> Haze -> Small Dust -> Skritt Queen -> Big Dust -> Giant Beetle
The main reason everyone should follow the tag here is so everyone receives maximum credit for the maximum number of events, we ask people not to activate any events while the rest of the squad is not there (for example the squad doesn't arrive at Skritt Queen until a little while after she spawns), this extends to Skritt Burglar too (which can sometimes be found near the Devourer Queen) so if you happen to see a random Chest, call it out
. After the Giant Beetle there is very little time left in the Sandstorm, so run to the vendor quickly! There is a trick however, the items the merchant displays depends on the Tier active when you opened the window, so even after the Tier 6 sandstorm expires, as long as the merchant window is open, you can still purchase items at the Tier 6 discount.
Rare Event Spawns
There are 5 events each called "Slay the rare creature" followed by the name of said creature, they are Bloodscale, Dune Soarer, Grit, Sand Savage, and Sol Eater. These events spawn only once every 12 hours, within a 6 hour window, so you don't see them very often. Once they spawn, you have 15 minutes to kill them, whether players find them or not. I've seen these pop up a few times while running T6 runs, but to describe them as Rare is pretty spot on!They recently updated rare spawns, I believe that one will now spawn 5 minutes into each Sandstorm, so keep an eye out!
--------------------------------------------------------------------------------------------------------
Ok hopefully I have covered everything here, I wrote this in a single pass so there's every chance I missed something. Please comment if anything is unclear, or if I have missed anything. I have also seen groups do the events in a slightly different order during Crash Site, so I probably won't add that in, just to avoid confusion
Chat Codes for Map Chat Commanding!
Original post here, credit to reddit user Drant!
:00 Supplies@[&BJcHAAA=] Rustbucket@[&BJYHAAA=] TendrilW@[&BIYHAAA=] Shaman@[&BIsHAAA=] Victims@[&BIwHAAA=] Tootsie@[&BHYHAAA=] Crystals@[&BHIHAAA=] TendrilSE@[&BHMHAAA=]
:05 Beetles@[&BJYHAAA=] Bridge@[&BIkHAAA=] Experiment@[&BIwHAAA=] Golem@[&BIoHAAA=] Nochtli@[&BHkHAAA=] COLOCAL@[&BHwHAAA=] Serene@[&BHQHAAA=] MineE@[&BHsHAAA=]
:10 Suit@[&BJMHAAA=] Leyline@[&BIMHAAA=] Town@[&BH4HAAA=] Basket@[&BHMHAAA=] MineNE@[&BH0HAAA=]
:15 Supplies@[&BJcHAAA=] Rustbucket@[&BJYHAAA=] TendrilW@[&BIYHAAA=] Shaman@[&BIsHAAA=] Victims@[&BIwHAAA=] Tootsie@[&BHYHAAA=] Crystals@[&BHIHAAA=] TendrilSE@[&BHMHAAA=]
:20 Beetles@[&BJYHAAA=] Bridge@[&BIkHAAA=] Experiment@[&BIwHAAA=] Golem@[&BIoHAAA=] Nochtli@[&BHkHAAA=] COLOCAL@[&BHwHAAA=] Serene@[&BHQHAAA=] MineE@[&BHsHAAA=]
:25 Suit@[&BJMHAAA=] Leyline@[&BIMHAAA=] Town@[&BH4HAAA=] Basket@[&BHMHAAA=] MineNE@[&BH0HAAA=]
:30 Supplies@[&BJcHAAA=] Rustbucket@[&BJYHAAA=] TendrilW@[&BIYHAAA=] Shaman@[&BIsHAAA=] Victims@[&BIwHAAA=] Tootsie@[&BHYHAAA=] Crystals@[&BHIHAAA=] TendrilSE@[&BHMHAAA=]
:35 Beetles@[&BJYHAAA=] Bridge@[&BIkHAAA=] Experiment@[&BIwHAAA=] Golem@[&BIoHAAA=] Nochtli@[&BHkHAAA=] COLOCAL@[&BHwHAAA=] Serene@[&BHQHAAA=] MineE@[&BHsHAAA=]
:40 SANDSTORM: Mite Farm -> Haze -> Dev Queen (+Burglar) -> Rare -> Sand Giant -> Mite Farm -> Haze -> Small Dust -> Skritt Queen -> Big Dust -> Giant Beetle
Sandstorm includes a rare somewhere, 4 different spots, you might have to wing it depending on where it spawns!
Hybrid TS/Mapchat Codes
These codes are intended for when you have some folks on Teamspeak who can follow you around on East, and also some people taking care of West, so that other players in the map who aren't on TS can roam and complete some solo events
Please help us reach Tier 6 by completing these events! :00 TendrilW@[&BIYHAAA=] Shaman@[&BIsHAAA=] Victims@[&BIwHAAA=] TendrilSE@[&BHMHAAA=]
Please help us reach Tier 6 by completing these events! :05 Bridge@[&BIkHAAA=] Experiment@[&BIwHAAA=] Golem@[&BIoHAAA=] Nochtli@[&BHkHAAA=] Serene@[&BHQHAAA=]
Please help us reach Tier 6 by completing these events! :10 Leyline@[&BIMHAAA=] Basket@[&BHMHAAA=]
Please help us reach Tier 6 by completing these events! :15 TendrilW@[&BIYHAAA=] Shaman@[&BIsHAAA=] Victims@[&BIwHAAA=] TendrilSE@[&BHMHAAA=]
Please help us reach Tier 6 by completing these events! :20 Bridge@[&BIkHAAA=] Experiment@[&BIwHAAA=] Golem@[&BIoHAAA=] Nochtli@[&BHkHAAA=] Serene@[&BHQHAAA=]
Please help us reach Tier 6 by completing these events! :25 Leyline@[&BIMHAAA=] Basket@[&BHMHAAA=]
Please help us reach Tier 6 by completing these events! :30 TendrilW@[&BIYHAAA=] Shaman@[&BIsHAAA=] Victims@[&BIwHAAA=] TendrilSE@[&BHMHAAA=]
Please help us reach Tier 6 by completing these events! :35 Bridge@[&BIkHAAA=] Experiment@[&BIwHAAA=] Golem@[&BIoHAAA=] Nochtli@[&BHkHAAA=] Serene@[&BHQHAAA=]
:40 SANDSTORM: Mite Farm -> Haze -> Dev Queen (+Burglar) -> Rare -> Sand Giant -> Mite Farm -> Haze -> Small Dust -> Skritt Queen -> Big Dust -> Giant Beetle
-
4
-
Hi Ani! I used to play HoN too yay
-
Hmm, is there any chance this is a really old screenshot? Just looking at the Daily Quests for example, those are no longer in there, as well as things like only Blue tags on the mini map, and the absence of HoT specializations in the party, I think this may be a view into the past I'm afraid.
-
-
Really into Soulful House most of the time, will edit when I figure out how to put the video thing into the post.
EDIT: holy damn that IS magic
-
 1
1
-
1
-
-
1 hour ago, Vortok said:interesting, most of the profits are based on the "sale" price which goes with the assumption that the item can be sold at this price and thats a big "if" in my opinion, only the time gated things looks like a good investment in my opinion, but keep in mind that i'm a noob and quite new to this game
Material prices are reliably stable though, so it's an entirely fair assumption most of the time.
Thanks for sharing Silver, really good resource for everyone
-
Sounds like a great idea. We're well up for putting this kind of thing on the schedule, that was the reason we put Shatterer on there, mainly for achieves
-
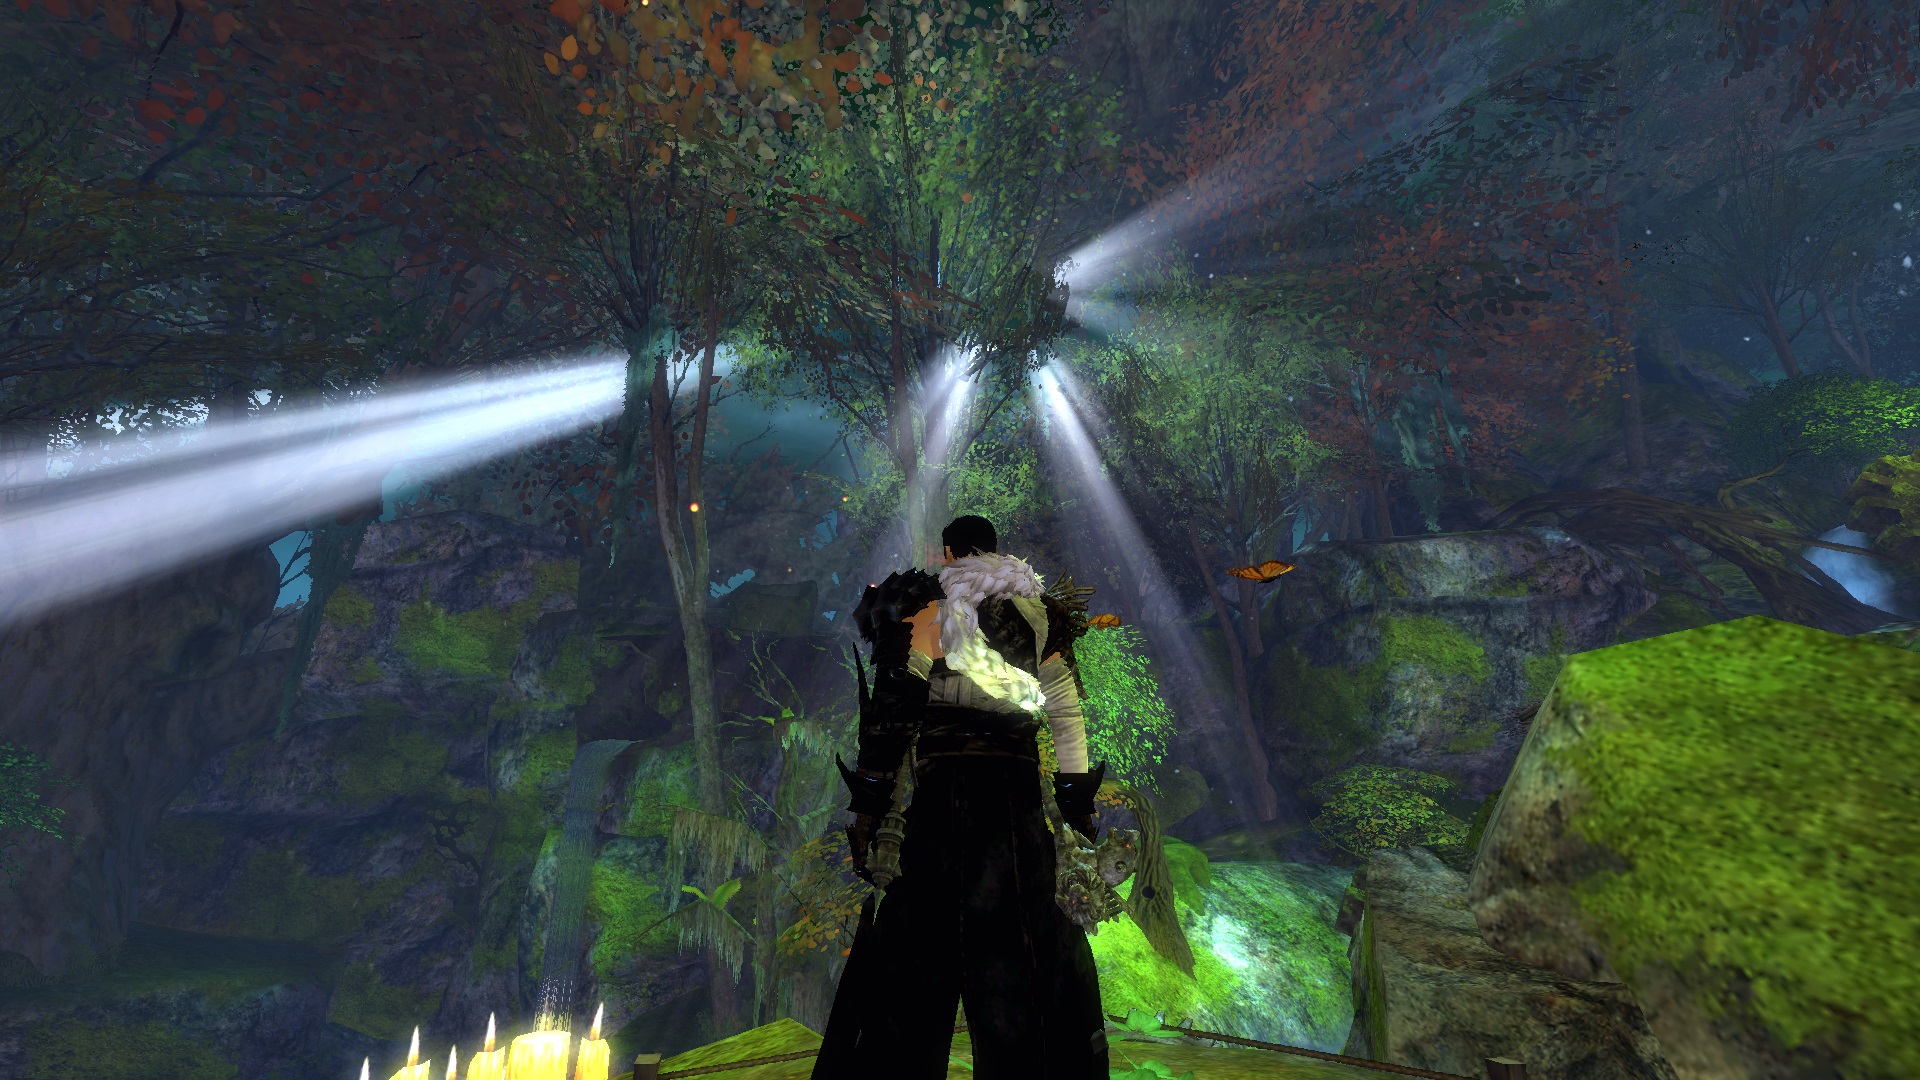
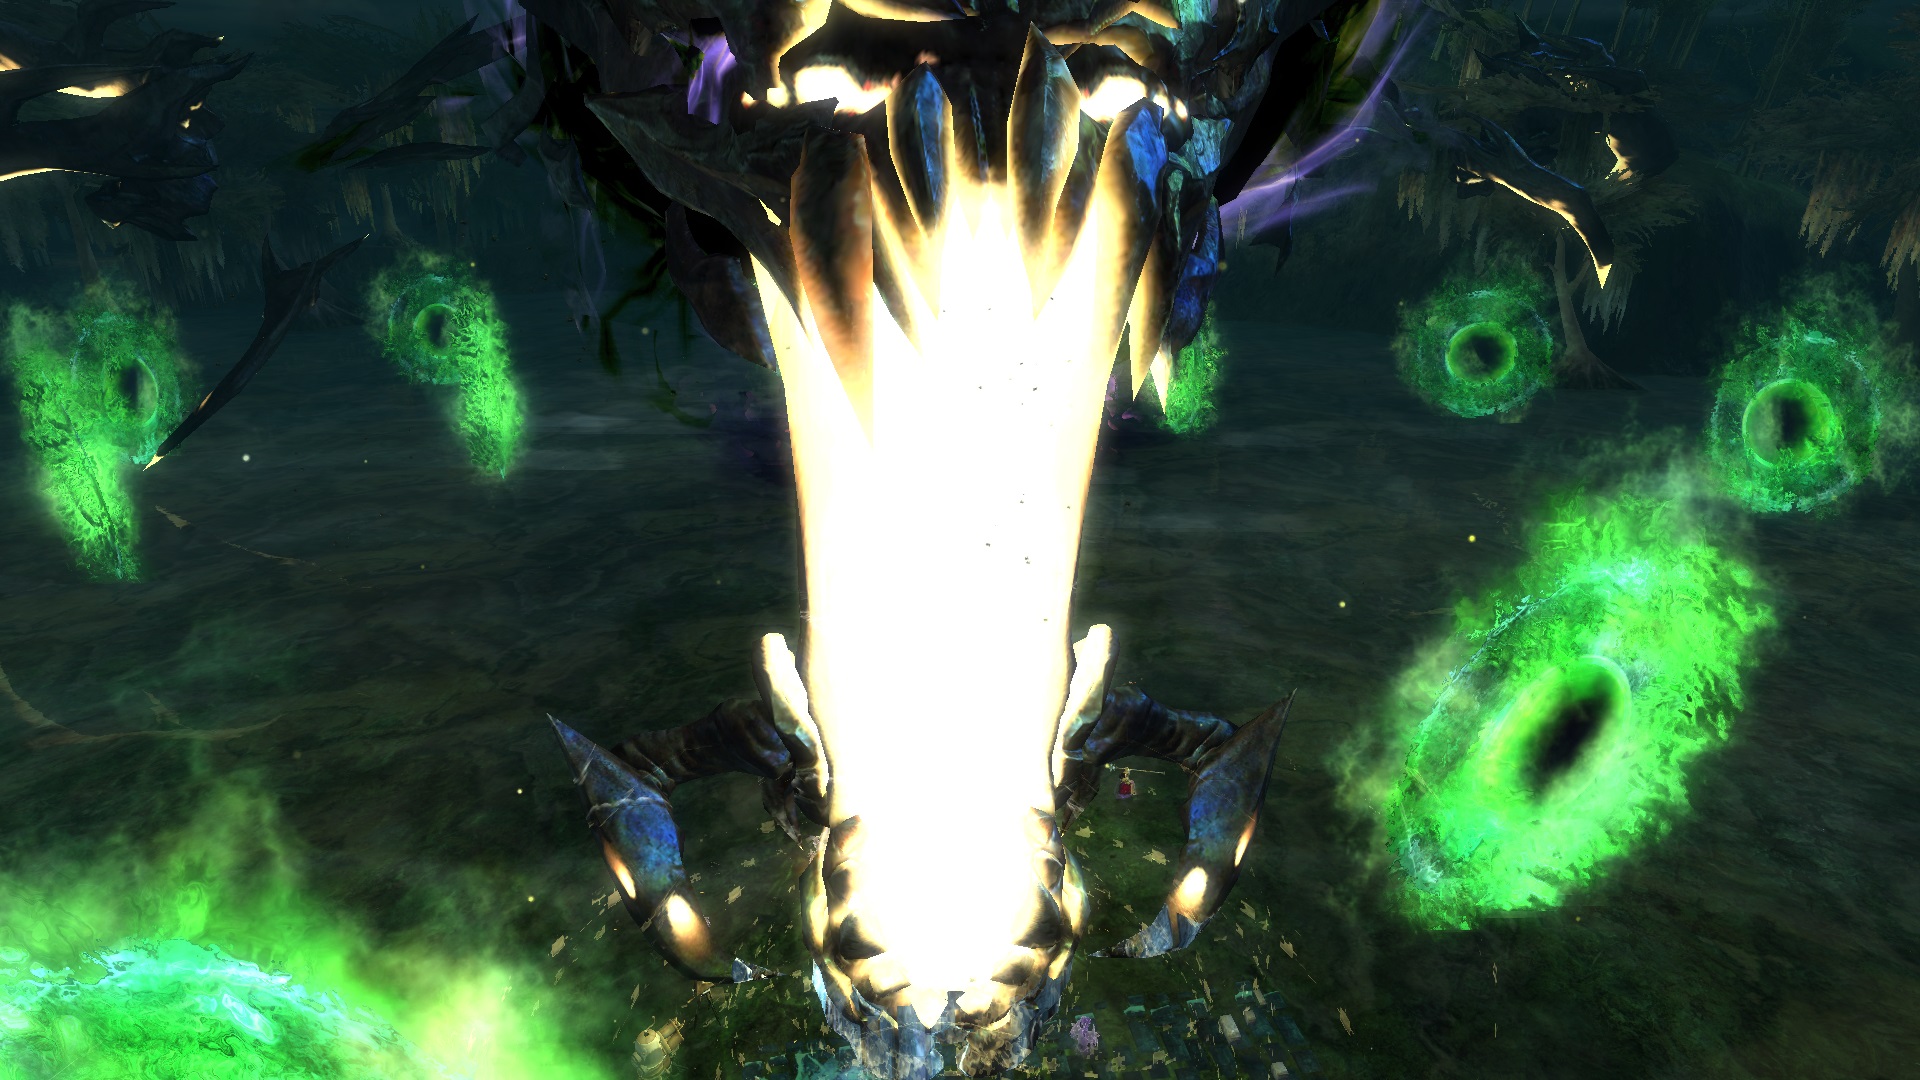
When I first started using Reshade, I turned on one of the "gimmick" settings called Godrays, and, well
Happened to be standing in such a spot to receive an extreme close up of Shadow Behe's smelly breath
And this, I just don't even know.
-
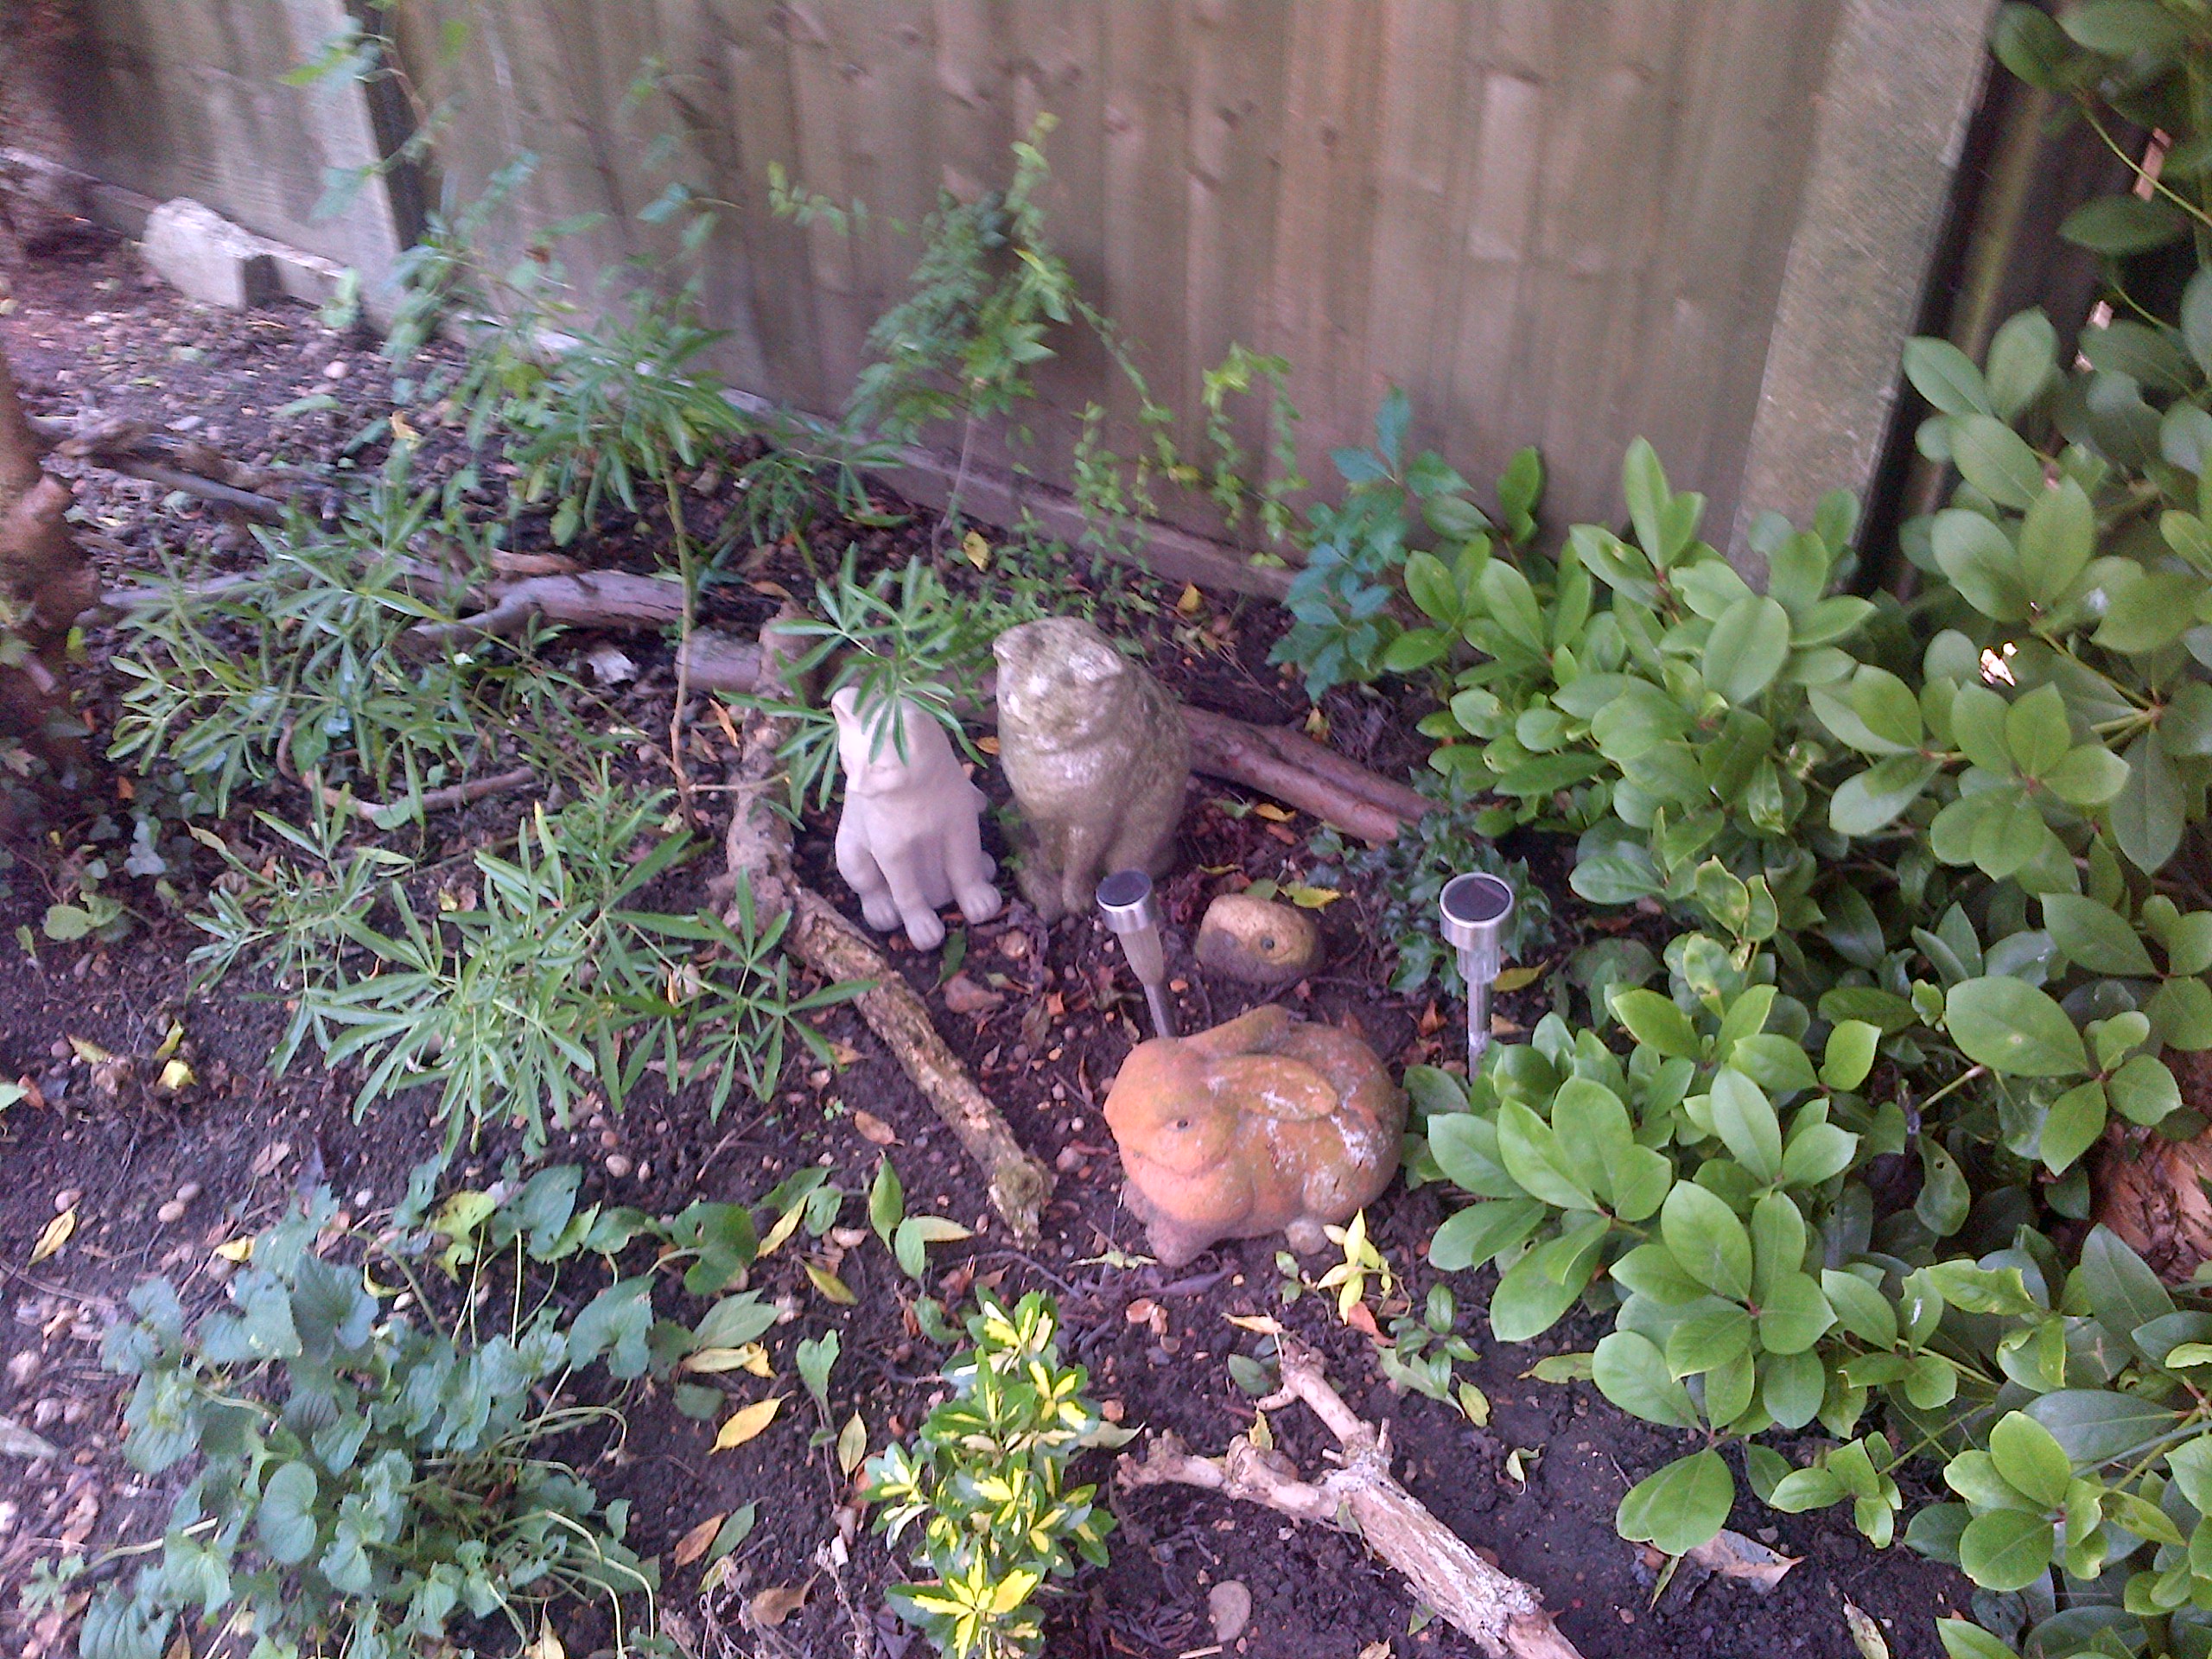
Oh man I love all these animals, this thread is guarenteed to brighten anyone's day ?
Anyway, I have moar pix. These are the cats I had ever since I was a small child. We all grew up together. The brown/ginger/black one is Tiger Lily (Tiger for short) and the grey stripey one is Orry.
Later when we got Rupert and Milo, they became friends with Milo.
I had Tiger and Orry since I was 4, they were kittens and they lived until almost 19 years each...
...And they are still together in my mum's garden.
-
1
-
1
-
-
Steam: Sithicus
Battle.net: Sithicus#2408
Is it worth also adding the Open Community Steam Group to the original post?
ADDED
-
Yeah the difference between the two is marginal for sure.
-
3 hours ago, Nag said:Earth is really weak, though, in my experience, so pretty much anything would do much better. Malice builds would inherently be more powerful, at least going by what I know for other classes.
Normally yes, but condition duration is already capped here
-
Yes interesting point about Berserker Runes, viable in this case simply because the power damage is fairly decent.
I did actually consider Geomancy, though I didn't mention in the original post why I didn't choose it. The thing is with this build is that there is little weapon swapping, you just sit in Longbow for the entirety of Berserk, then swap to Sword/Torch, then back to Longbow when Berserk is ready again, that's why I went for Earth, you just end up getting a lot more mileage out of it. I'll add that into the main postAnd yes I was dying for that change, I could really feel my DPS getting majorly quashed when another Warrior was there!
-
Thanks for the feedback, I had thought about Runes of the Berserker as an alternative, and on paper I think the difference between the two methods is quite small, so the two methods are as follows:
5x Runes of the Nightmare + 1x Black Diamond + Sigil of Earth, vs 6x Runes of Berserker + Sigil of Malice + Viper Amulet, other than these differences, the gear is the same. Adding up total Condition Damage from my version is:
1.06*(Armour (376) + Weapons (216) + Accessories (692) + Malign Infusions (20 total) + Runes (175)+ Black Diamond (17) + Consumables (170) + Torch Trait (150)) = 1924.96
For your version:
1.05*1.06*(Armour (376) + Weapons (216) + Accessories (668) + Malign Infusions (20 total) + Runes (175) + Consumables (170) + Torch Trait (150)) = ~1975.6
So assuming both builds hit the cap of 100% condition duration, the difference is that your version has ~51 more Condition Damage, that's taking into account the deficit from swapping to a Viper Amulet, losing the Black Diamond, but gaining 5% Condition Damage.
In terms of Bleeds, the difference is:
(0.06*1924.96)+22 = 137.5
(0.06*1975.6)+22 = 140.5
For Burning:
(0.155*1924.96)+131.5 = 429.9
(0.155*1975.6)+131.5 = 437.7
Now considering each build is capable of maintaining the same number of Burn stacks, your build is stronger; however if we now consider that my build uses Sigil of Earth, which has an internal cooldown of 2 seconds, but applies bleeding for 5 seconds, I can effectively maintain 3 more stacks of bleeding than your version can, which outweighs the benefits of the 5% bonus from Berserker Runes, up to a point. I worked out that between 25 and 30 stacks of Burning, the condition damage from your build is enough to outdo my extra 3 stacks of bleeding.
HOWEVER, what this doesn't take into account is of course the bonuses to power based damage from Berserker Runes as well. All together, these two are a lot closer than I first thought.
-
I've been running Warrior as condition damage for maybe a month and a half now, due to a combination of factors; firstly I was very tired of running Phalanx, and only being able to run Phalanx (Phalanx is so insanely powerful that it is nigh on criminal not to use it), and also the poor trait arrangement for Warriors both for a long time, and now since Specializations came out. I had a feeling that Condition Damage was where the true potential of Warrior lies, and damn is it powerful.
First of all, here is the full build link with optimum gear, weapons, skills etc if you want to run it. http://gw2skills.net/editor/?vJAQNAT8fnMdA1egdfA+dAElilpA74IEAGZvn2XbtVJIE56BA-TBSFABtr7Rp9DIW5XWKBB4JF0v6P9eRFQ2CiuBDAjACRExMzMTjIiIkCYRlVA-e
Traits:
- Discipline - Warrior's Sprint - Destruction of the Empowered - Burst Mastery
Tier 1 choices are limited, so Warrior's Sprint is basically the best of the bunch, additional mobility with Melee Weapons is favourable however.
Tier 2 choices are also quite limited. Destruction of the Empowered isn't super since you're running condition damage, you have some power and crit though, so it's the best of the bunch. EDIT: You could also go for Inspiring Battle Standard for some party-wide regen, but one Warrior running it is enough.
Tier 3 is where it gets good, Burst Mastery adds damage and free adrenaline, and makes Primal Bursts utterly spammable.
- Arms - Signet Mastery - Blademaster - Furious
Each of these traits is extremely powerful and utterly invaluable. Signet Mastery must be maintained by using Healing Signet and Signet of Fury and if you're using it, Signet of Rage. Also due to the buff gained from the Signet Mastery stacks, it is a minimal DPS loss to use Signet of Fury.
Blademaster increases sword crits against bleeding foes (which is everything, since Sword auto attacks bleed).
Furious is also invaluable, it gives stacking condition damage, and lots of extra adrenaline. Without Furious you can lose a lot of DPS due to not building Adrenaline quick enough to spam Primal Bursts during Berserk Mode.
- Berserker - Smash Brawler - Heat the Soul - King of Fires
These are the most important pieces of the puzzle, they unlock the potential of Burning for Warriors and there are simply no alternatives.
Equipment:
- Longbow // Sword+Torch
- Ascended Viper's Weapons and Armour
- Ascended Sinister Trinkets
- Any Backpiece with Condi (stat choices are... limited)
The reason for the Viper/Sinister mix is one of optimization. Maximum condition duration is +100%, i.e. you can double the duration of your conditions. Annoyingly there is a discrepancy in the build page, it is not displaying condition duration correctly. In reality, bonus condition duration should be +70.26% as seen below, and Food/Utility buffs give up to 30% more, rounding it up to 100%, think of 70.26% as the "soft cap" for condition duration in this instance.
Cheaper Alternatives:
- Exotic equipment - Requires quite a few Black Diamonds to craft though, and those are pricey... This build really falls down without condition duration.
Runes/Sigils/Infusions:
- 5x Runes of the Nightmare and 1x Black Diamond. The #6 on Nightmare is worthless, so a Black Diamond adds bonus condi damage and fine tunes condition duration.
- Superior Sigil of Bursting (+6% Condition Damage). This is effectively the Condi equivalent of Sigil of Force/Night, simply a direct damage boost.
- Superior Sigil of Earth (Change on crit to apply Bleeding). Crit with this build is fairly decent, no addition condition duration is needed, so Earth is the best bet to actually boost damage. Especially since you will be spending the majority of the time using Longbow, you get muc
-
Malign Infusions (+5 Condi Damage, +5 AR). These are expensive, the diminishing return on cash investment vs DPS boost is painful, but if you want to min max, go for it
Runes of the Nightmare offer the best combination of Condition Damage and Condition Duration in order to meet the soft cap on condition duration. The 6th Rune is worthless however, so adding a Black Diamond just adds more Viper stats.
Sigil of Bursting is simply a straight damage boost, much like Sigils of Force and Night are for Power builds. Sigil of Earth is the same, since Bursting Sigils don't stack, and no more Condition Duration is needed.
Sigil of Earth was chosen for the extra DPS from Bleed stacks, and it was chosen over Sigil of Geomancy (applies Bleeds on Weapon Swap) due to the nature of this build's rotation, which is that you don't swap weapons as often as you might with other Warrior builds (see rotation below).
Malign Infusions are incredibly pricey for what you get from them, +5 Condition Damage and +5 AR, this is really only for the min/max-ers out there.
You might be wondering why I haven't included Runes of the Berserker or Sigil of Malice, staples for any Condition Build normally. Sigil of Malice first of all, this is not required because Condition Duration is already optimized, when Food and Utility consumables (see below) are used, Condition Duration is 100%. Runes of the Berserker takes a little bit of Maths.
Credit to Susi and her bf for pointing the idea of Berserker Runes out
I wrote a post below replying to Susi about the idea, so I'll summarize here. Susi's alternative swaps:
- Runes of the Nightmare and a Black Diamond for Runes of the Berserker
- Sigil of Earth for Sigil of Malice
- Sinister Amulet for Viper's Amulet
Condition Damage totals:
- My Build: 1925
- Susi's Build: 1976
On paper Susi's build is stronger due to higher Condition Damage, however, my build can stack more bleeds due to Sigil of Earth, and as such the output damage is slightly higher (calcs are in the post below). However again, what I have not accounted for is that Susi's build now has higher Power and direct damage than mine, so it really is too close to call, either option is completely viable.
Cheaper Alternatives:
- 6x Runes of the Berserker (craftable from Runes of the Warrior, which are also craftable).
- Less Viper's gear.
- Sigils of Agony and Smoldering to make up for lost Expertise.
This is a loss to Condition Damage and Duration, but it's all relatively inexpensive.
Food Buffs:
- Rare Veggie Pizza - +20% Condition Duration, +70 Condition Damage. This is the best condition damage food, it just is.
- Toxic Focusing Crystal - +10% Condition Duration, +100 Condition Damage. Again, simply the best in slot.
So with these two buffs active, you get an addition 30% condition duration, which bumps up your 70.26% to the 100% cap, with minimal overkill.
Cheaper Alternatives:
- Super Veggie Pizza
Sadly there is no real alternative to Toxic Focusing Crystal, all crystals before it offer Condition Damage based on Toughness and Vitality, neither of which are stats this build has in abundance.
Bear in mind with Pizza that crafting them is easily the best option. There are several Crafting Stages before you get to Rare Veggie Pizza, they are as follows:
- Craft a Cheese Pizza
- Craft 2x Mushroom Pizzas from 1x Cheese Pizza
- Craft 2x Fancy Veggie Pizzas from 1x Mushroom Pizza
- Craft 2x Super Veggie Pizzas from 1x Fancy Veggie Pizza
- Craft 1x Rare Veggie Pizza from 1x Super Veggie Pizza
As you can see, the Pizzas multiply for some reason (that's a sentence I never thought I would say). Up to Super Veggie Pizzas, the materials are fairly inexpensive, but also, even if you stop at Super, you can use them later to make Rare Veggie Pizzas, win-win!
Skills:
-
Banner of Strength + Banner of Discipline
OR - Shattering Blow + One Banner
- Signet of Fury
- Headbutt OR Signet of Rage
Alternatives:
If another Warrior is in the team, take only one banner and take Shattering Blow for some extra DPS and minor stability. If the other Warrior(s) have banners covered, you could take one or both of the Defensive Banners (Tactics and Defense). If you are the only Warrior, you're taking both Strength and Discipline, no questions.
If nobody in your party is giving you Fury, take Signet of Rage instead of Headbutt, it helps to maintain Signet Mastery stacks as well as the all important Fury. You don't need Headbutt for the Adrenaline, Furious from the Arms line is sufficient for that. Do keep in mind the CC needs of the group though, Headbutt is exceptionally powerful at melting break bars.
Battle Standard is never necessary bar exceptional circumstances, such as Triple Trouble.
Rotation:
Firstly a few pointers, a lot of this is more geared around skill priority than an actual set in stone rotation. Just remember the crux of this build is being as efficient as possible during Berserk Mode. Scorched Earth is on a 2.5s cooldown, your adrenaline will recharge in that time no problem, but it also means you don't have much time to do things like replace a Banner. Just make sure that when that 2.5s rolls around, you're ready to fire Scorched Earth again immediately. Getting your timing wrong can be the difference between doing 3 Scorched Earths, to as many as 5 in one cycle. In essence you need to make sure that stuff like Banners are already placed, Signet Mastery stacks are maxed etc, are done before you go Berserk.
- Healing Signet
- Place Banners at the beginning of the fight.
- Get in combat (hit a target etc)
- Signet of Rage (if applicable)
- Signet of Fury
- Shattering Blow (If applicable)
- Headbutt (if applicable)
- Blaze Breaker
- Flames of War
- Swap to Longbow
- Enter Berserk Mode
-
Skill Priority - use in this order when off Cooldown:
-Scorched Earth
-Fan of Fire
-Pin Down / Shattering Blow (if applicable) - Berserk Mode Ends
- Swap to Sword/Torch
- Flurry with whatever adrenaline is left
- Repeat Steps 4-14
- Replace Banners when necessary
- Re-use Signets to maintain Signet Mastery
Pointers:
Here I'll just write down a few tips to keep in mind when using this build.
-
Despite using Longbow most of the time, this is a melee build! Use the Longbow in melee, why?
- Fan of Fire projectiles hit the same target(s) at close range.
- You need to be within Headbutt range.
- You are in range for when you swap to Sword/Torch.
- Arcing projectiles have no change of missing highly mobile targets. - Damage in this build fluctuates, you are at your maximum in Berserk Mode, so essentially keep on spamming Scorched Earth as often as possible, and get others to keep blasting the fields.
- When Berserk ends, that's your "downtime" so do things like replacing Banners and maintaining Signet Mastery stacks when you're out of Berserk, the reason is that every second counts in Berserk Mode.
- Stay in your fire fields! Dual Shot fires two projectiles, each with a 20% chance Projectile Finisher, which means you have a 36% chance for at least ONE of those shots to apply Burning to your target.
- Headbutt is a devastating CC, 3 second stun on a 20 second cooldown is nothing short of insanity, use it often to melt breakbars.
- After the recent balance patch, Shattering Blow now gives you 2 stacks of Stability for 2 seconds, so use it before Headbutt to mitigate the self-stun.
- TBD
I think that's about everything I can think of so far. I will update it if I think of anything else to add, or if I have missed something. Let me know if you have any questions or suggestions
-
1
-
Great guide Susi, I like Phalanx a lot because it brings out all of the best facets of the Warrior to a team environment
-
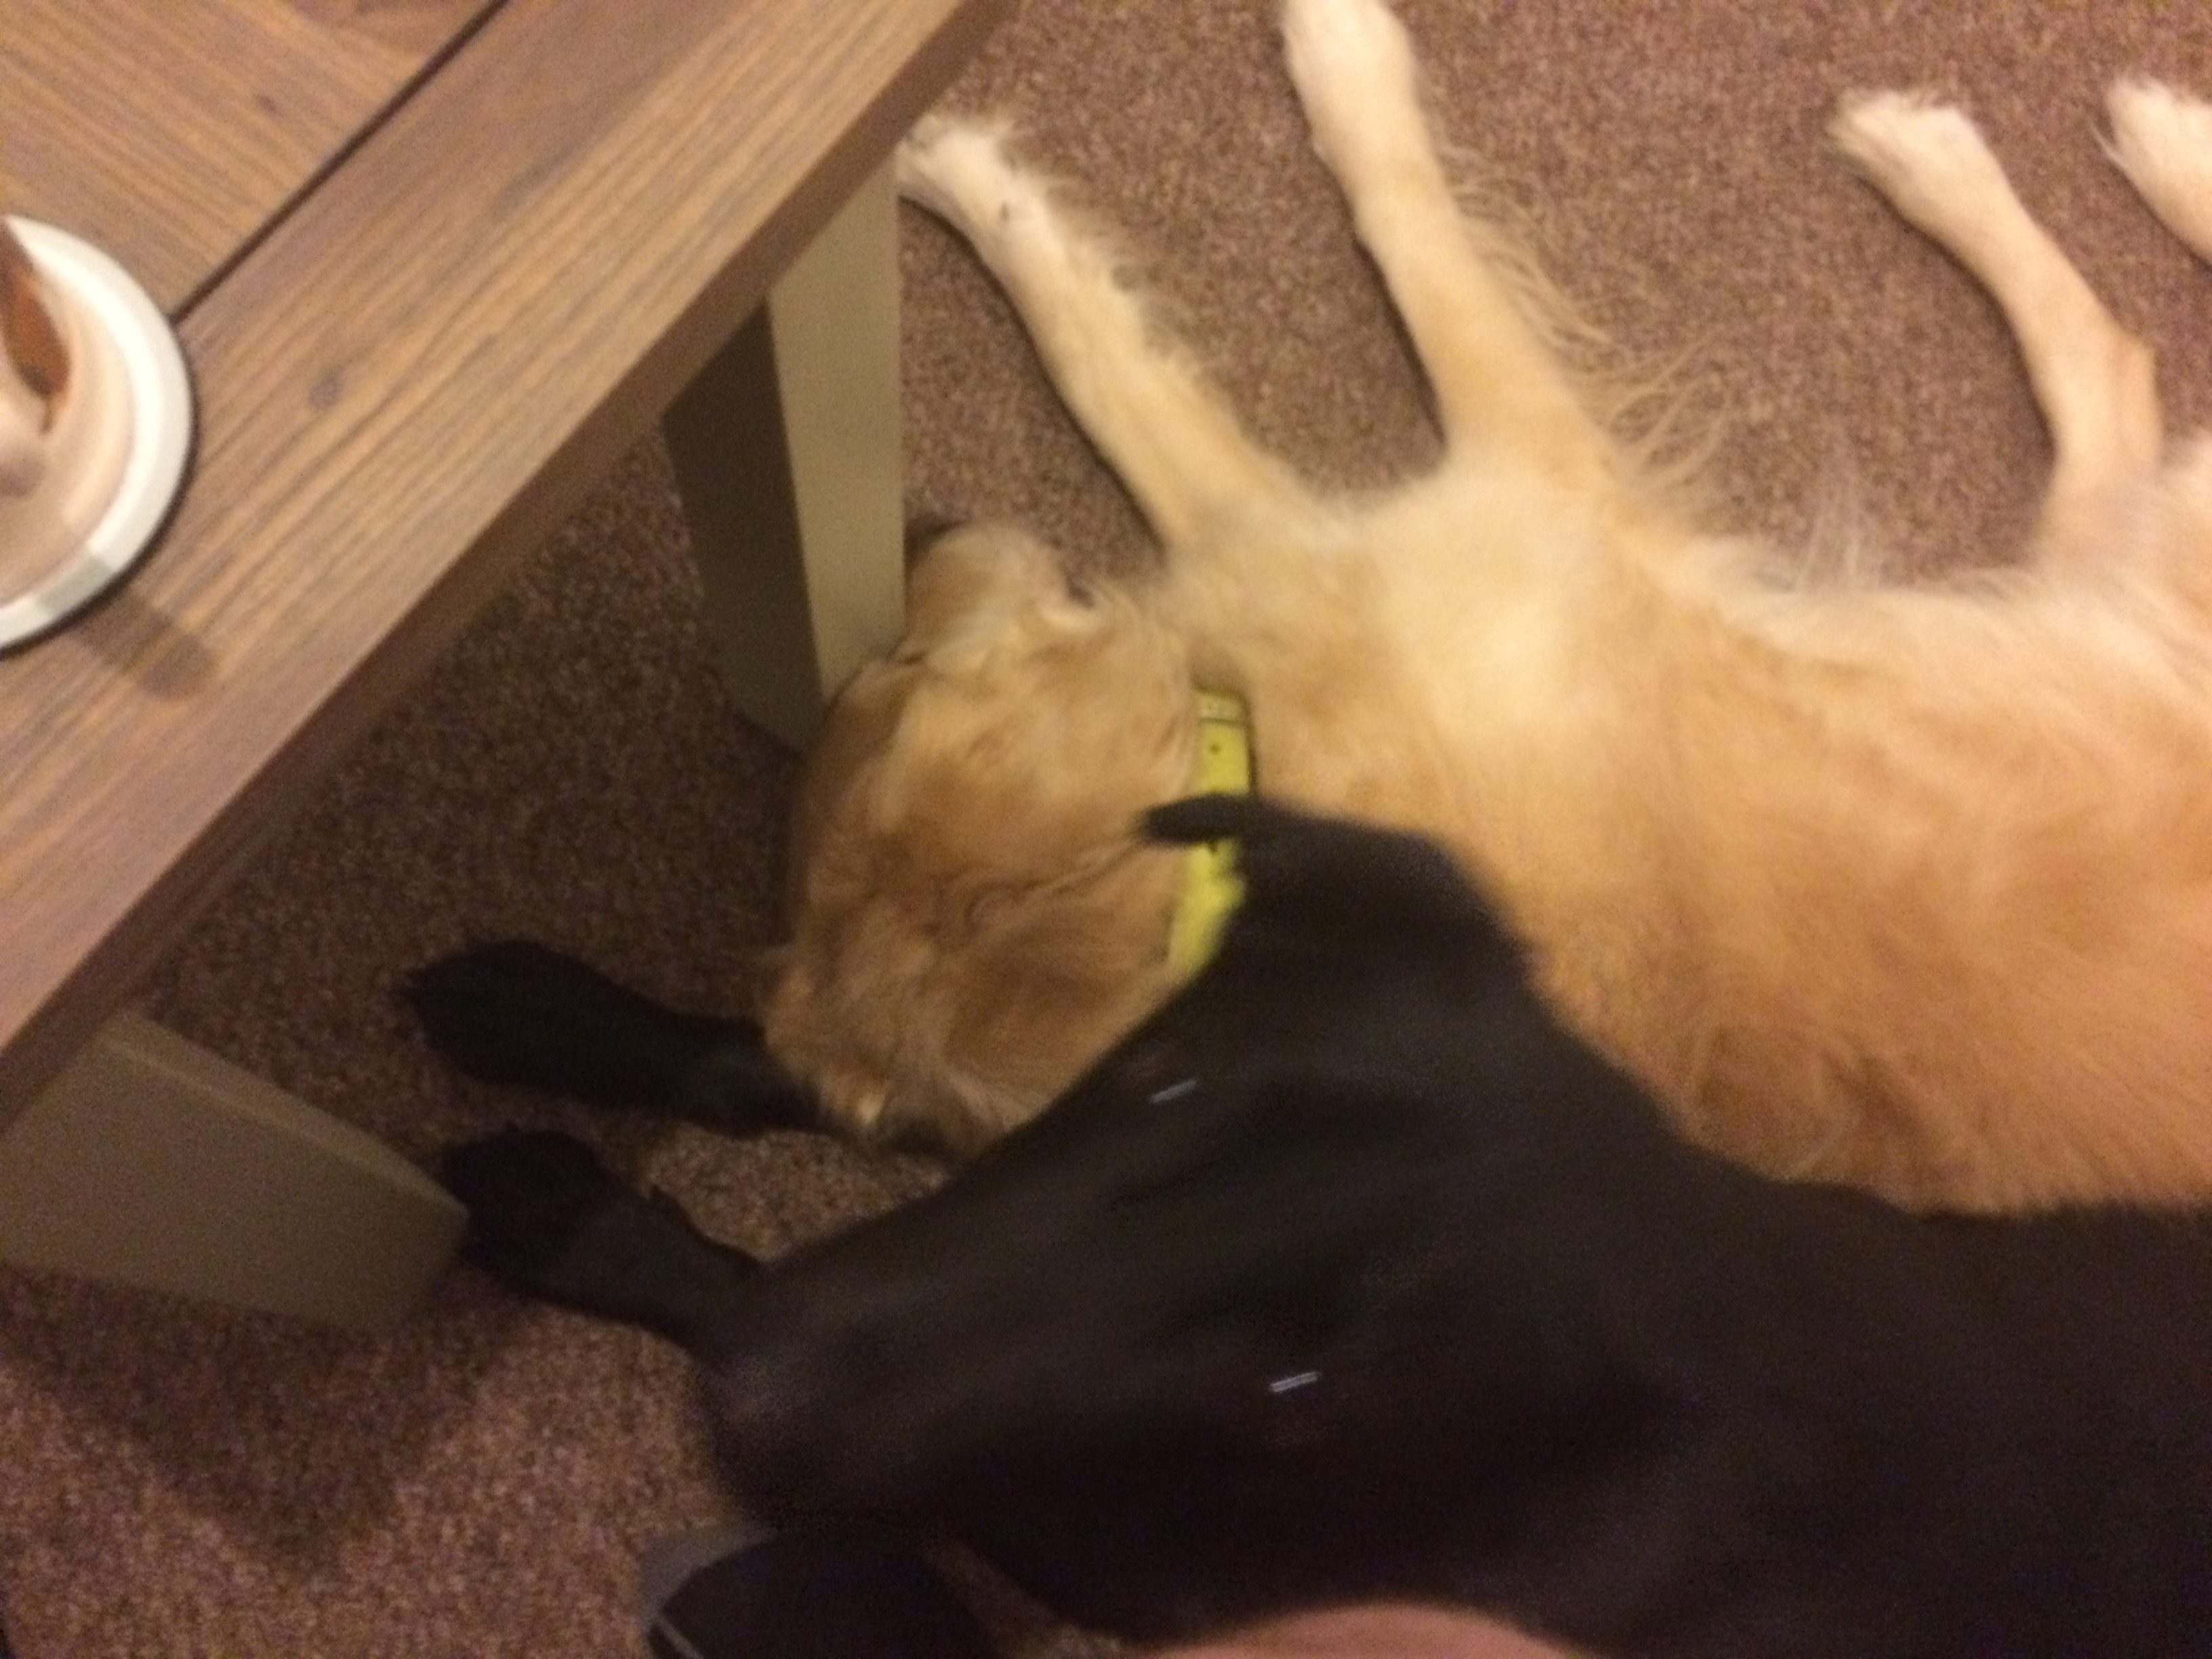
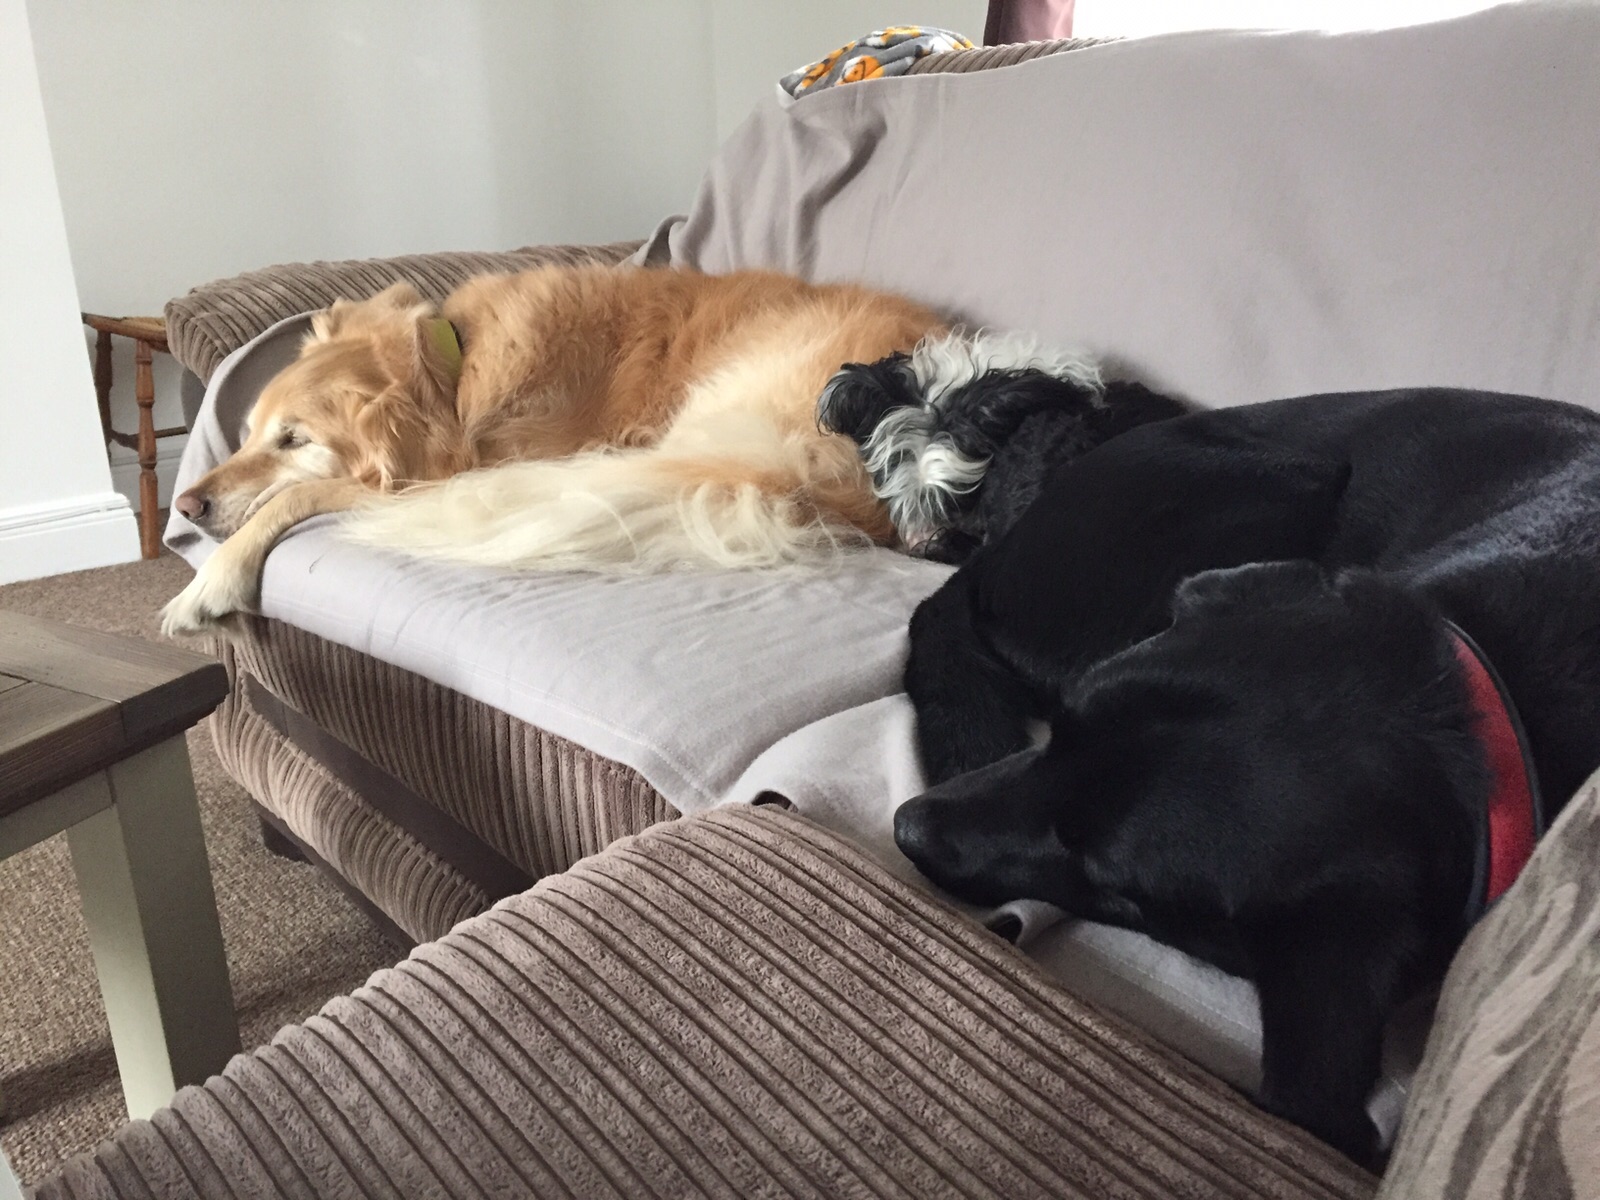
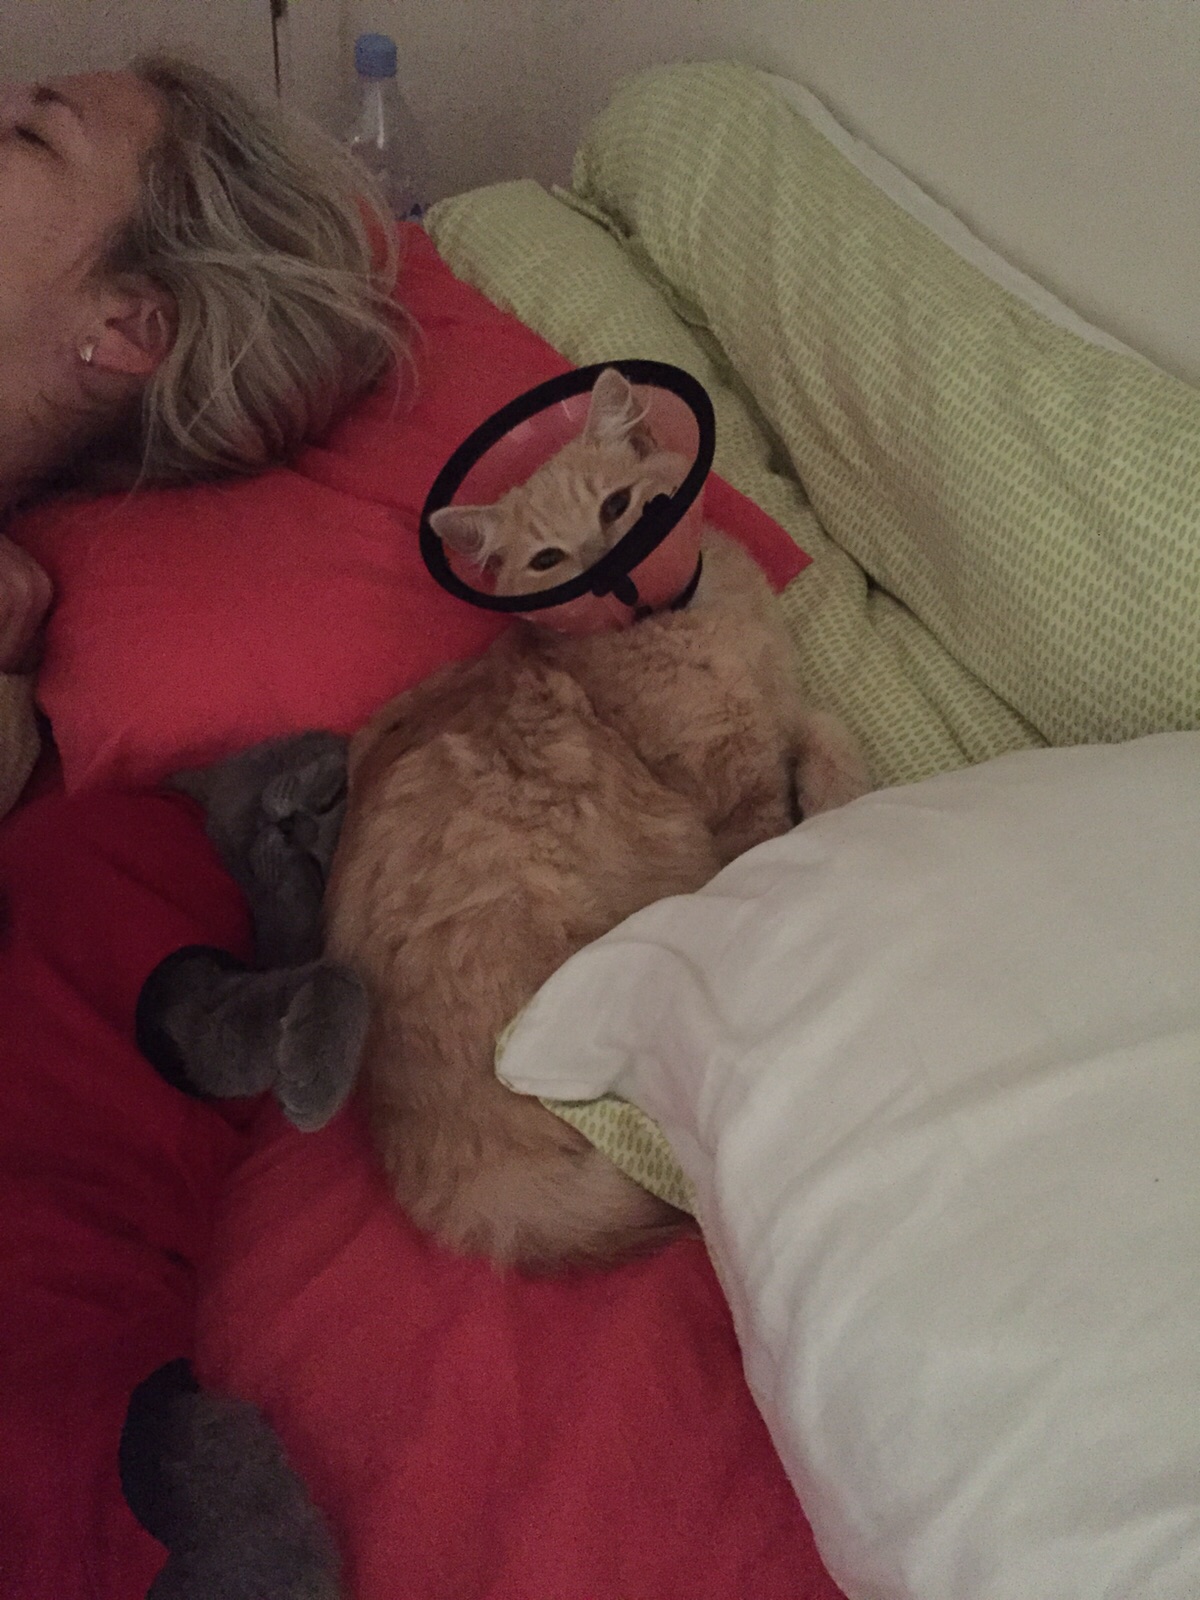
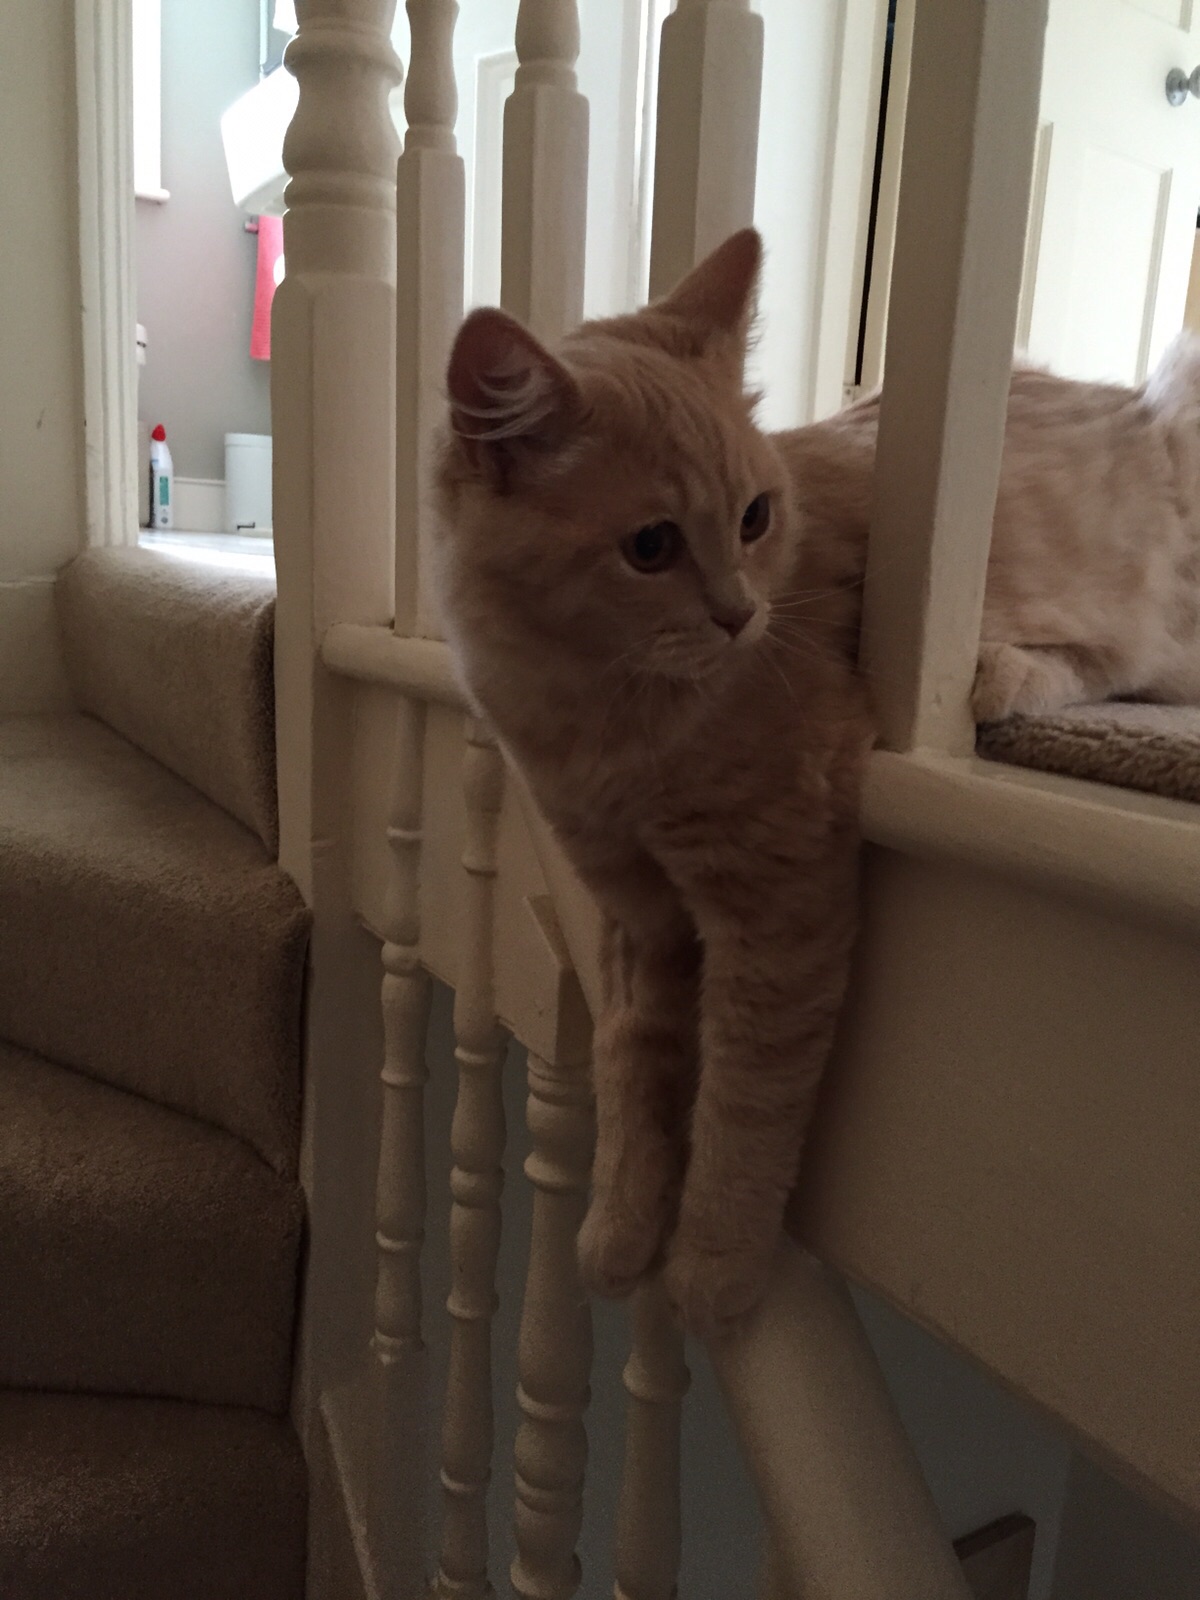
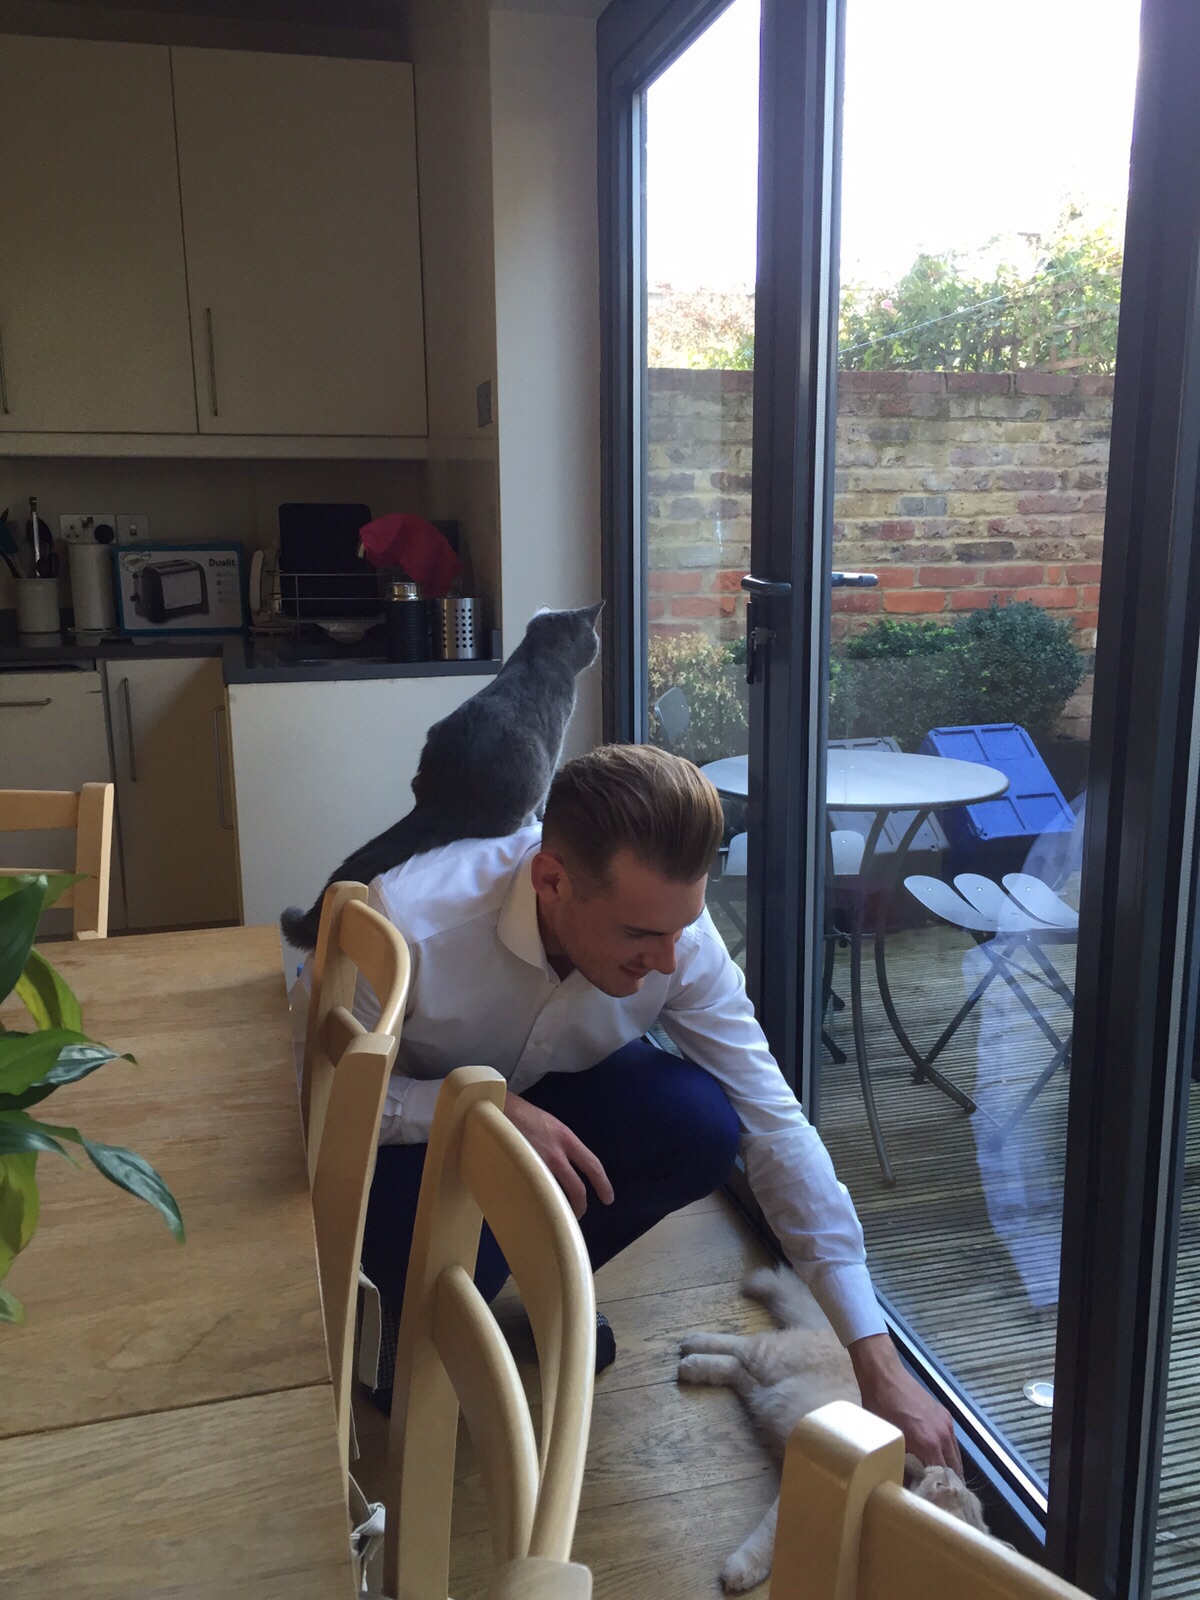
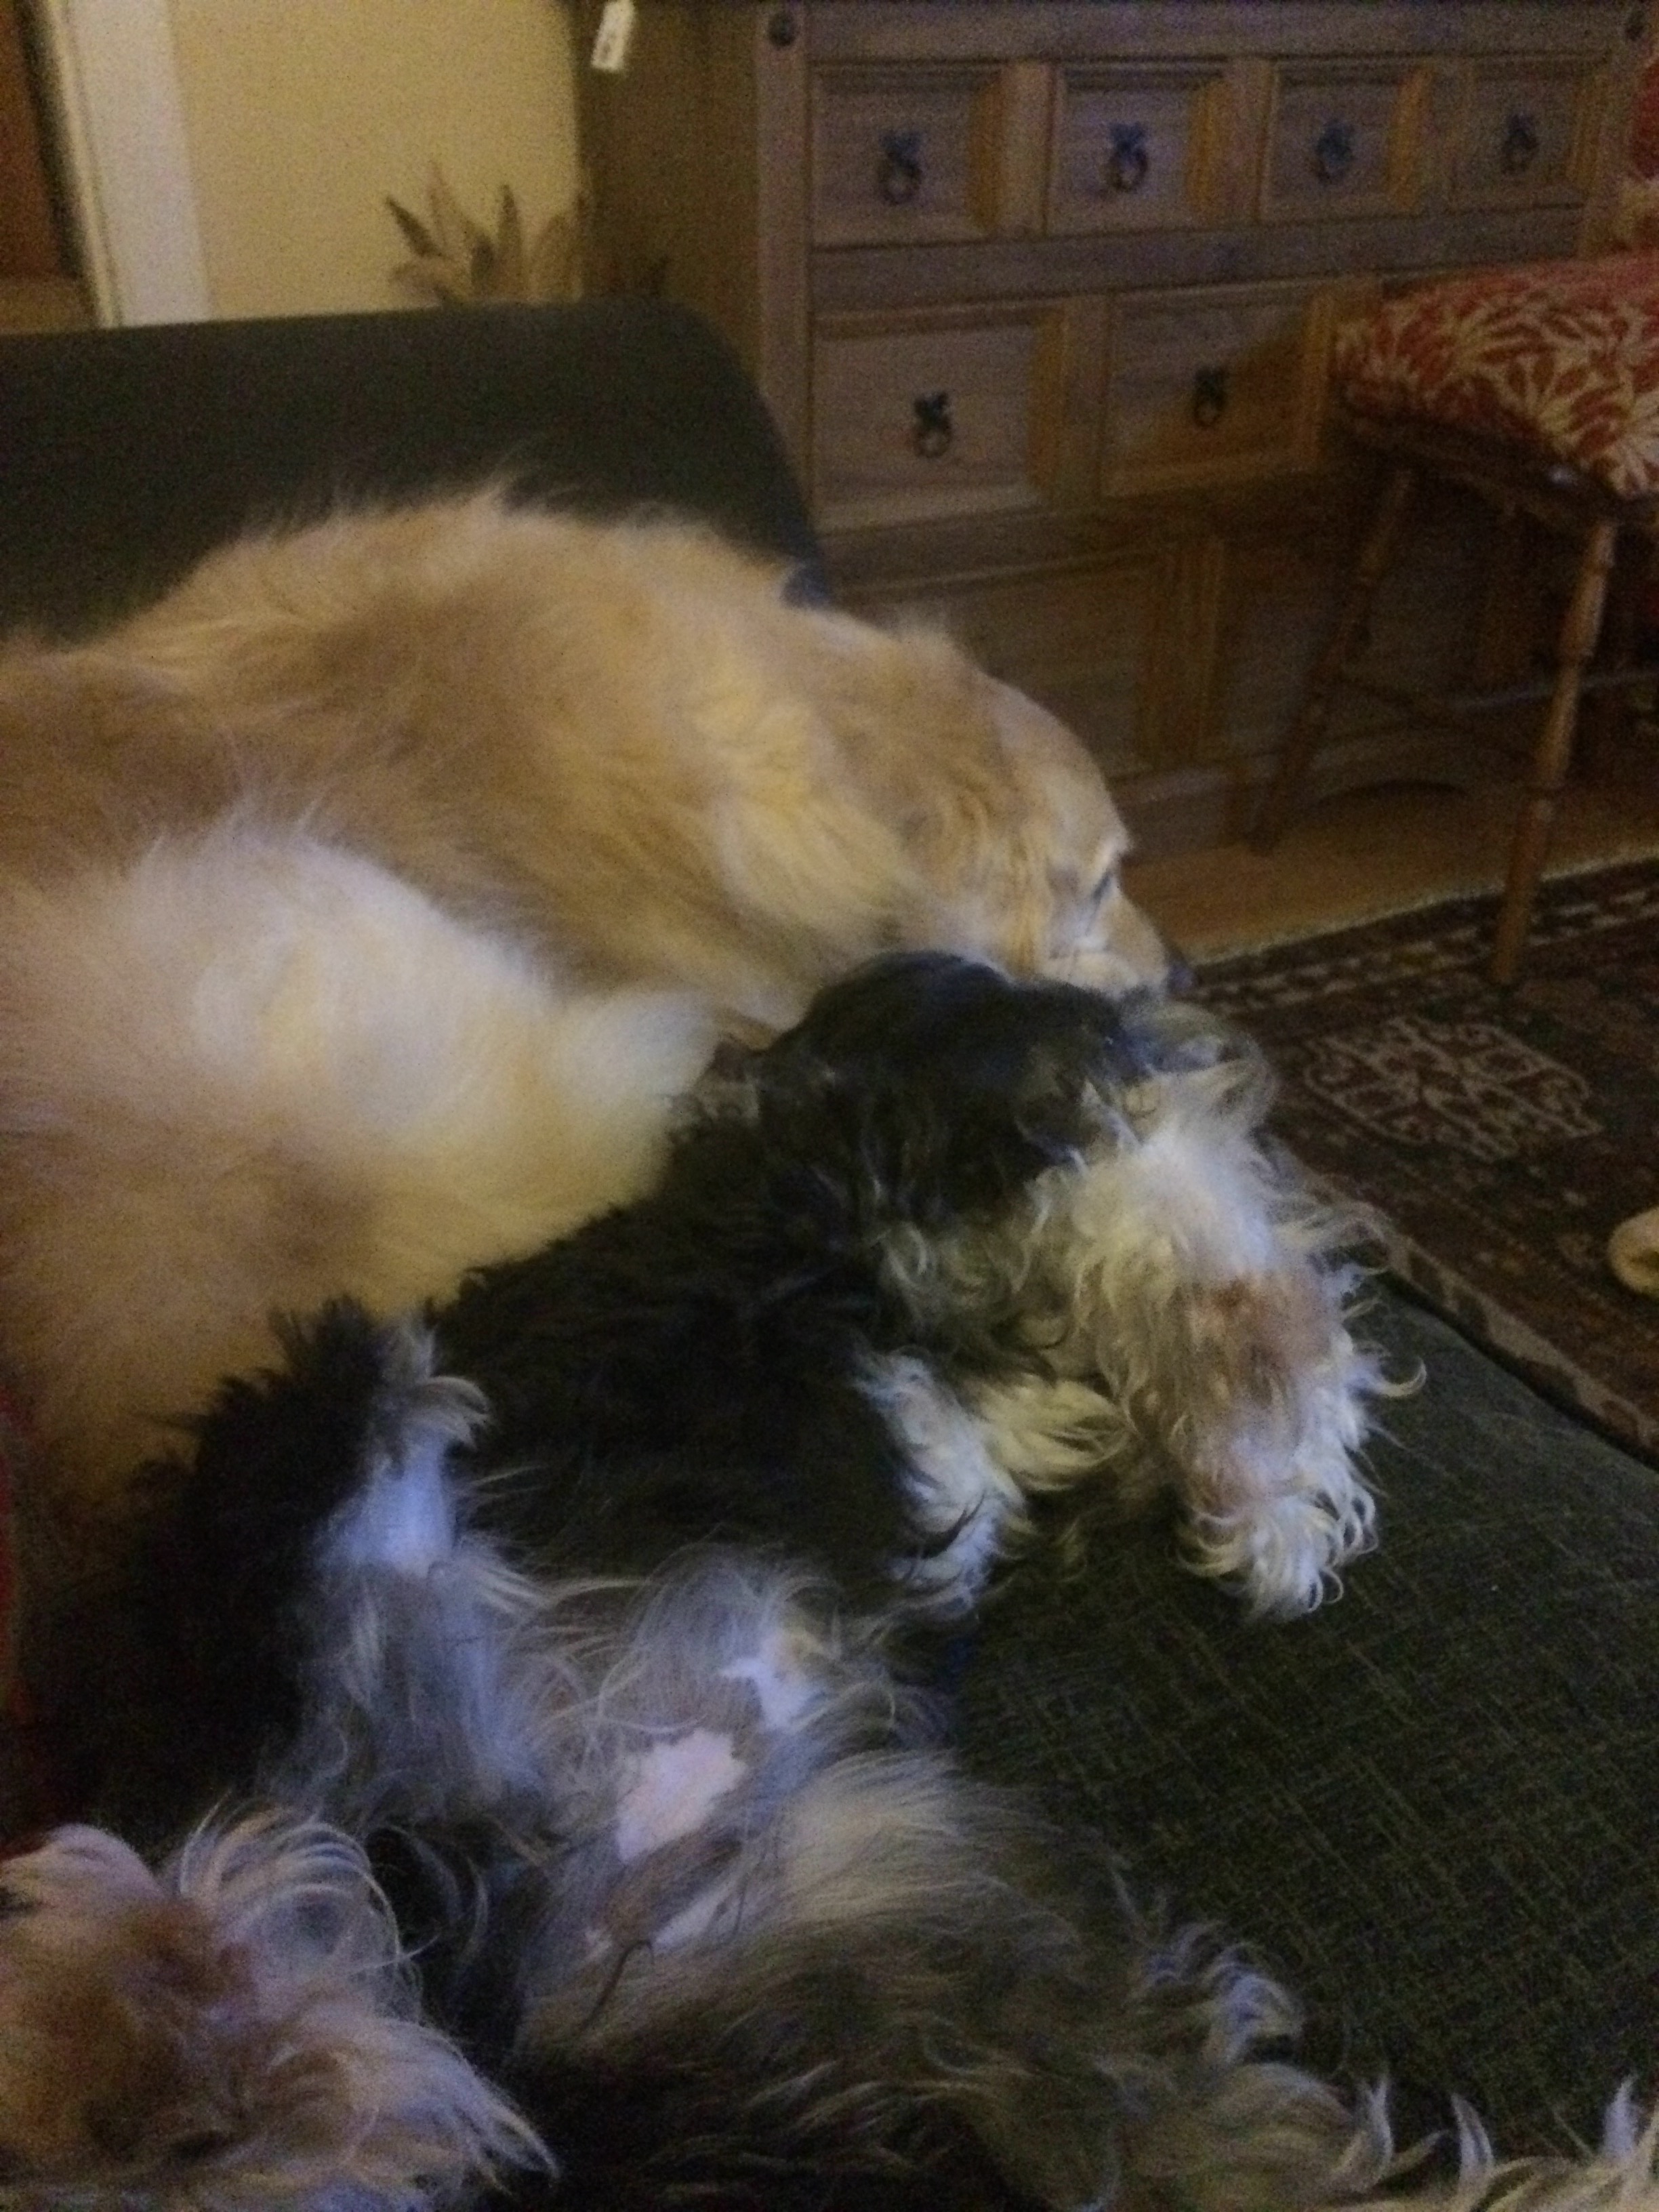
I LOVE ANIMALS!
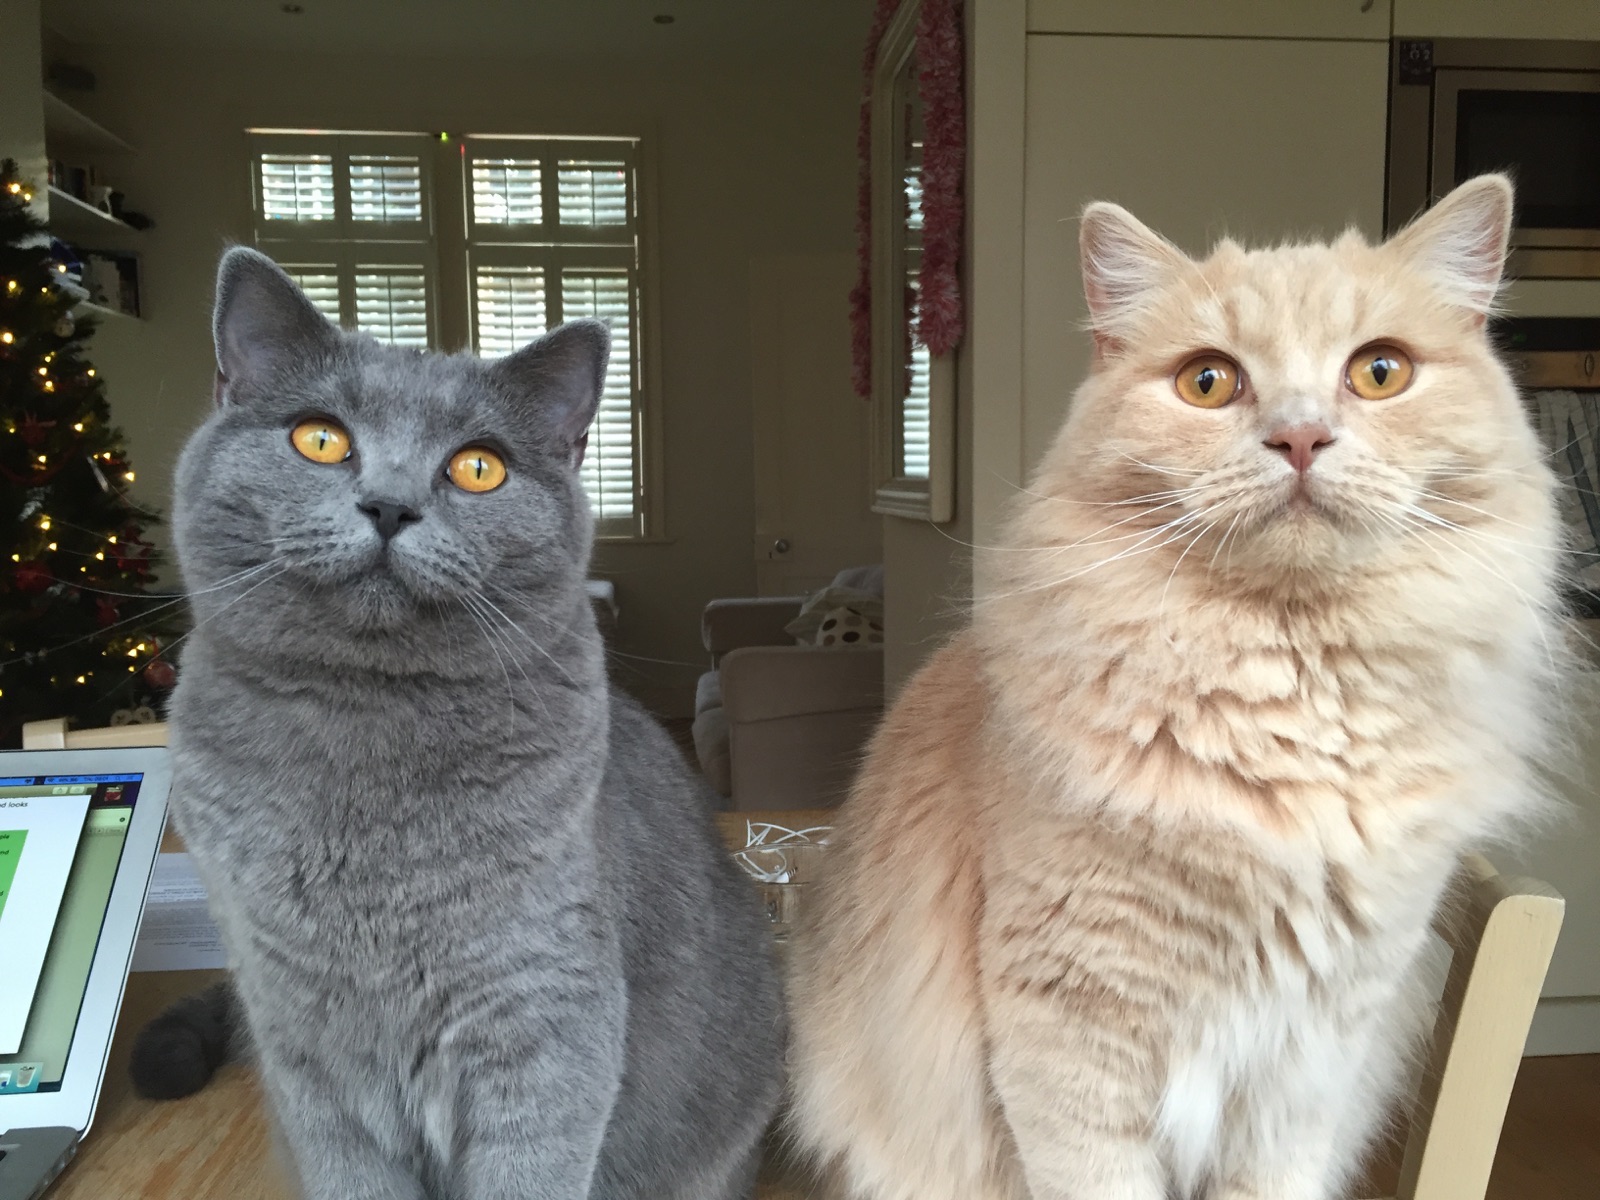
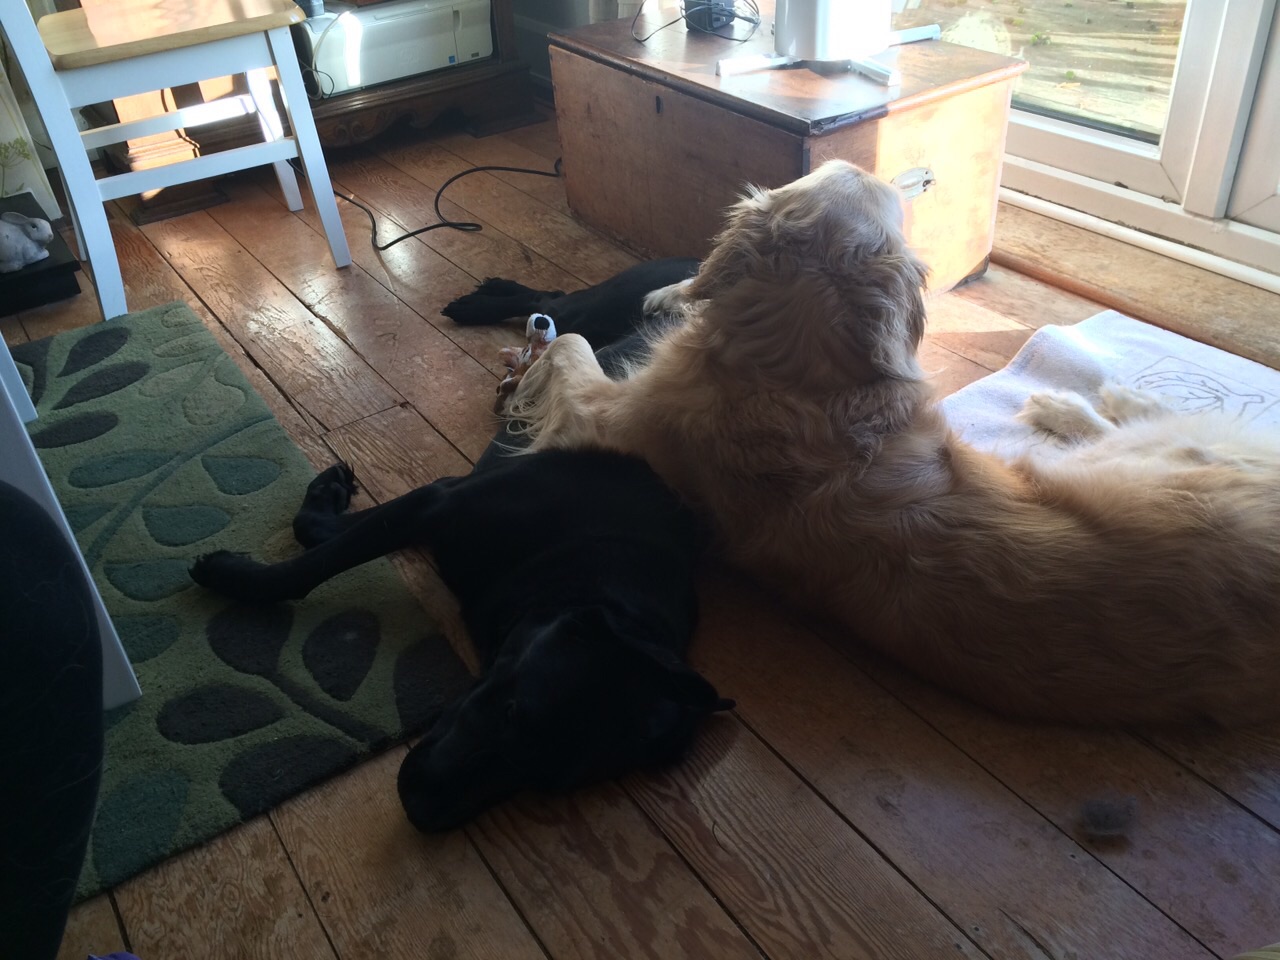
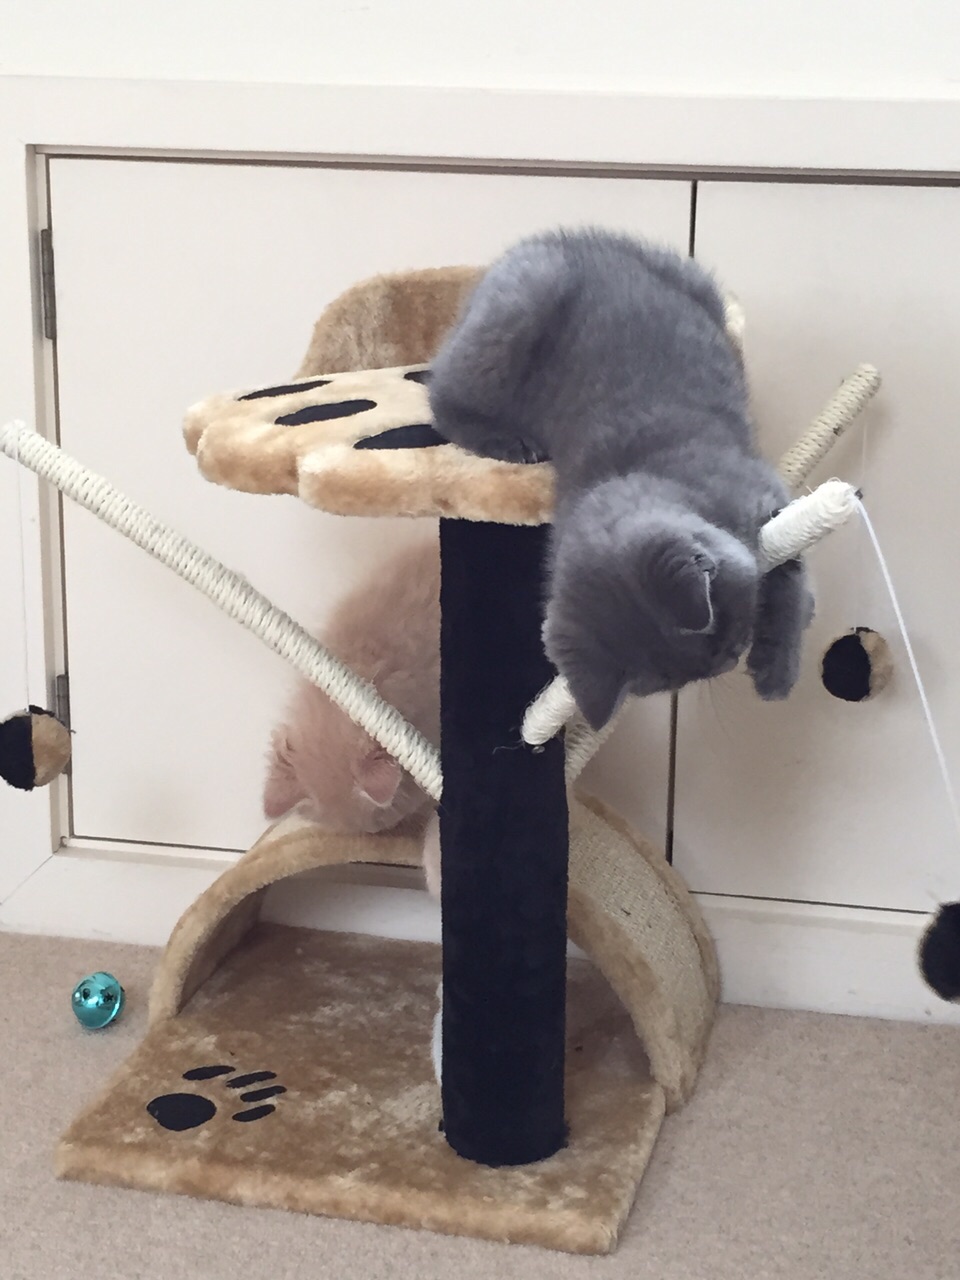
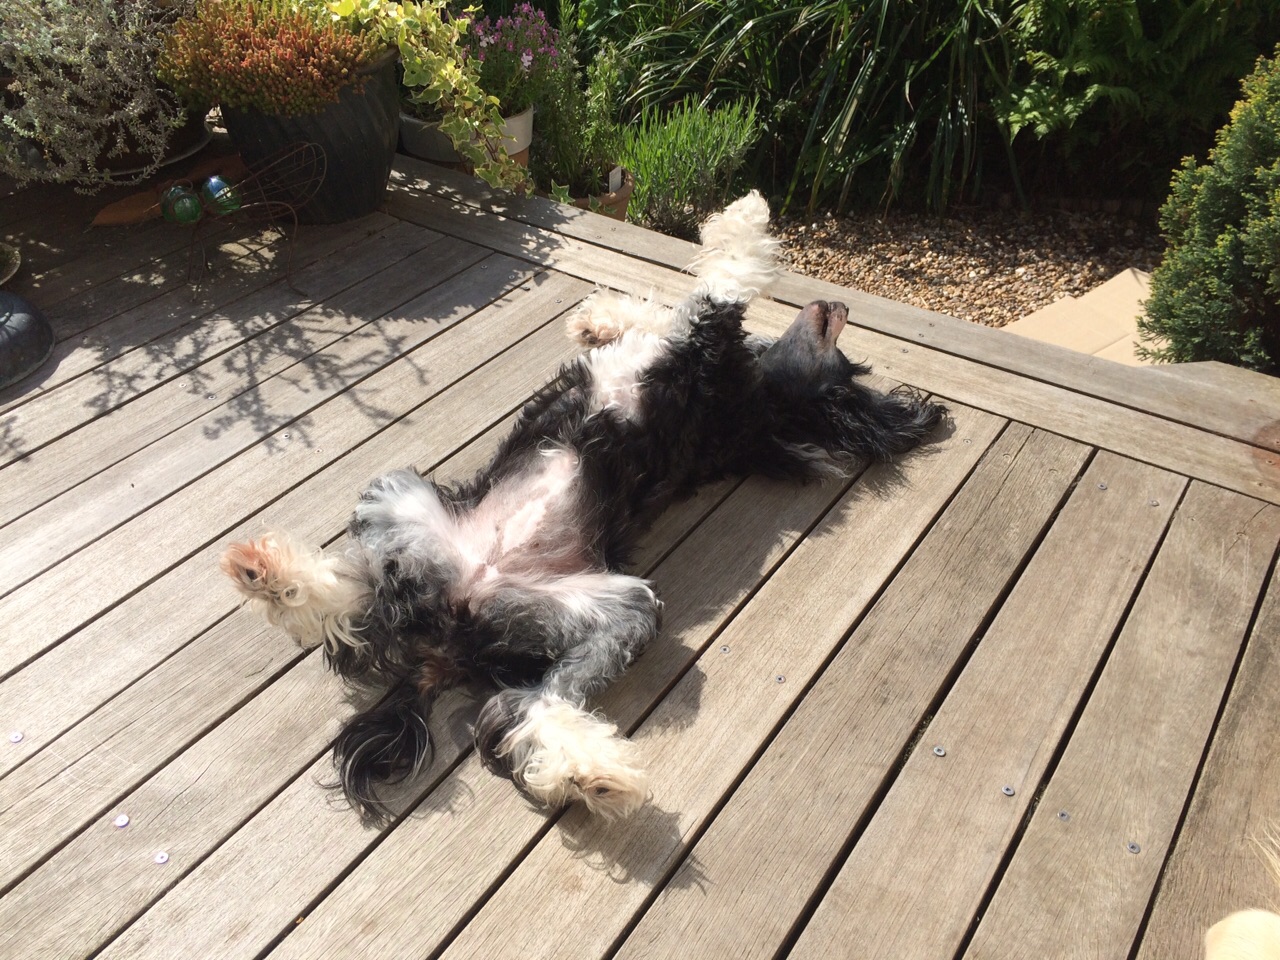
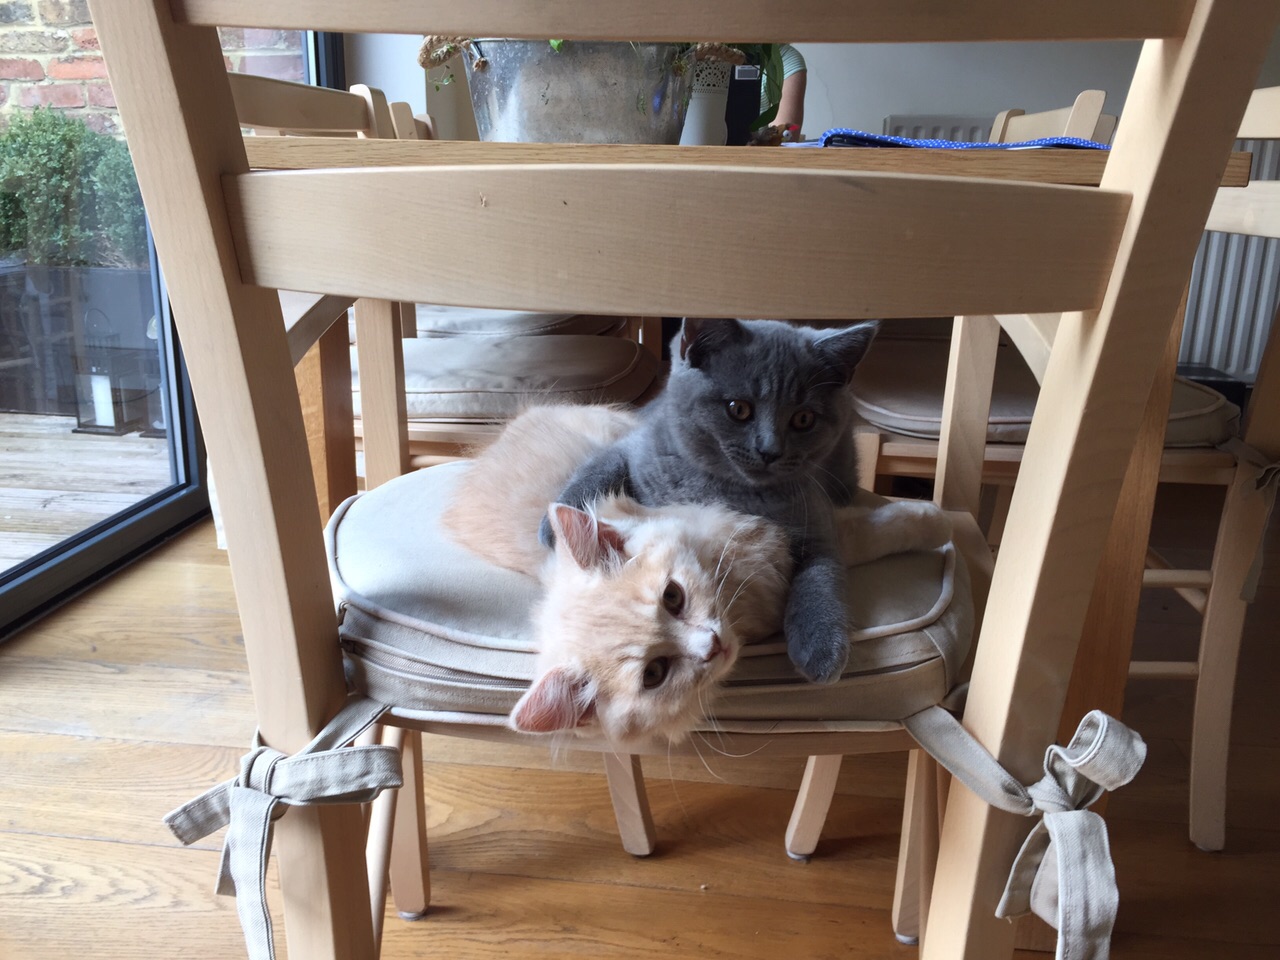
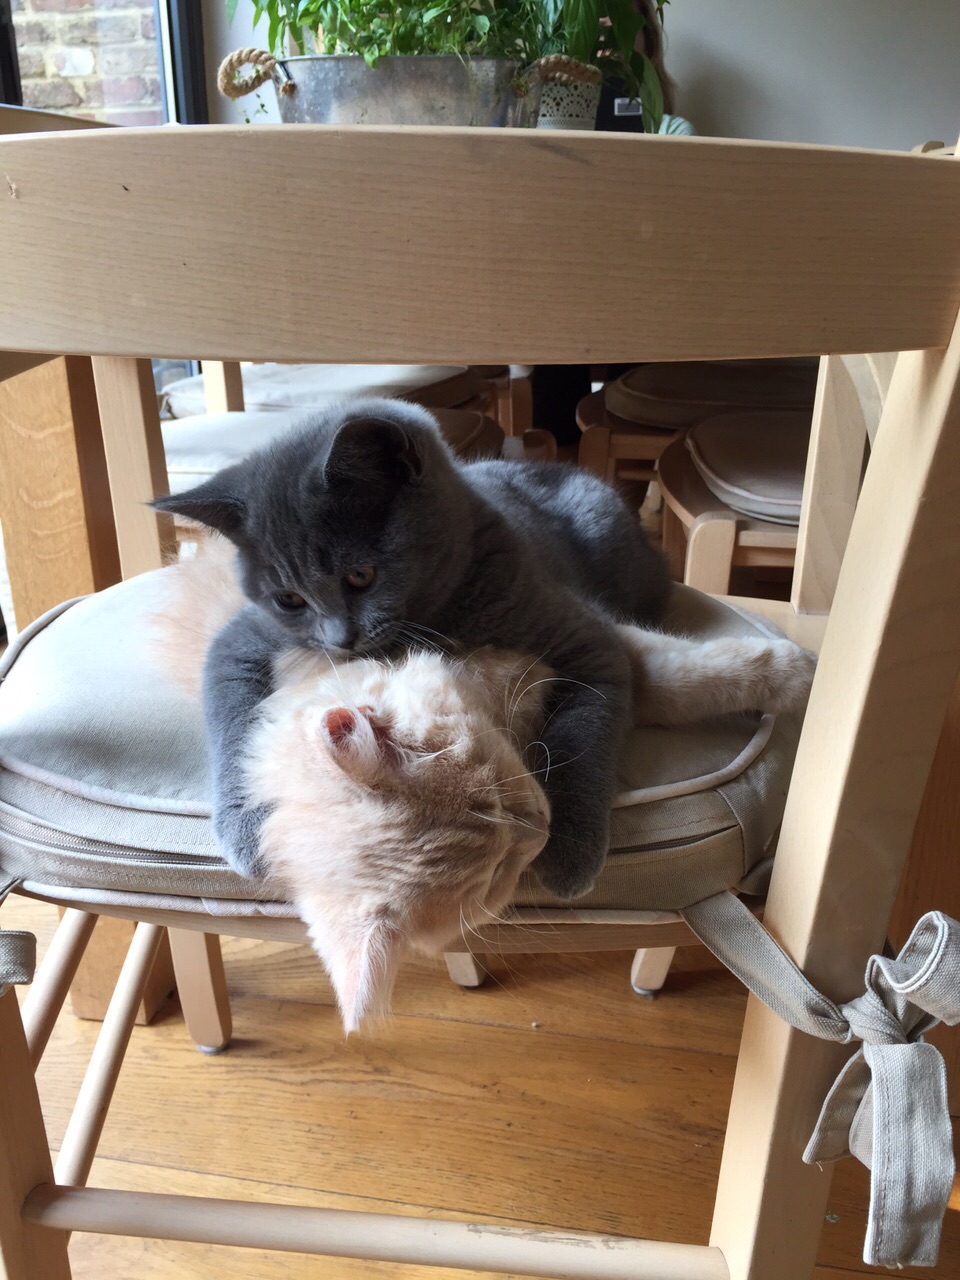
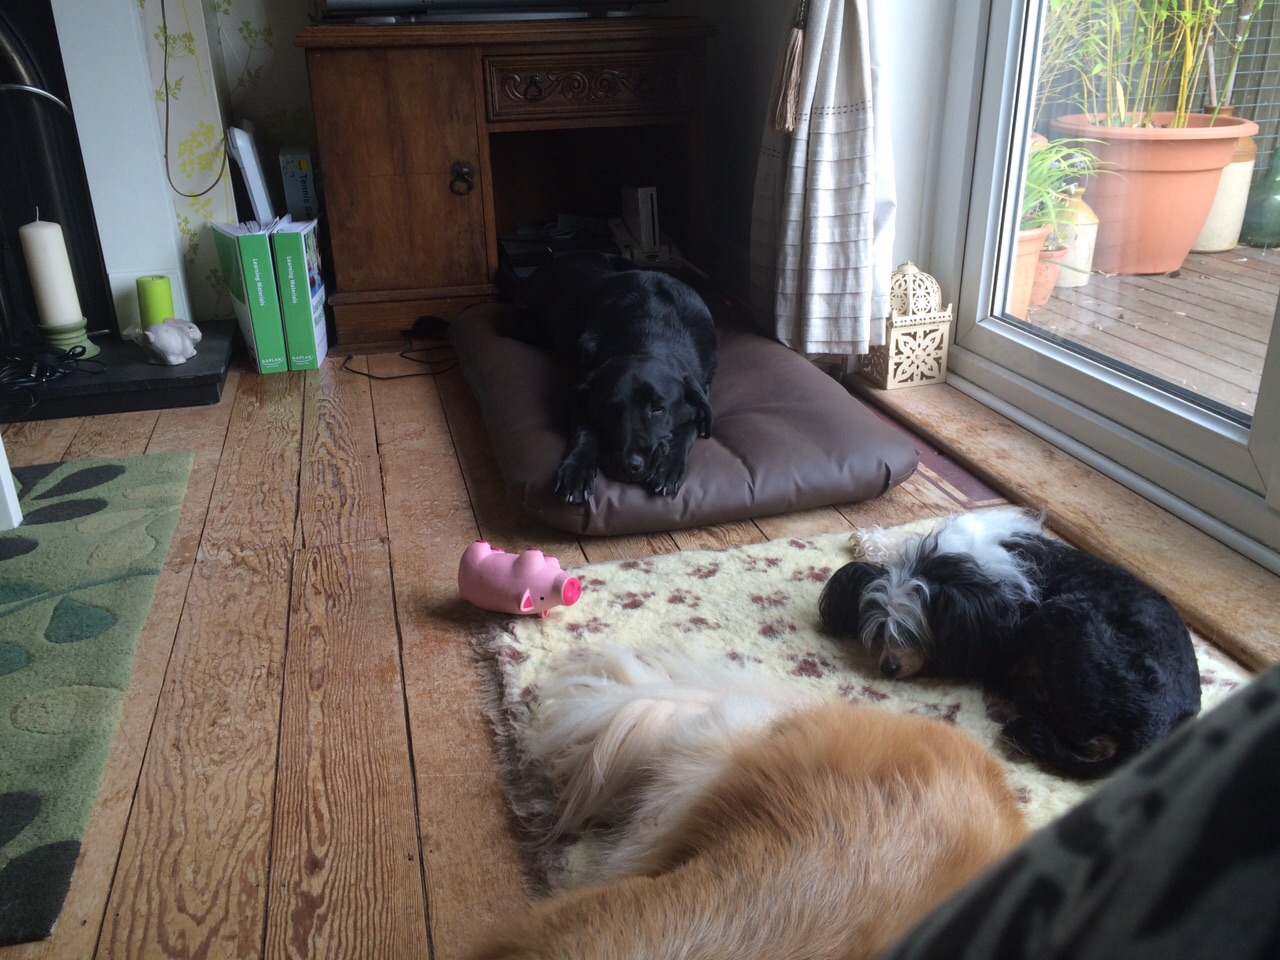
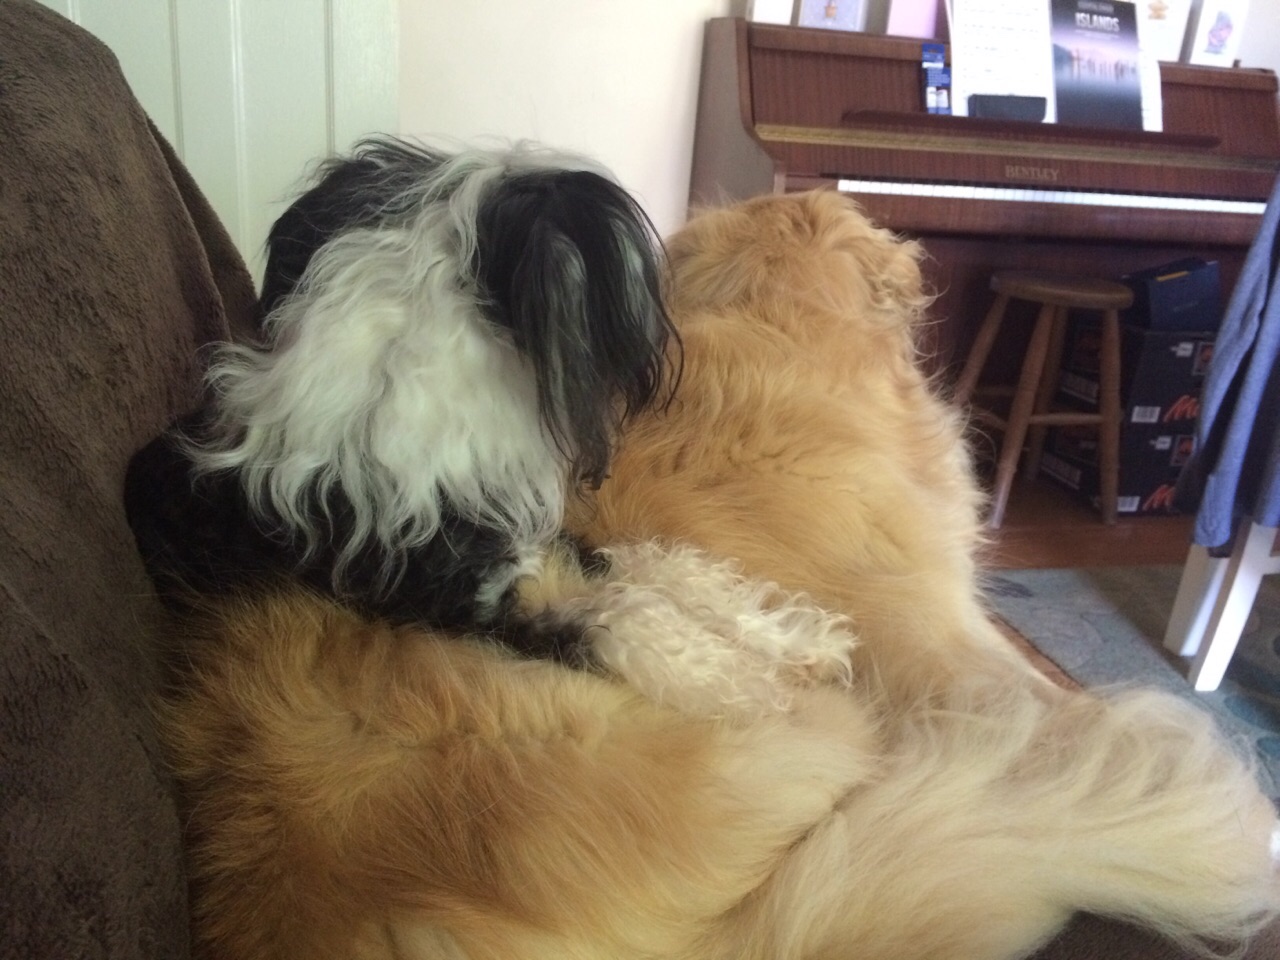
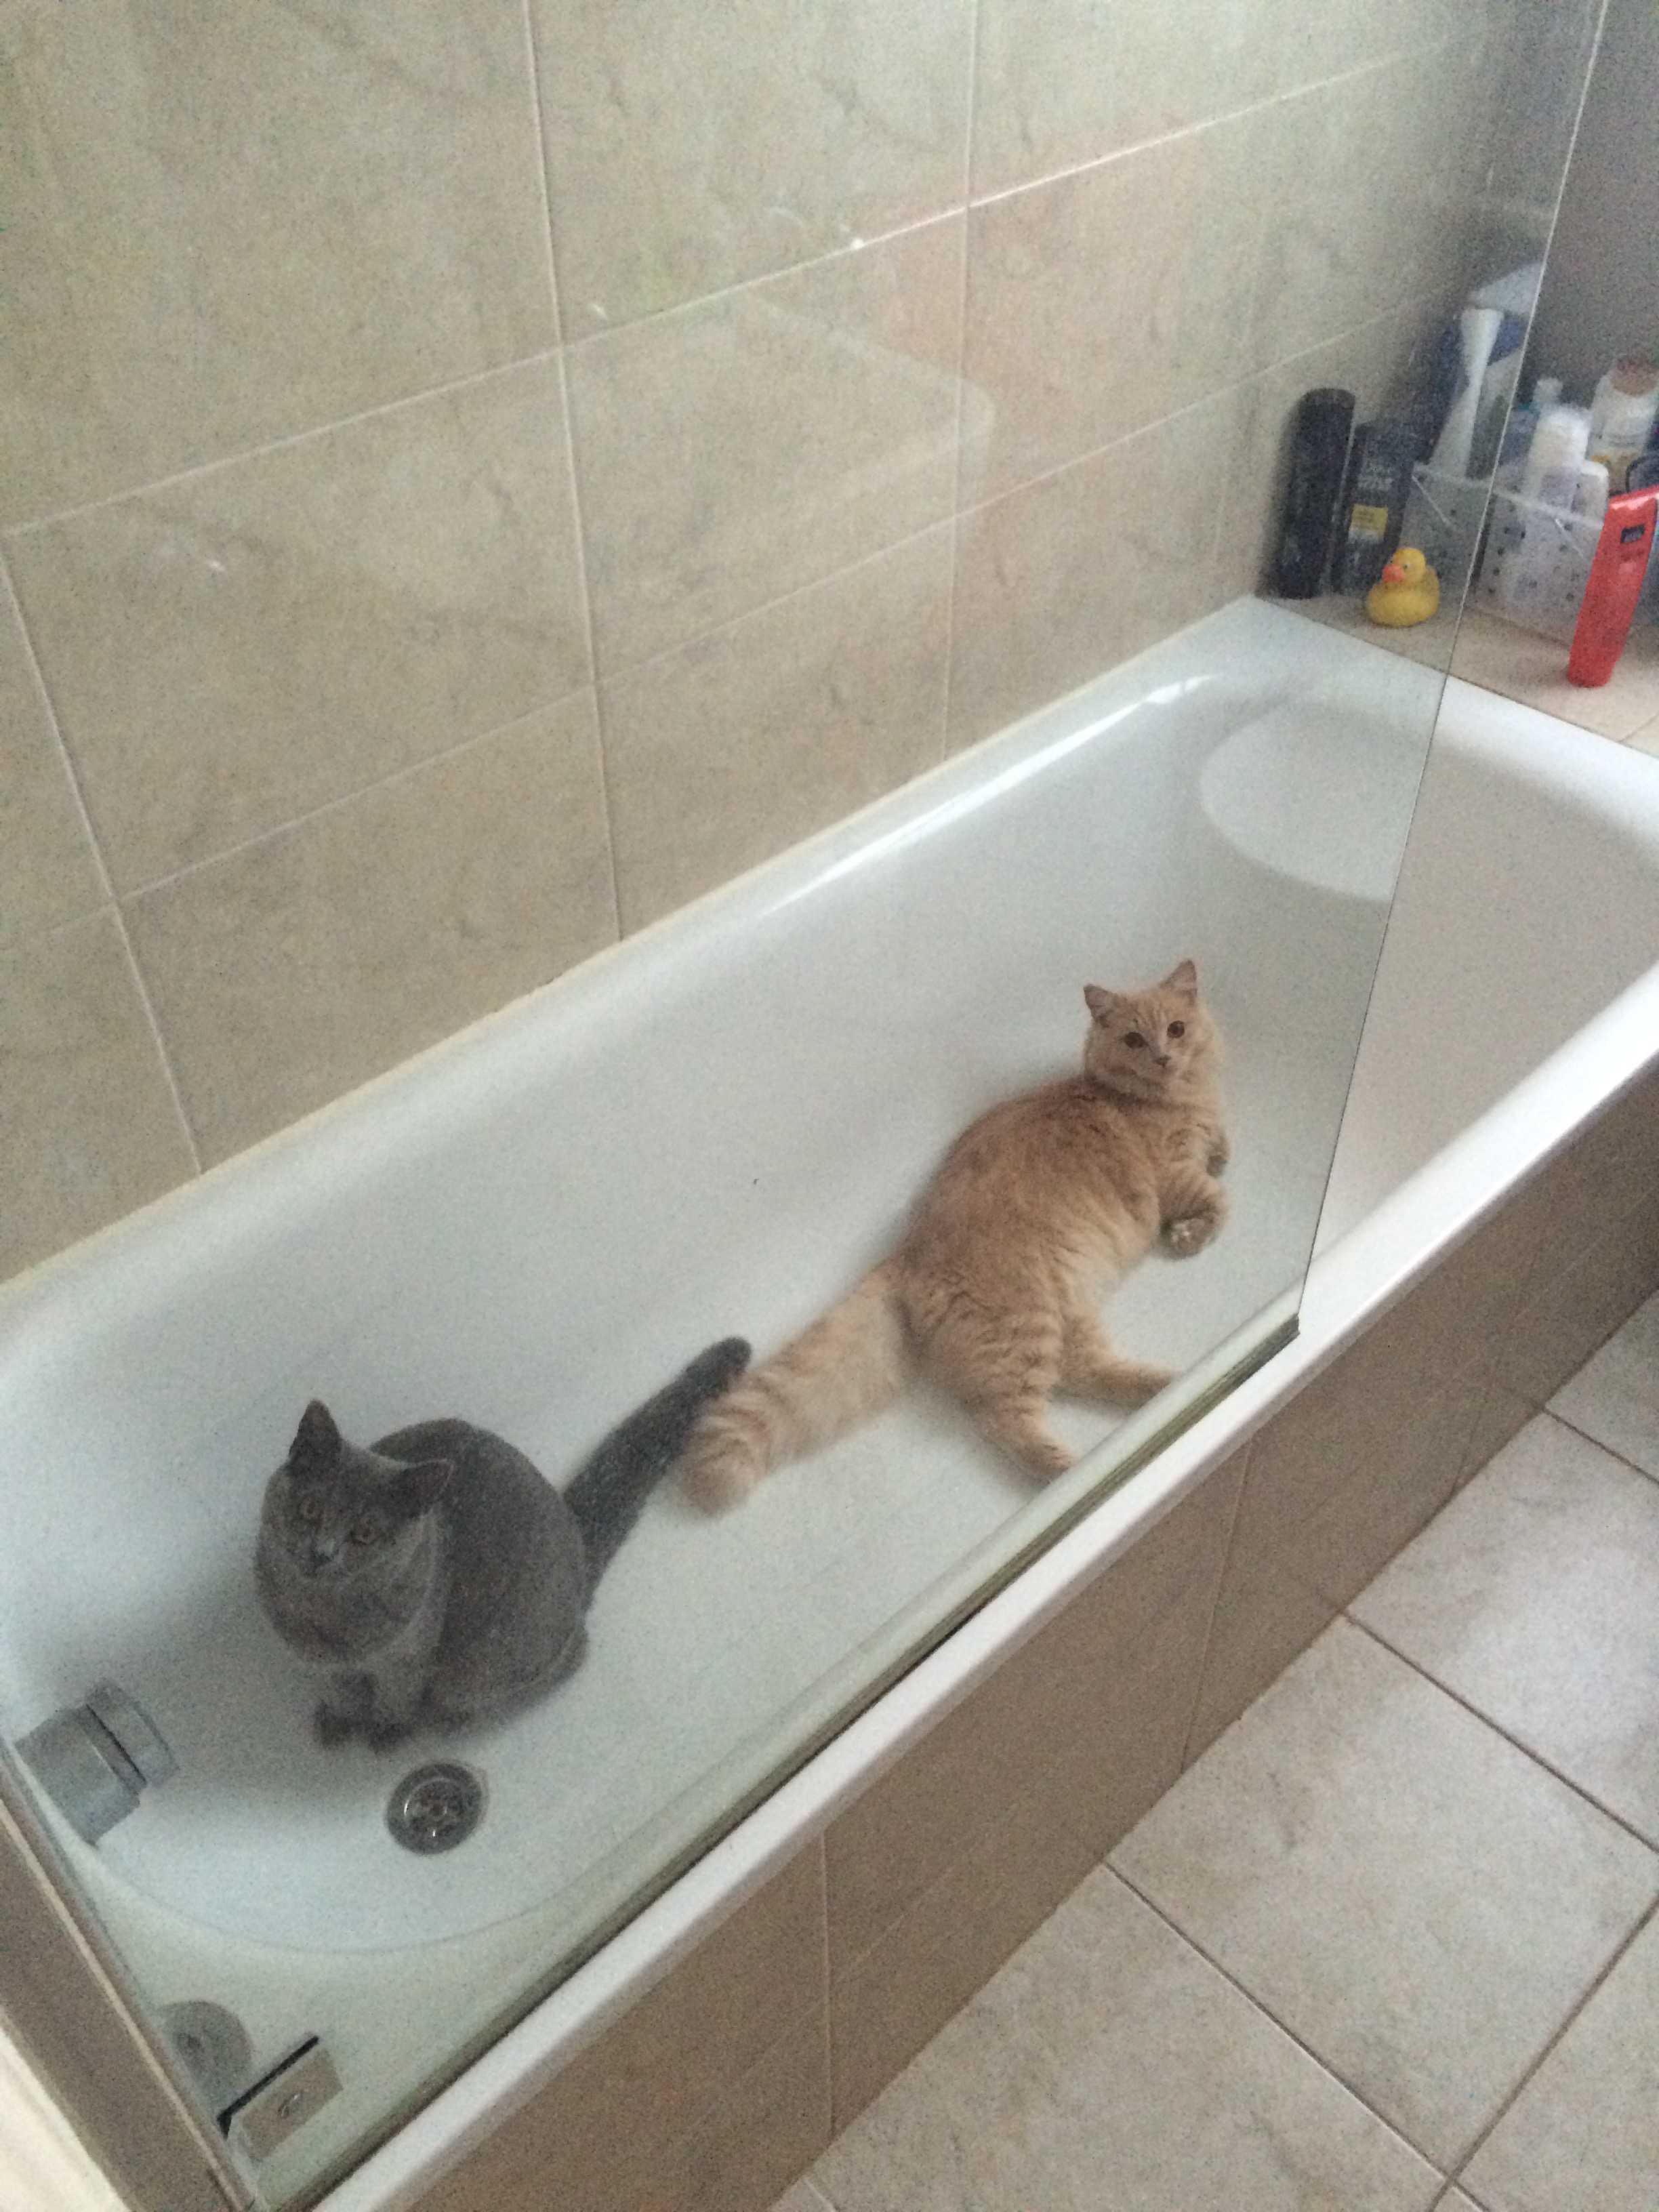
I don't have any because my flat doesn't allow animals, but here are pictures of my Sister's dogs (Rupert the Golden Retriever and Carmen the Chinese Crested, she is the small black and white dog), my Mum's dog (Milo the Black Labrador), and my brother's Cats (Doris is the blue one, and Teddy is the apricot one).
-
1
-
2
-
-
I bought Don't Starve Together recently on recommendations from others, so I'd be really interested in playing it with other people in OC


Drink! Feck! Gurls!
in Introduce Yourself
Posted · Report reply
I was really sorry to hear you died the other day :'(