

Viridian
-
Content Count
270 -
Current Reward Set
60.00 EUR -
Joined
-
Last visited
-
Rank in Current Set
Testing!
Posts posted by Viridian
-
-
Hi everyone,
because we have been asked fairly often about the meaning of some expressions we use in our raids and especially our raid descriptions, we decided to write a “short” explanation. We might expand this in the future, if more questions come up

Experience Levels in the Raid Descriptions
In the raid descriptions, we often mention two different types of experience:
-
Experience with an encounter
This determines, how practiced a player is with the mechanics of a specific encounter, independently of other raid encounters they may also have participated in. From the raid leader’s perspective, how experienced a raider is, is not determined by how often they have practiced or cleared an encounter, but by how well they cope with an encounter’s mechanics. A player is considered
-
Inexperienced, if the player doesn’t know the mechanics at all, or has difficulties noticing, recognizing or dealing with them.
-
Semi-Experienced, if the player knows most mechanics and can usually recognize and counter them. The raider may still have difficulties telling similar-looking mechanics apart, or may overlook something in chaotic situations. The player expects crucial mechanics to happen “soon”, if those mechanics repeatedly happen for the entire duration of the encounter.
-
Experienced, if the player recognizes all mechanics without having to think about it and instantly knows what options are available to cope with them. The raider expects mechanics to happen either based on the timer or intuition and knows how to adapt their rotation to fit the encounter’s mechanics, e.g. players do not have to interrupt their high-damage skills to deal with a mechanic.
We had the feeling that these explanations are rather abstract, so we added some specific examples of what we mean in the Experience Levels by Encounter section
-
-
Raid Experience
Raid encounters are generally very heavy on mechanics and require players to have a good awareness of their surroundings. There may be a lot happening at once and this makes it necessary to quickly notice and react to the mechanics. As raiders participate in more raids, their awareness increases and they tend to have an easier time dealing even with unfamiliar mechanics than when they started raiding. That is what it means to gain raid experience and this is something raiders will automatically acquire independently of the specific encounters they have participated in so far or the actual outcome of their attempts.
This overall level of proficiency is what raid leaders ask for when they request players to be “raid experienced”, as some encounters are more heavy on mechanics than others and thus require a higher raid experience level of the participants even in an introduction.
Raid Types
-
Introduction
Introductions are aimed at players who have never tried the specified encounter before. The goal is to familiarize raiders with the mechanics and provide the opportunity to practice dealing with them. Obviously we would be happy if the group manages to clear the encounter at the end of the practice session, but that is not the primary objective. The mechanics and tactical approach to the encounter will always be explained during the raid.
Since not all encounters are equally well suited when starting to learn raiding in general, some introductions require players to already have more overall raid experience. This will be noted in the raid descriptions.
-
Training
We primarily organize training runs for raiders, that have already tried an encounter before, but either weren’t able to clear it yet, or believe that they could use some additional practice. They are also there for players who would like to try out a new profession or role, but don’t want the pressure of having to immediately perform well in a kill run. As in introductions, the goal is not to clear the encounter, but to practice dealing with the mechanics. However if we can beat the encounter, we will. Mechanics will be explained as necessary.
-
Kill Run
A kill run is for those raiders, that are already well acquainted with the encounter, e.g. know the mechanics and are able to handle them with minimal error. We aim to clear the specified encounter with as little struggle as possible. There will be no explanations, because we assume that every participant knows their role and encounter mechanics. If a kill run includes more than one encounter, the above applies to all of them.
-
Achievement
Achievement runs are essentially kill runs with the additional requirement to qualify for an encounter-specific achievement at the time the encounter is cleared. This means that the group may have to forcibly wipe and start over, if it becomes apparent that the conditions for the achievement will not be met at the end. Participants usually need to be fairly experienced with the encounter and all its mechanics. Only where the tactics or mechanics deviate from the regular encounter will they be explained.
-
Experimental
The aim of an experimental run is to determine whether a non-standard approach to an encounter has a chance of success and to see its advantages and disadvantages in comparison to the standard approach. These runs may use a fixed set of parameters that all participating raiders need to adhere to, such as bringing weapons or skills they would normally not use or dealing with encounter mechanics against their own judgement. Participants are required to be very experienced with both their profession and all aspects of the encounter.
Experience Levels by Encounter (Examples)
We compiled a list of examples on how we would estimate experience levels, depending on a raiders ability to cope with mechanics of a specific encounter. These are meant as a sort of checklist that players can use to assess their own experience. It might also be helpful in identifying troublesome mechanics to improve on
These conditions are not meant to be taken too literally. In an actual raid, accidents happen and everyone sometimes messes up no matter their level of experience. But when an avoidable mistake is made, it is at least good to be aware of that.
By default, any player that is not experienced or semi-experienced is considered inexperienced.
Vale Guardian
You are
-
Semi-Experienced, if you
- rarely get teleported by Unstable Magic Spikes (blues),
- almost never miss a Distributed Magic (green circle) without it being called and know how to handle Seekers and Unstable Magic Spikes (blues) on the Distributed Magic,
- keep a healthy distance from Seekers and, as your profession allows it, help with controlling them as necessary without being told,
- always get the correct Pylon Attunement during the Split Phase,
- know when to take over Distributed Magic (green circles) from the group tasked with it during the Split without being reminded,
- don’t go down to Bullet Storm (the little white orbs) while waiting for other Vale Divisions to be cleared,
- don’t go down to Magic Storm (the attack that is interrupted by breaking the defiance bar).
-
Experienced, if you
- never get teleported by Unstable Magic Spikes (blues),
- don’t need Distributed Magic (green circles) to be called out to notice it, go there without fail when tasked with it, and know how to handle Seekers and Unstable Magic Spikes (blues) on the Distributed Magic,
- know what to do in case of a misplaced or missed Distributed Magic (green circle),
- can anticipate Seeker movement and despawn times and can help with controlling them as necessary without being told, depending on your profession,
- can anticipate where the tank will lead Vale Guardian next and when and are able to adjust your rotation accordingly, e.g. don't start using a skill that requires Vale Guardian to not move for a moment or place a trap right before it is moved,
- know when to take over Distributed Magic (green circles) from the group tasked with it during the Split without being reminded,
- are able to recover from irregularities during the Split Phase without difficulties, e.g. teammates getting the wrong Pylon Attunement due to unfortunate timing of the Split,
- rarely get hit by Bullet Storm (the little white orbs) unless your group decided to body-block them,
- don’t go down to Magic Storm (the attack that is interrupted by breaking the defiance bar).
Gorseval
You are
-
Semi-Experienced, if you
- almost never get knocked back by Spectral Impact (the slam attack),
- rarely "nuke" yourself due to Vivid Echo (the retaliation effect during the Ghastly Rampage/CC Phase),
- are able to avoid taking damage from the detonating black material on the ground during the Ghastly Rampage attack (CC Phase), when reminded of where the safe areas are,
- don't fail to glide when using Updrafts and don't accidentally fall off the platform after destroying the Spirit Barrier (wall) or when returning after the World Eater attack,
- know how to handle a Soul (depending on your profession) and move to the correct Soul without getting lost on the way there,
- know how to handle Spectral Darkness (orbs) when told when and where to clear and how to get rid of the corresponding effect, should you accidentally acquire it,
- rarely get trapped in a Ghastly Prison (egg).
-
Experienced, if you
- never get knocked back by Spectral Impact (the slam attack),
- never "nuke" yourself due to Vivid Echo (the retaliation effect during the Ghastly Rampage/CC Phase),
- know how to move in and out with the pattern of the black material on the ground during the Ghastly Rampage attack (CC Phase) without being told (when using slow/no-CC tactics),
- don't fail to glide when using Updrafts and don't accidentally fall off the platform after destroying the Spirit Barrier (wall) or when returning after the World Eater attack,
- know how to handle a Soul (depending on your profession) and move to the correct Soul without getting lost on the way there,
- can quickly judge whether another player needs help handling a Soul and know how to help without causing another Soul to fail in the process,
- know how and when to clear Spectral Darkness (orbs) and which areas to prioritize,
- never accidentally acquire the Spectral Darkness effect,
- never get trapped in a Ghastly Prison (egg).
Sabetha the Saboteur
You are
-
Semi-Experienced, if you
- rarely get killed by Sabetha's Firestorm attack (the flamewall),
- notice when you are tagged with a Timed Bomb and usually get it safely away from the group,
- notice and react to Heavy Bombs on the main platform,
- when tasked to take care of Cannons usually make it safely to the Cannon and back, e.g. rarely get killed by the Firestorm (flamewall) while waiting at the launch pad or returning from the Cannon,
- notice that you have a Sapper Bomb and can usually throw it safely to the correct launch pad, provided it is called out,
- do not go down to Kernan's Hail of Bullets (shotgun attack) or Karde's Flame Blast (flamethrower attack).
-
Experienced, if you
- never get killed by Sabetha's Firestorm attack (the flamewall),
- notice when you are tagged with a Timed Bomb and always get it safely away from the group; you usually do not hit the kiter or players returning from Cannons, even when there are two Timed Bombs,
- notice and react to Heavy Bombs on the main platform,
- don't get hit by Cannon Shots and know how to handle Heavy Bombs in targeted areas,
- when tasked to take care of Cannons usually make it safely to the Cannon and back, e.g. don't get killed by the Firestorm (flamewall) while waiting at the launch pad or returning from the Cannon; you know which Cannon is up without this being called,
- when tasked to take care of Cannons know when to leave for the Cannon to minimize the risk of drawing the Flak Shot onto the launch pad,
- notice that you have a Sapper Bomb and always throw it safely to the correct launch pad without it being called,
- do not get hit by Kernan's Hail of Bullets (shotgun attack) or Karde's Flame Blast (flamethrower attack).
Slothasor
You are
-
Semi-Experienced, if you
- notice when you are fixated and move Slothasor approximately to the correct position,
- usually don't get downed by Slothasor's Halitosis (flame breath attack),
- don't spread the Tantrum AoEs too far and usually don't get hit by them,
- notice when you are marked by Volatile Poison and know reasonably well where to safely place it,
- rarely fail to dodge the Spore Release (Shaky Shake) if it is called out,
- when tasked with eating an Imbued Mushroom notice that yours has spawned without being told and know the basic eating pattern for your favorite mushroom,
- have a general idea of whether or not a teammate is currently transformed into a Slubling and which skills are safe to use.
-
Experienced, if you
- immediately notice when you are fixated and know how to properly position Slothasor at the correct spot,
- don't get hit by Slothasor's Halitosis (flame breath attack),
- keep the Tantrum AoEs stacked and aren't hit by them,
- immediately notice when you are marked by Volatile Poison and don't place it in bad spots,
- rarely fail to dodge the Spore Release (Shaky Shake), even if it isn't called out,
- when tasked with eating an Imbued Mushroom notice that yours has spawned without being told and know the basic eating pattern for all four mushrooms,
- are able to adjust your eating pattern depending on the situation, e.g. the positioning of Volatile Poison, and do so without being told,
- know where the transformed Slubling is at all times and whether it is safe to use certain skills.
Matthias Gabrel
You are
-
Semi-Experienced, if you
- have a basic understanding of the different weather conditions and know how to adjust your behavior accordingly,
- understand that you shouldn't use reflects or skills that destroy or alter projectiles at any time during the fight, unless tasked with it,
- never mistake Unstable Blood Magic (poison) for Corruption and don't remain in the group with either,
- cleanse yourself of Corruption in the correct fountain without it being called and without having to search for it for too long,
- don't drop the Well of the Profane (poison) in bad spots and especially not in the fountains,
- don't go down to the Shards of Rage (the blood shard nova),
- rarely get downed by the Oppressive Gaze attack (Hadouken), provided the targeted player faces Matthias away from the main group,
- notice when you are not targeted by Zealous Benediction (timed AoEs), if targeted are most of the time able to avoid downing teammates when it hits,
- are usually able to avoid Ghosts with some forewarning,
- don't accidentally kill the Blood Sacrifice and know when to save weapon swaps or crowd control skills to have them available when needed to break the defiance bar of the sacrifice.
-
Experienced, if you
- know well how to adjust your behavior to the weather,
- know when to safely use reflects or skills that destroy or alter projectiles without interfering with Matthias' Blood Shard attack (the attack that removes the Blood Shield, a.k.a. the bubble, when reflected back at him),
- immediately notice when you are corrupted and cleanse yourself in the correct fountain without it being called,
- immediately notice when you are under the effect of Unstable Blood Magic (poison) and drop the Well of the Profane out of harm's way,
- don't go down to the Shards of Rage (the blood shard nova),
- almost never get hit by the Oppressive Gaze attack (Hadouken), independently of the direction Matthias is facing at the time of the attack,
- never hit teammates with Zealous Benediction (times AoEs),
- can always avoid Ghosts,
- don't accidentally kill the Blood Sacrifice and know when to save weapon swaps or crowd control skills to have them available when needed to break the defiance bar of the sacrifice,
-
are frequently still alive at the end of the encounter while not being the "main reflect" or a healer
Keep Construct
You are
-
Semi-Experienced, if you
- know when you are fixated by a Projection, are able to position it close enough to Keep Construct to remove a stack of Xera's Embrace upon it's death and mostly manage to prevent merging of Projections,
- don't move away from Keep Construct when you are fixated during Xera's Fury (large timed circles),
- usually don't get hit by the Tower Drop attack (the attack where Keep Construct drops from the ceiling),
- are able to determine which green circle needs an additional player and move there without being told,
- know immediately where the correct green circle is located when asked to move there while being fixated by a Projection,
- don't accidentally interfere with the Construct Core (orb),
- don't go down during the Coloured Orbs Phase,
- know not to stand too close to Keep Construct during its Phantasmal Blades attack (the pizza slice attack) and even without a reminder usually don't go down to it,
- don't panic, don't scatter and do what you are supposed to when told to stay and DPS/CC during Xera's Fury (large timed circles).
-
Experienced, if you
- know when you are fixated by a Projection, are able to position it close enough to Keep Construct to remove a stack of Xera's Embrace upon it's death and mostly manage to prevent merging of Projections,
- don't move away from Keep Construct when you are fixated during Xera's Fury (large timed circles),
- never get hit by the Tower Drop attack (the attack where Keep Construct drops from the ceiling),
- are able to determine which green circle needs an additional player and move there without being told,
- when fixated know where your Projection came from and can move to the correct green circle without being told or needing a marker,
- don't accidentally interfere with the Construct Core (orb),
- don't go down during the Coloured Orbs Phase,
- know where the safe-spot is after the Coloured Orbs Phase without needing a marker,
- know when to expect the Phantasmal Blades attack (the pizza slice attack) and usually avoid being downed by it,
- know when to move out or when to stay and DPS/CC during Xera's Fury (large timed circles) without being told,
- are able to mostly avoid being hit and stunned by Hail of Fury (falling debris),
- know what to do during and when to start "precasting".
Xera
You are
-
Semi-Experienced, if you
- rarely fail the gliding,
- are able to sort out which team member pushes which Exquisite Conjunction (orb) into which Unstable Rift on the first platform within a few attempts and afterwards don't fail it anymore,
- know when to move off the pressure-plates/buttons and don't go down when in the middle on the second platform or the floating tower players are teleported to at 20% of Xera's health,
- know most mechanics that apply Derangement and are mostly able to avoid them; you usually don't have more than a silver shard marker above your character after the second platform phase at 50% of Xera's health (very rarely gold, never red),
- are able to avoid most orbs shot from the Laser at the center of the main platform,
- reliably destroy Bloodstone Fragments at the edge of the main platform when told where to clear,
- notice when you have Intervention available (the protective bubble) during Xera's deadliest attack and can place it correctly when and where you are told to.
-
Experienced, if you
- don't fail the gliding,
- are able to quickly adjust to your teammates to not interfere with Exquisite Conjunctions (orbs) handled by other team members on the first platform (in experienced groups this should work out on the first attempt),
- know when to move off the pressure-plates/buttons and don't go down when in the middle on the second platform or the floating tower players are teleported to at 20% of Xera's health,
- know how to avoid getting higher stacks of Derangement; you usually do not have a shard marker above your character after the second platform phase at 50% of Xera's health,
- are able to avoid almost all orbs shot from the Laser at the center of the main platform, even on a melee character,
- reliably destroy Bloodstone Fragments at the edge of the main platform and know when and where to clear without being told,
- know when and where to place Intervention (the protective bubble) during Xera's deadliest attack without being told.
I hope this helped clarify things a bit
Let me know if there is anything else that needs to be explained, or post a question in our Question & Answer section here: Raid Q&A.
-
 1
1
-
-
-
-
-
Hey everyone,
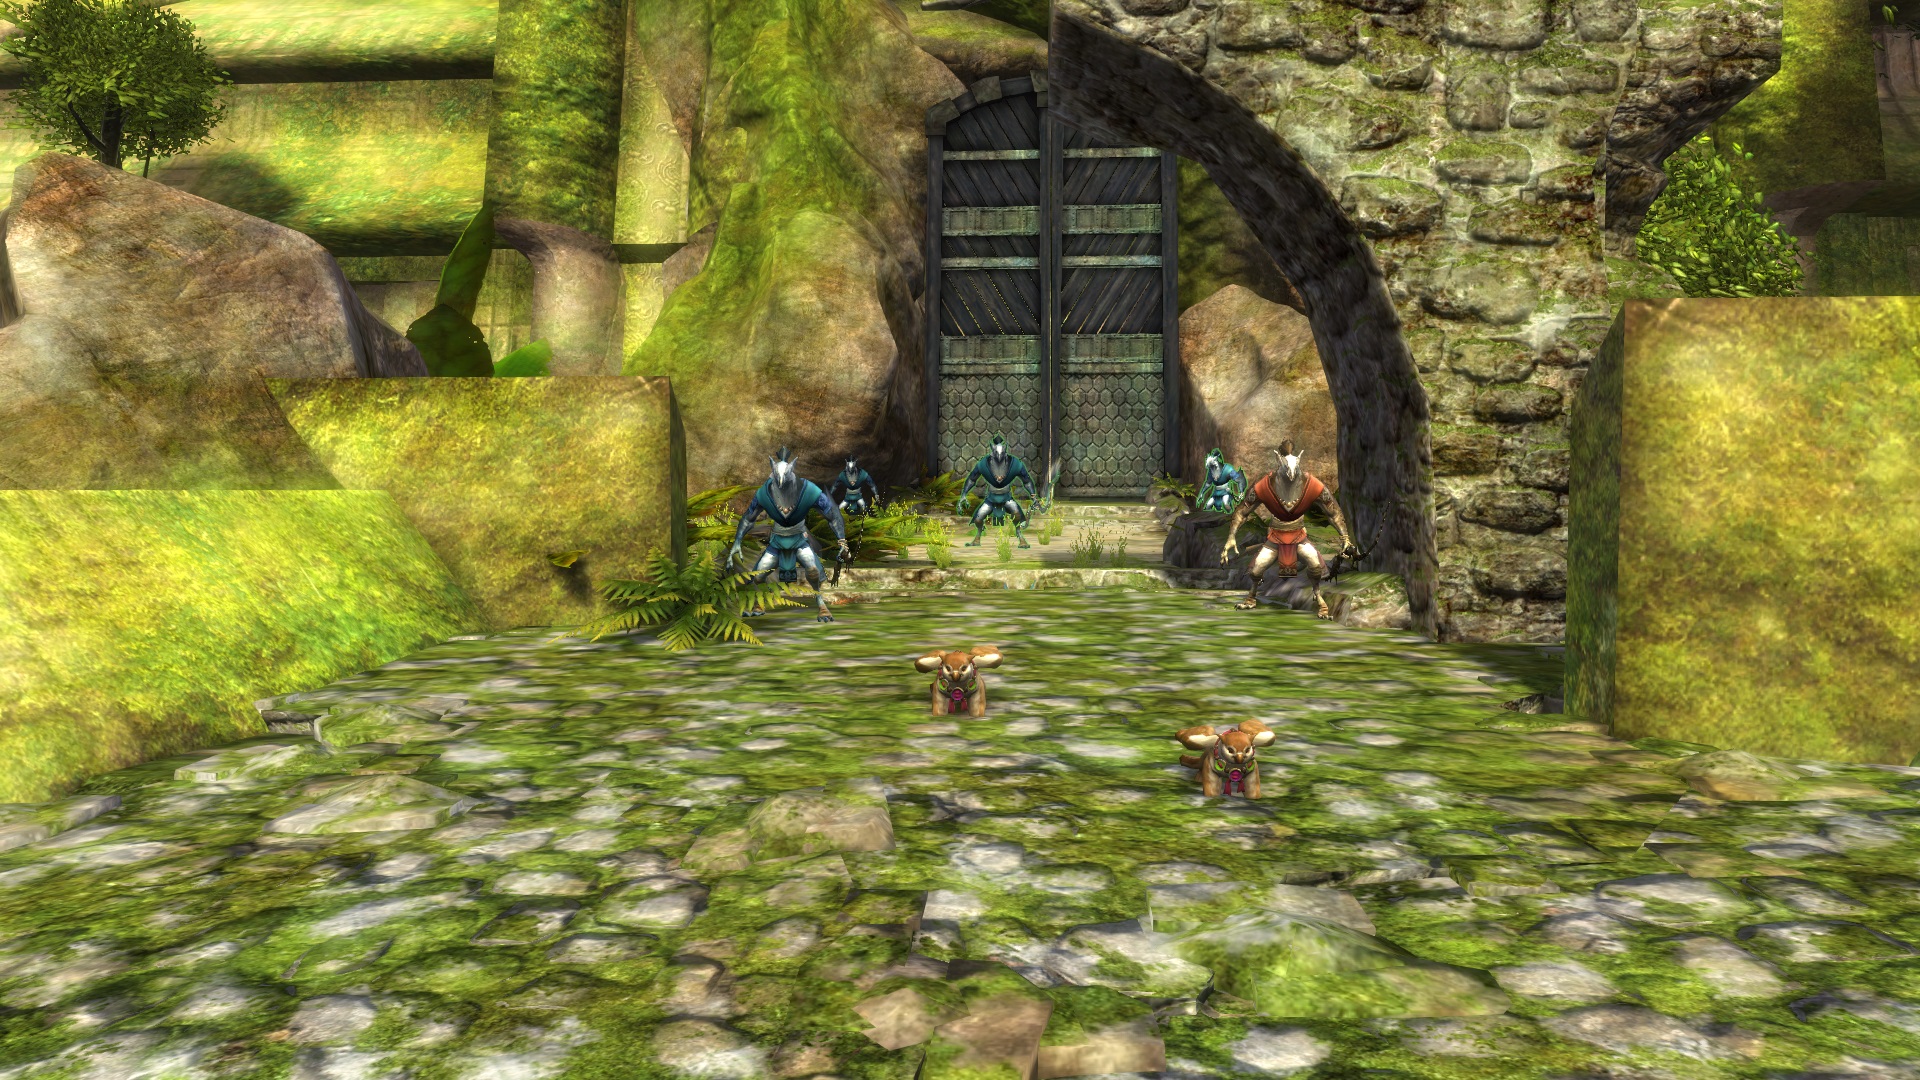
we have a winner for Wednesday's challenge!
Congratulations to @Tawni and the amazing summersaulting slubling
-
Hey everyone,
it is my pleasure to announce the winner of Monday's challenge!
Congratulations to @Tawni for this near perfect reenactment!
-
Hey everyone!
During the Community Week we will post one screenshot every day from Monday to Friday! Once it is posted, you have 48 hours time to find the location and recreate not only the screenshot, but also whatever the person in it is doing! Best / most creative approximation wins!
Here are the rules:
- The locations are accessible without Heart of Thorns (no gliding, Central Tyria only)!
- The locations are accessible by running or jumping (no leaps or other tricks required)!
- Character race / class matching is not a requirement, a 100% match can score you points, but original solutions will also be rewarded!
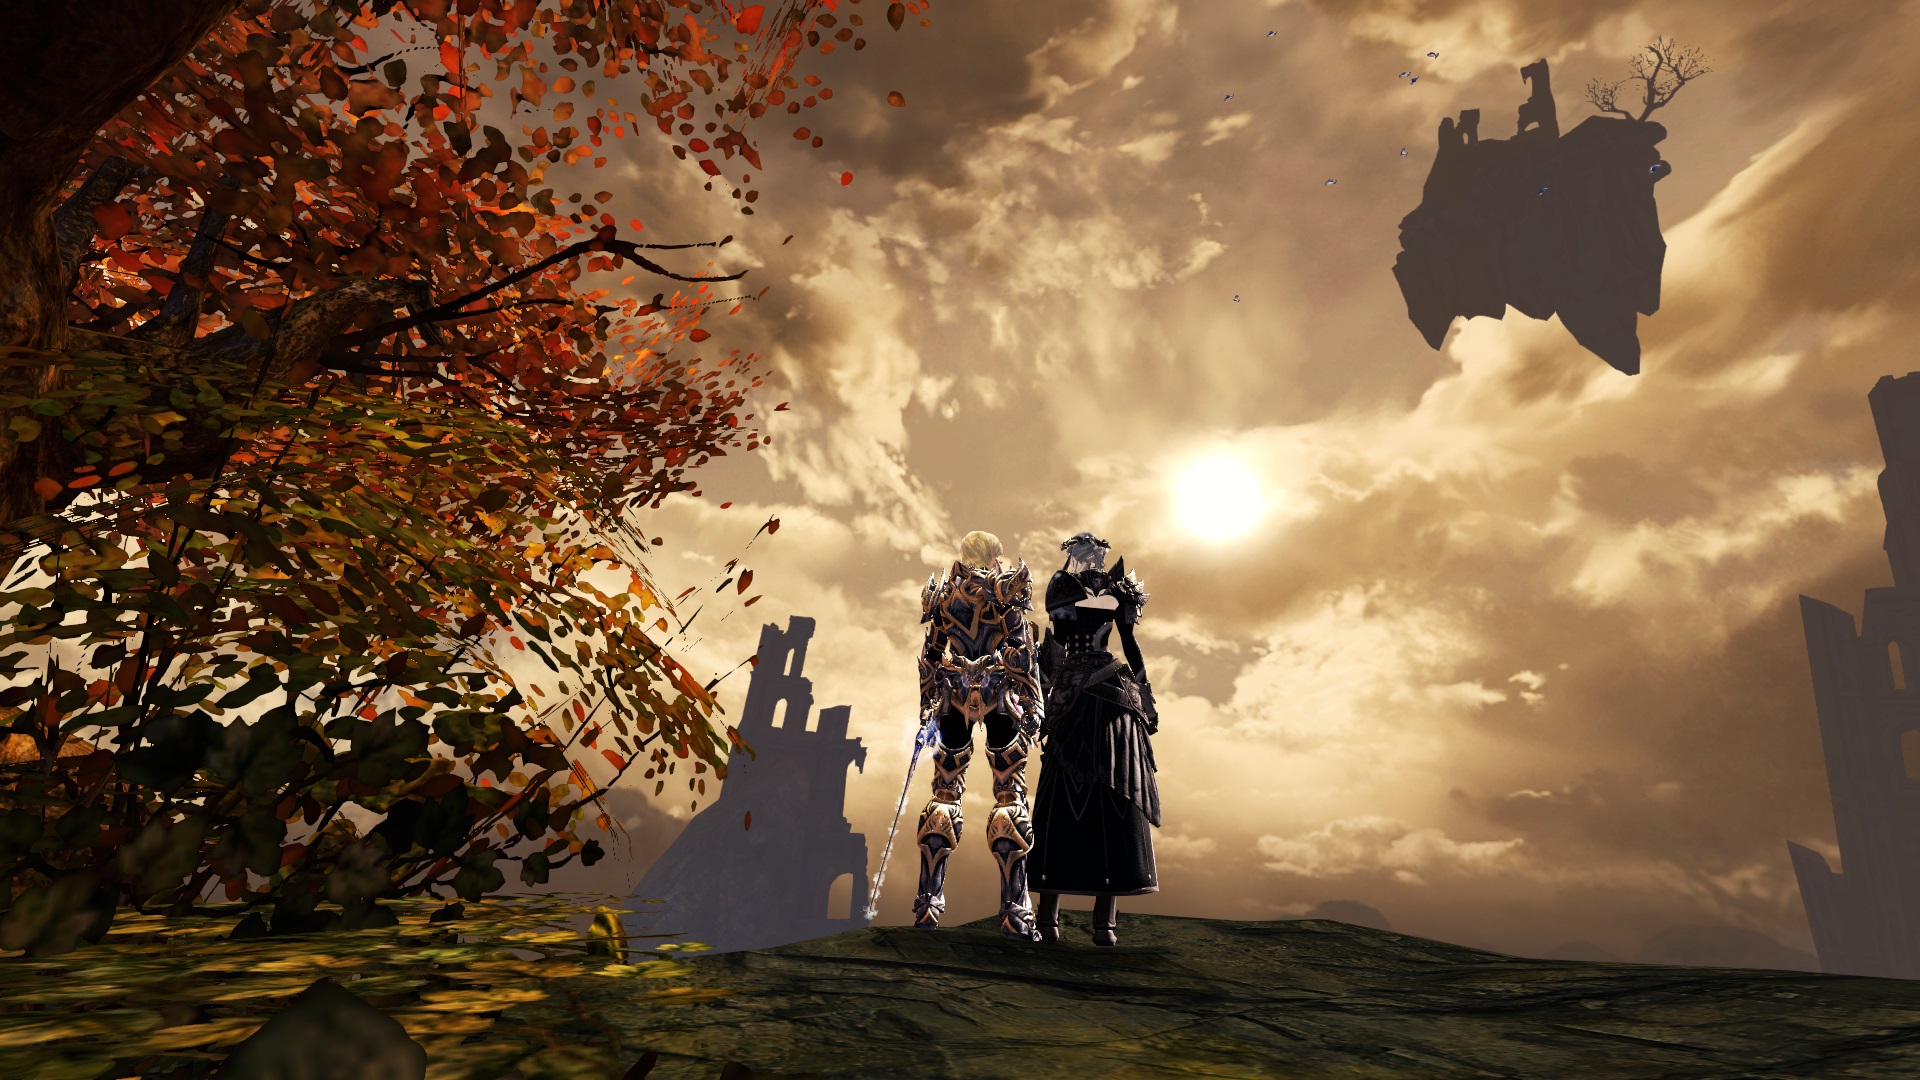
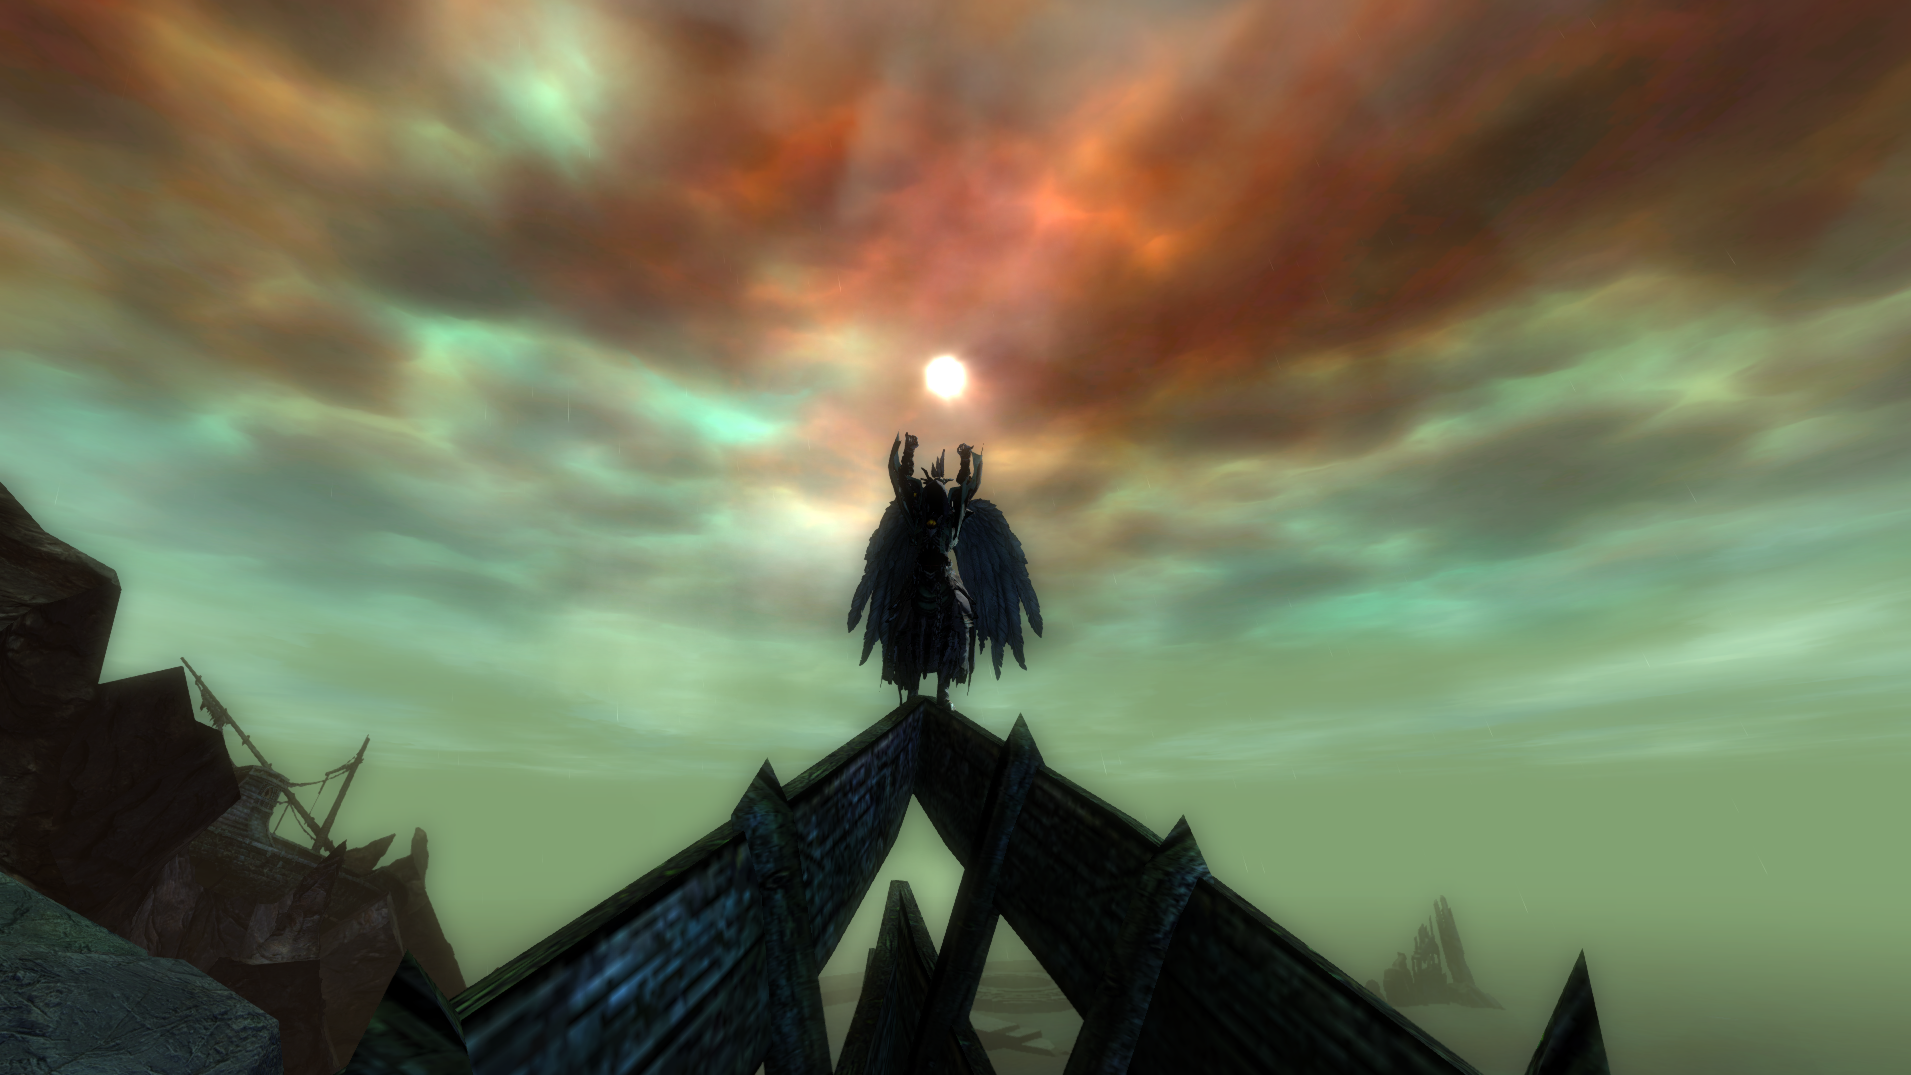
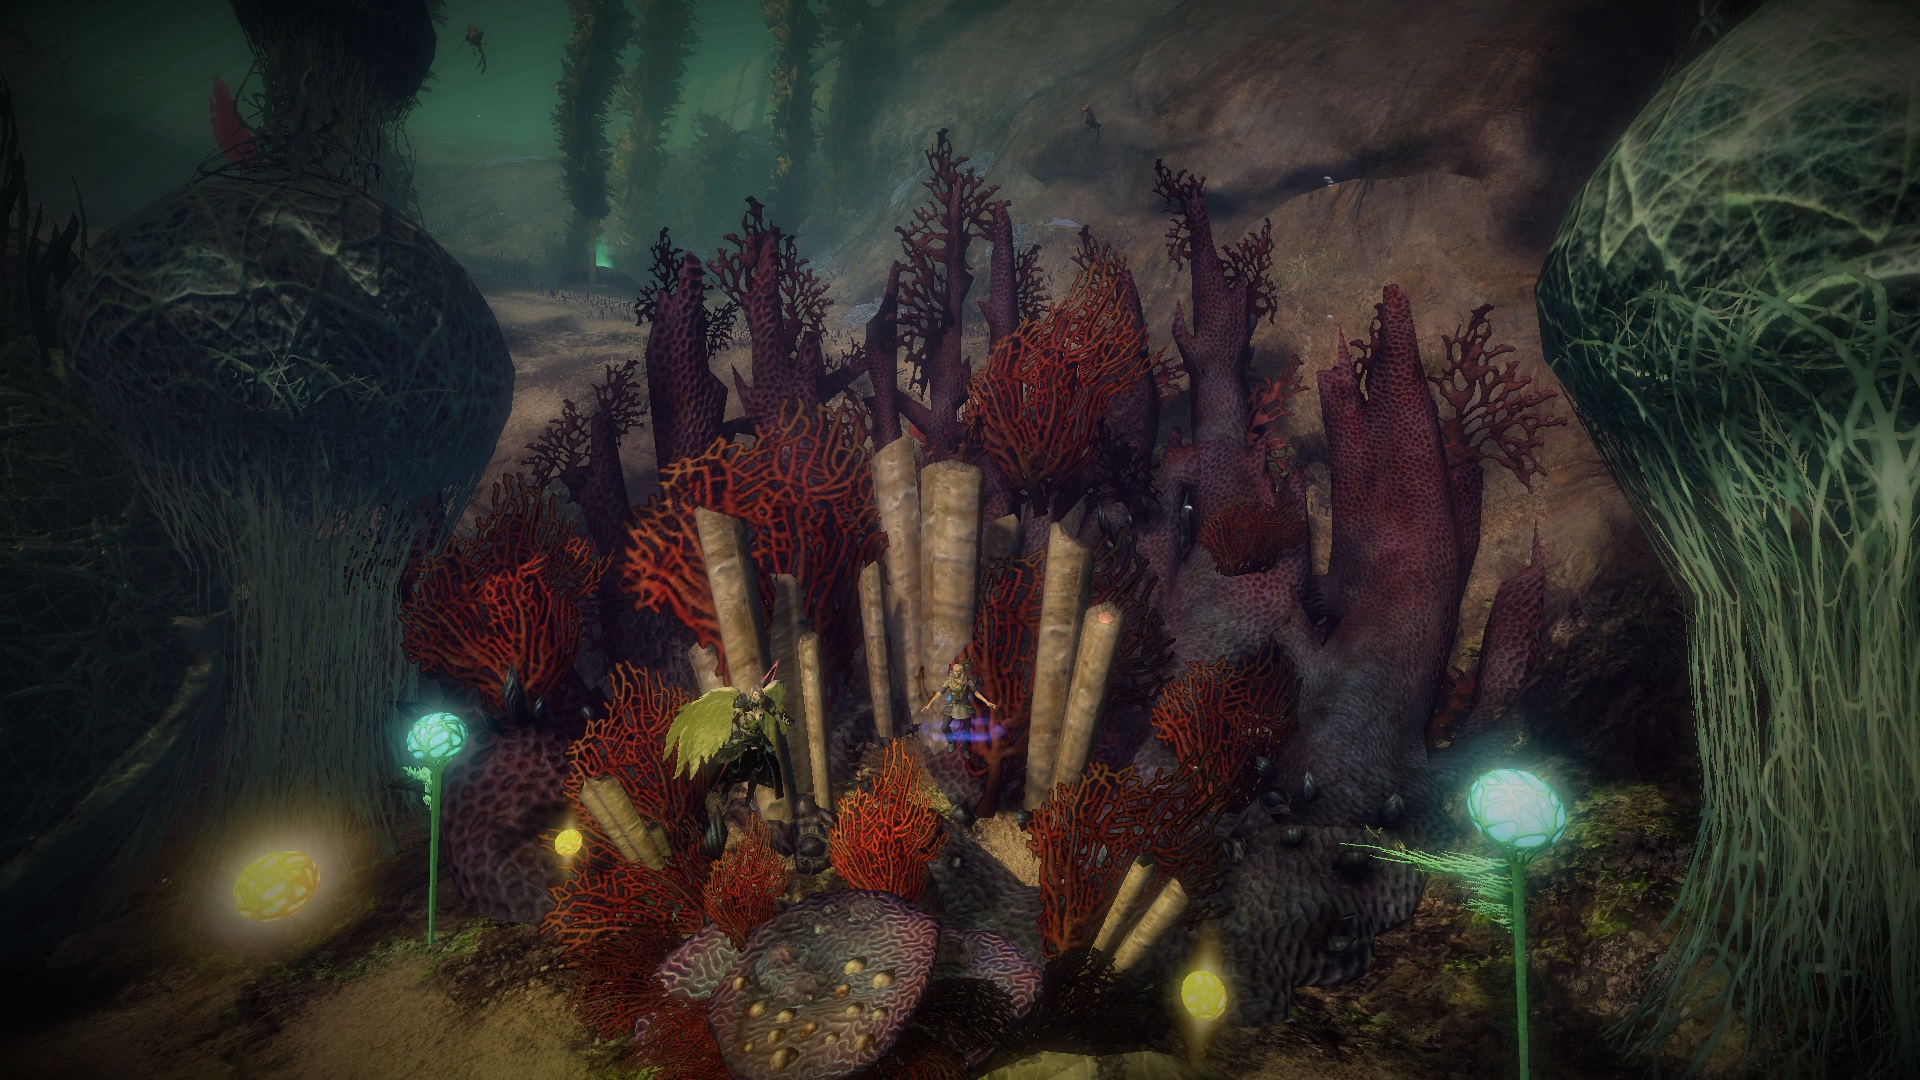
And here is our final screenshot for Friday, May 12 2017:
"Time to catch the Sun"
This thread will lock itself on Sunday, May 14 2017, 18:00 CEST. Be sure to post your reenacted screenshots before that time!
Have fun!
-
Hey everyone!
During the Community Week we will post one screenshot every day from Monday to Friday! Once it is posted, you have 48 hours time to find the location and recreate not only the screenshot, but also whatever the person in it is doing! Best / most creative approximation wins!
Here are the rules:
- The locations are accessible without Heart of Thorns (no gliding, Central Tyria only)!
- The locations are accessible by running or jumping (no leaps or other tricks required)!
- Character race / class matching is not a requirement, a 100% match can score you points, but original solutions will also be rewarded!
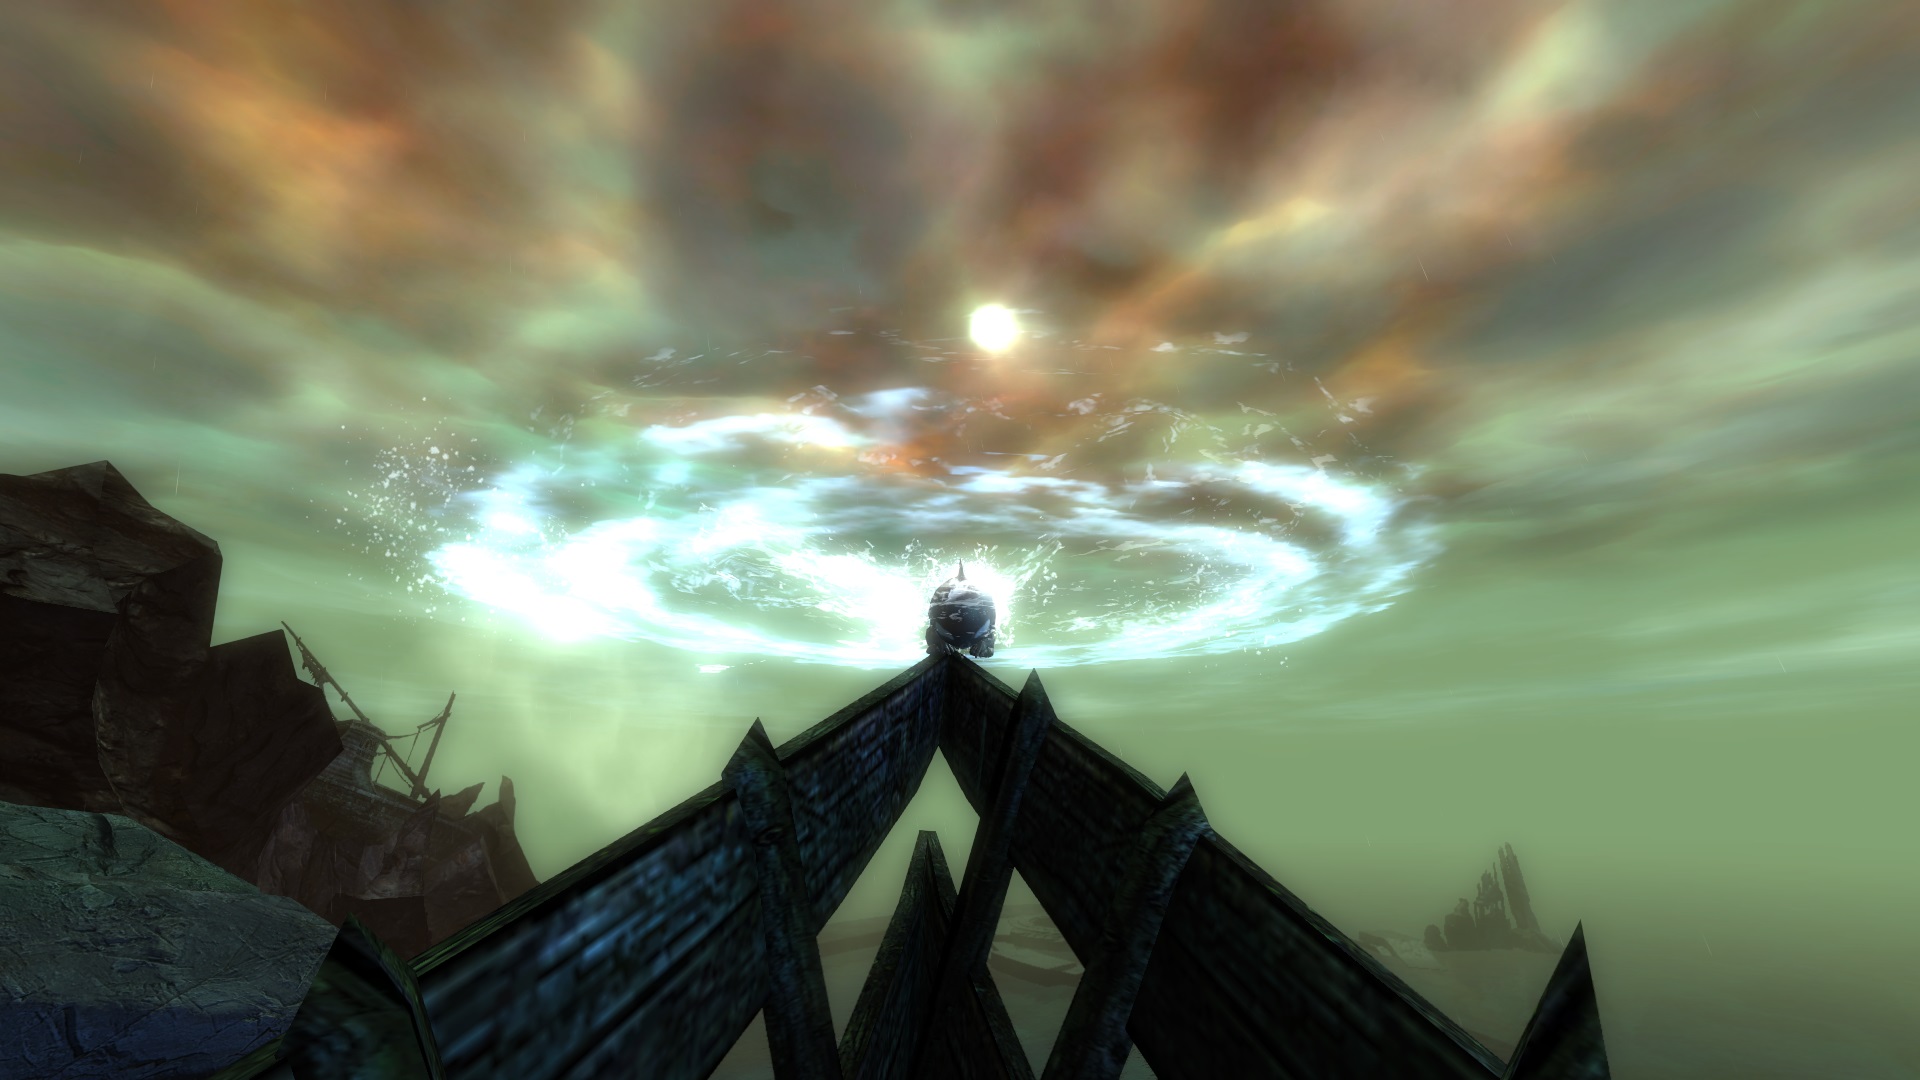
And here is our fourth screenshot for Thursday, May 11 2017:
This thread will lock itself on Saturday, May 13 2017, 18:00 CEST. Be sure to post your reenacted screenshots before that time!
Have fun!
-
Hey everyone!
During the Community Week we will post one screenshot every day from Monday to Friday! Once it is posted, you have 48 hours time to find the location and recreate not only the screenshot, but also whatever the person in it is doing! Best / most creative approximation wins!
Here are the rules:
- The locations are accessible without Heart of Thorns (no gliding, Central Tyria only)!
- The locations are accessible by running or jumping (no leaps or other tricks required)!
- Character race / class matching is not a requirement, a 100% match can score you points, but original solutions will also be rewarded!
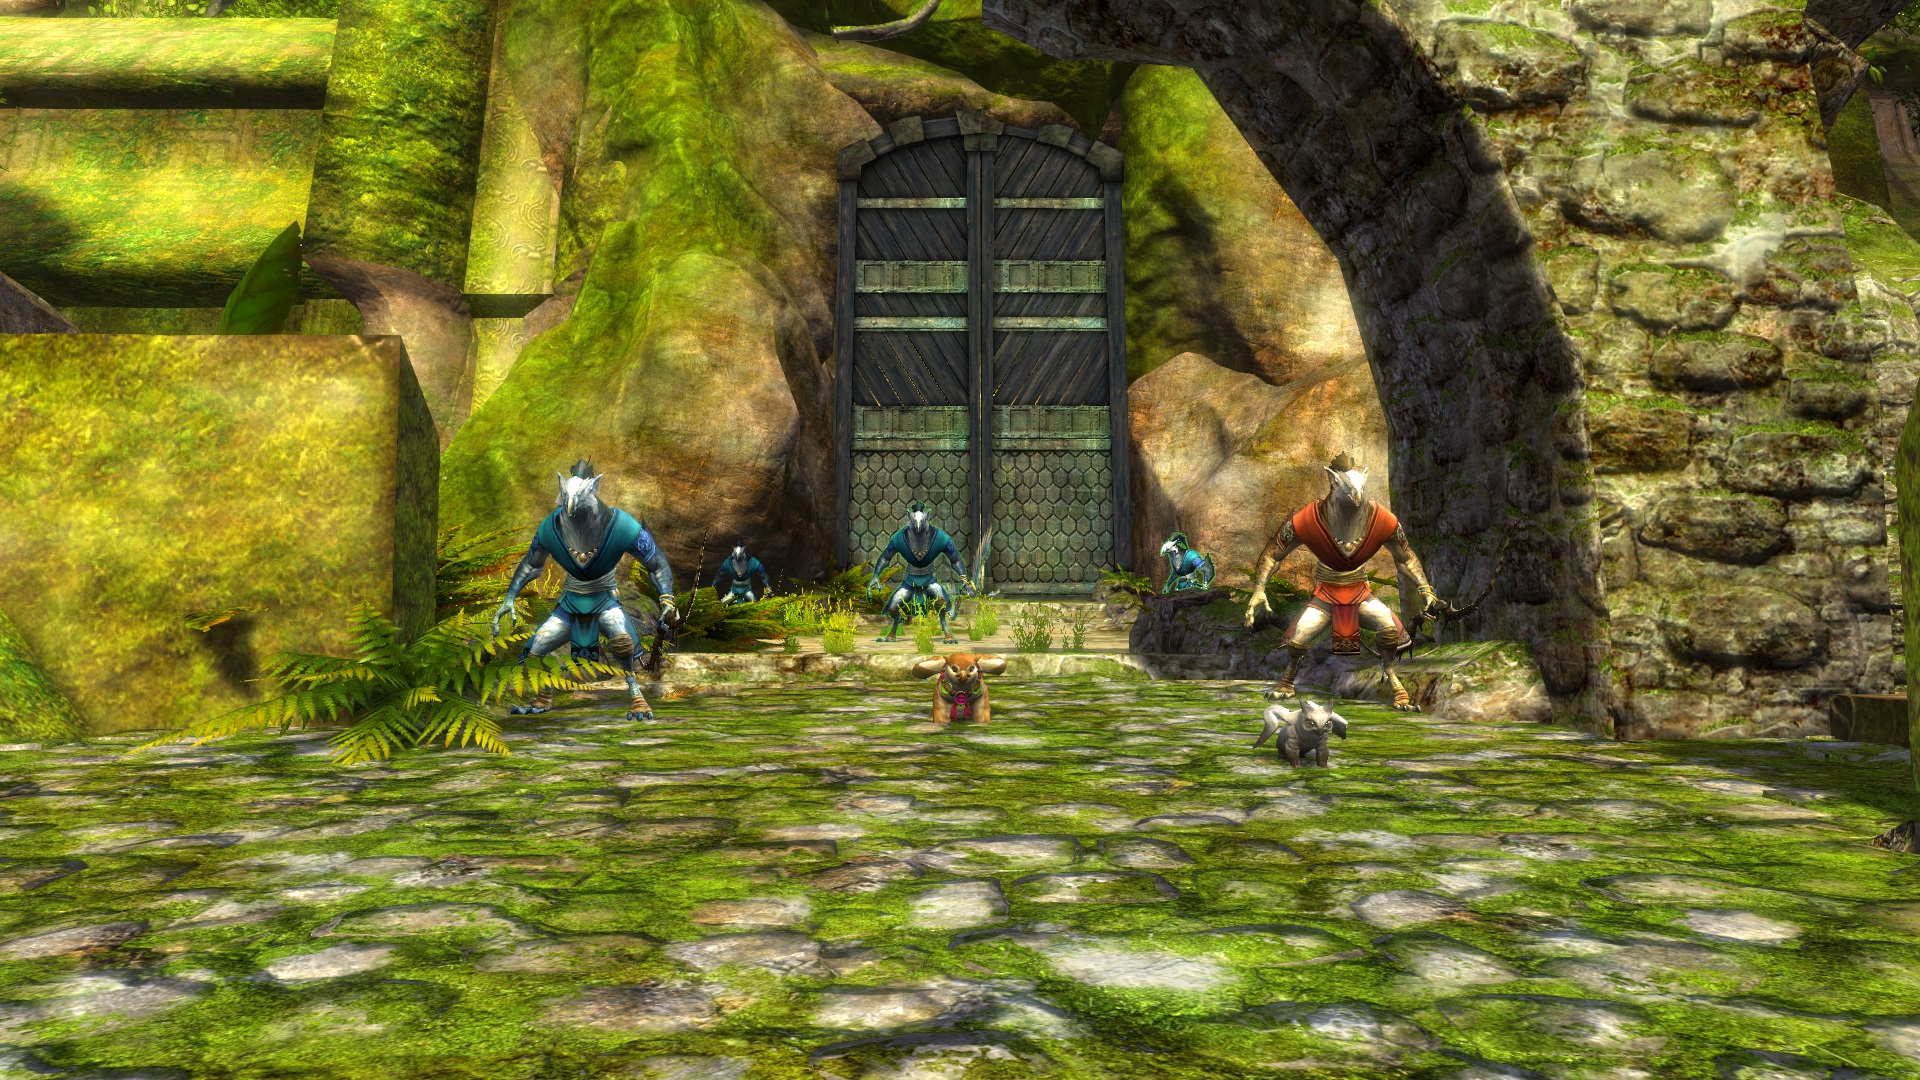
And here is our third screenshot for Wednesday, May 10 2017:
This thread will lock itself on Friday, May 12 2017, 18:00 CEST. Be sure to post your reenacted screenshots before that time!
Have fun!
-
Hey everyone!
During the Community Week we will post one screenshot every day from Monday to Friday! Once it is posted, you have 48 hours time to find the location and recreate not only the screenshot, but also whatever the person in it is doing! Best / most creative approximation wins!
Here are the rules:
- The locations are accessible without Heart of Thorns (no gliding, Central Tyria only)!
- The locations are accessible by running or jumping (no leaps or other tricks required)!
- Character race / class matching is not a requirement, a 100% match can score you points, but original solutions will also be rewarded!
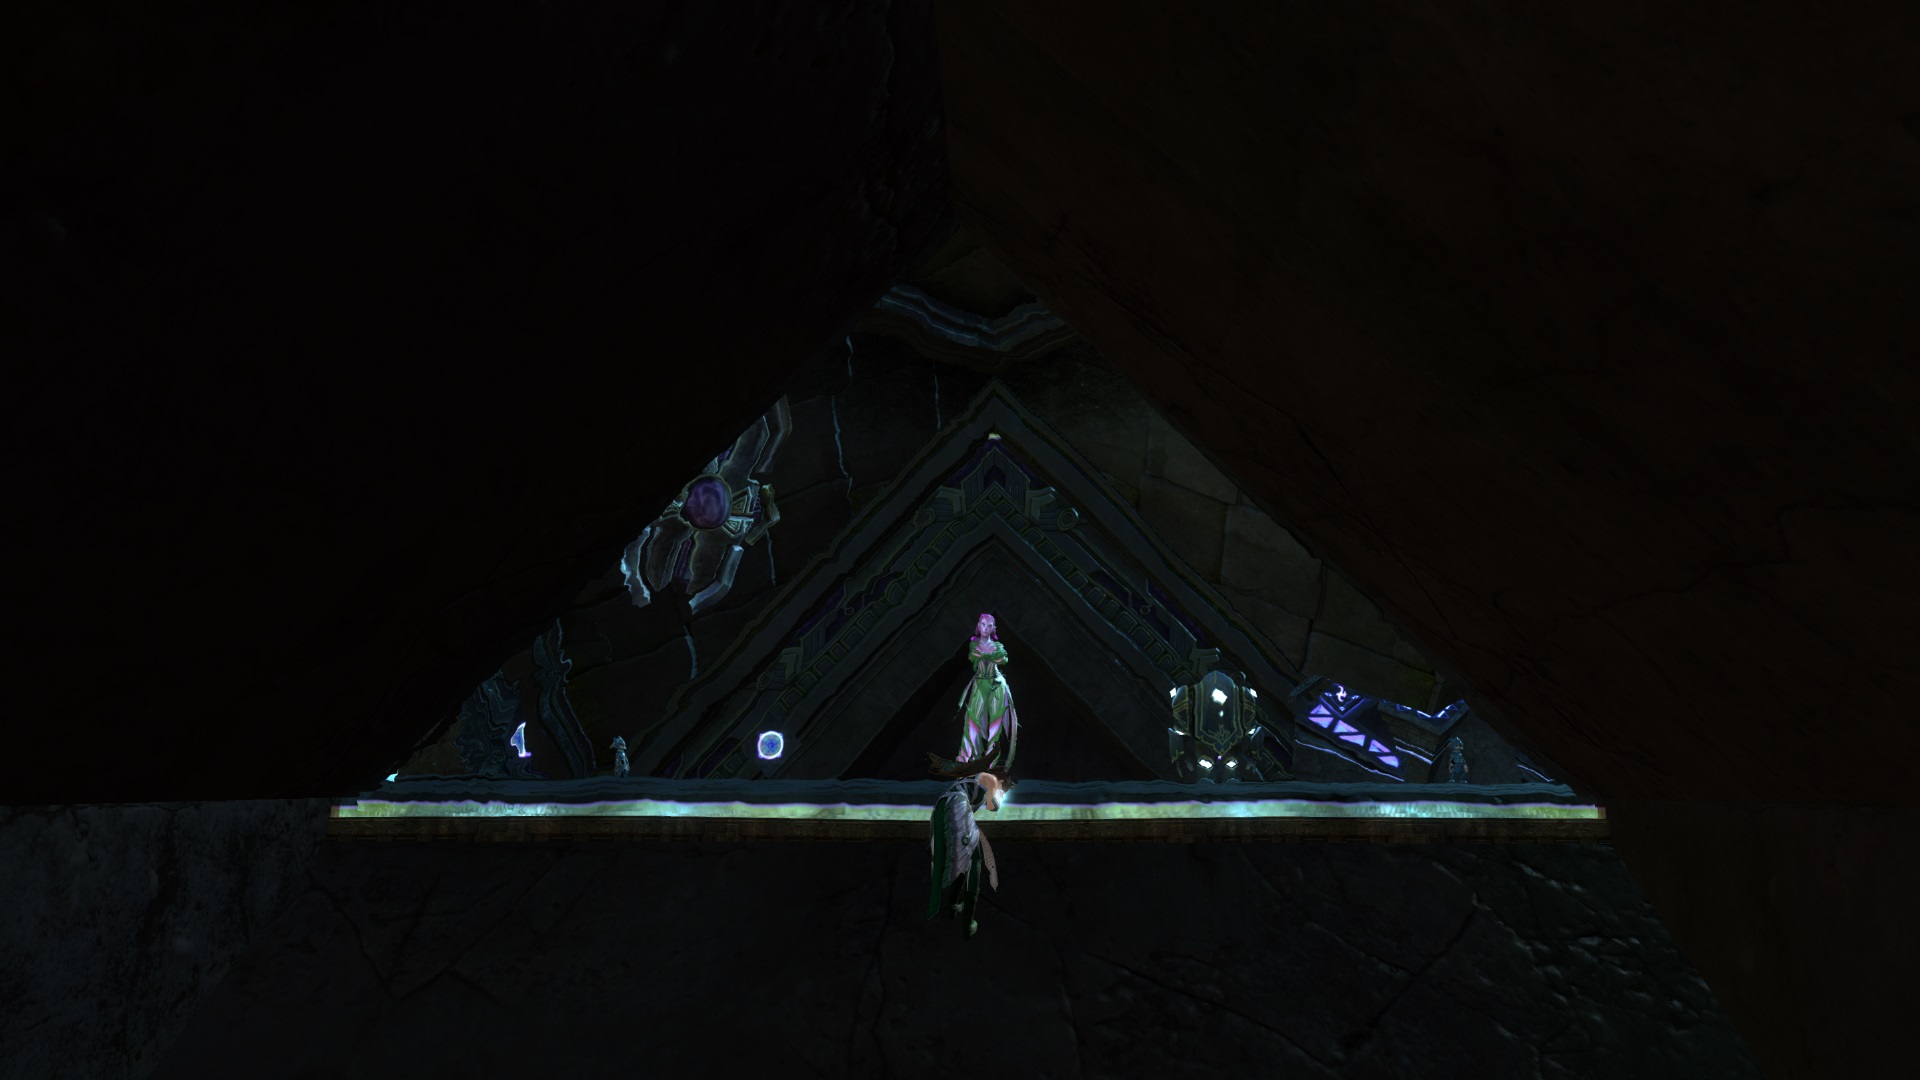
And here is our second screenshot for Tuesday, May 9 2017:
This thread will lock itself on Thursday, May 11 2017, 18:00 CEST. Be sure to post your reenacted screenshots before that time!
Have fun!
-
Hey everyone!
During the Community Week we will post one screenshot every day from Monday to Friday! Once it is posted, you have 48 hours time to find the location and recreate not only the screenshot, but also whatever the person in it is doing! Best / most creative approximation wins!
Here are the rules:
- The locations are accessible without Heart of Thorns (no gliding, Central Tyria only)!
- The locations are accessible by running or jumping (no leaps or other tricks required)
- Character race / class matching is not a requirement, a 100% match can score you points, but original solutions will also be rewarded!
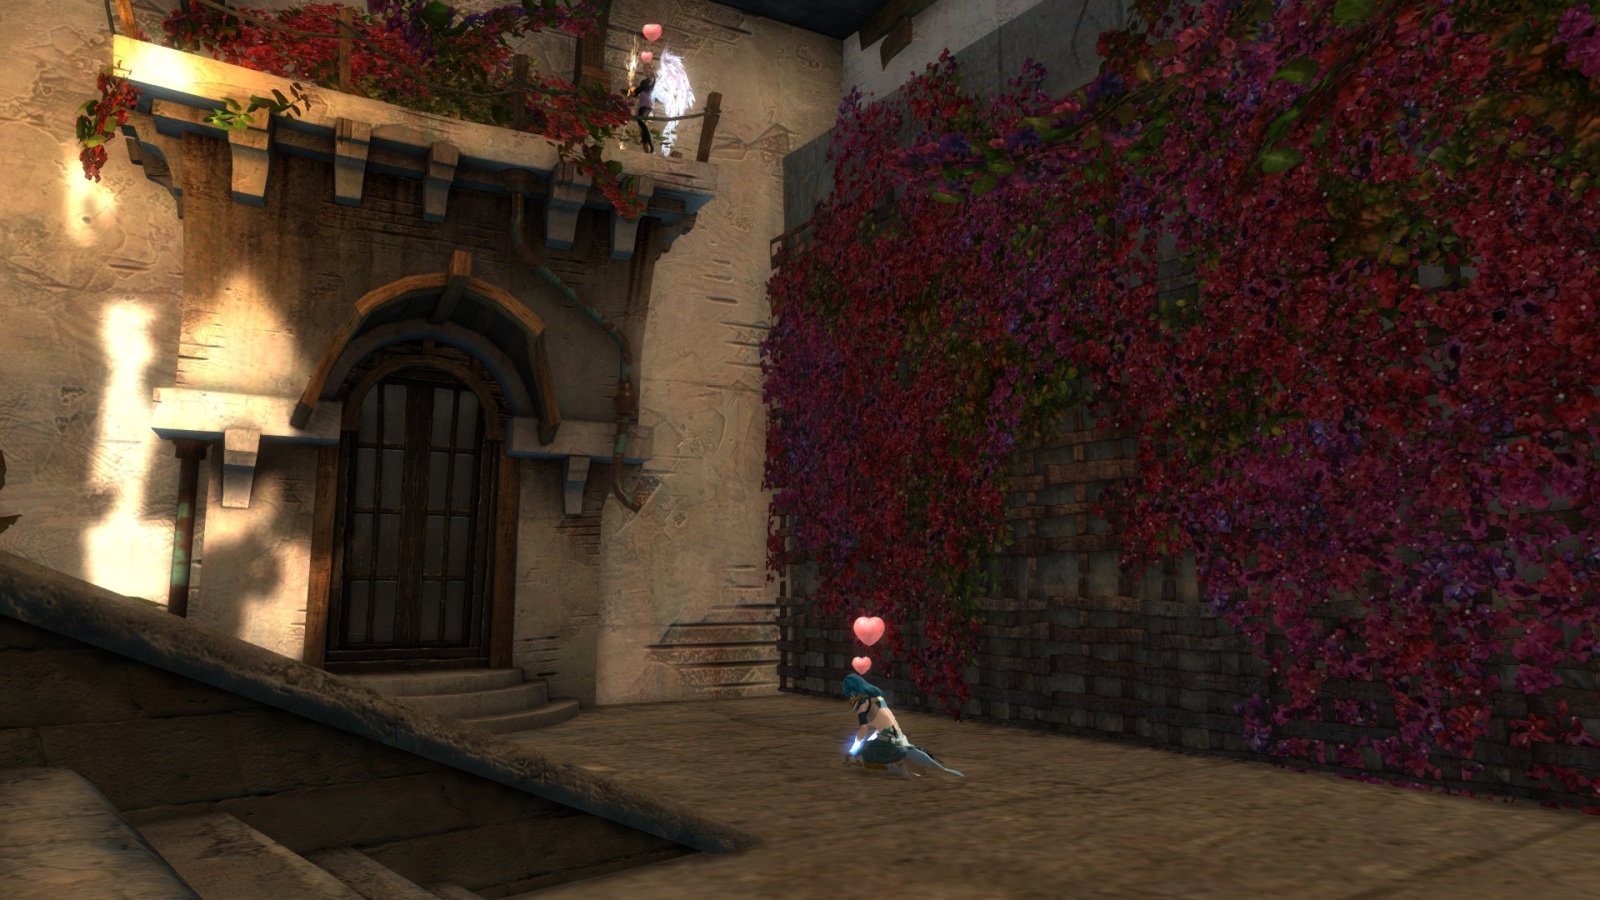
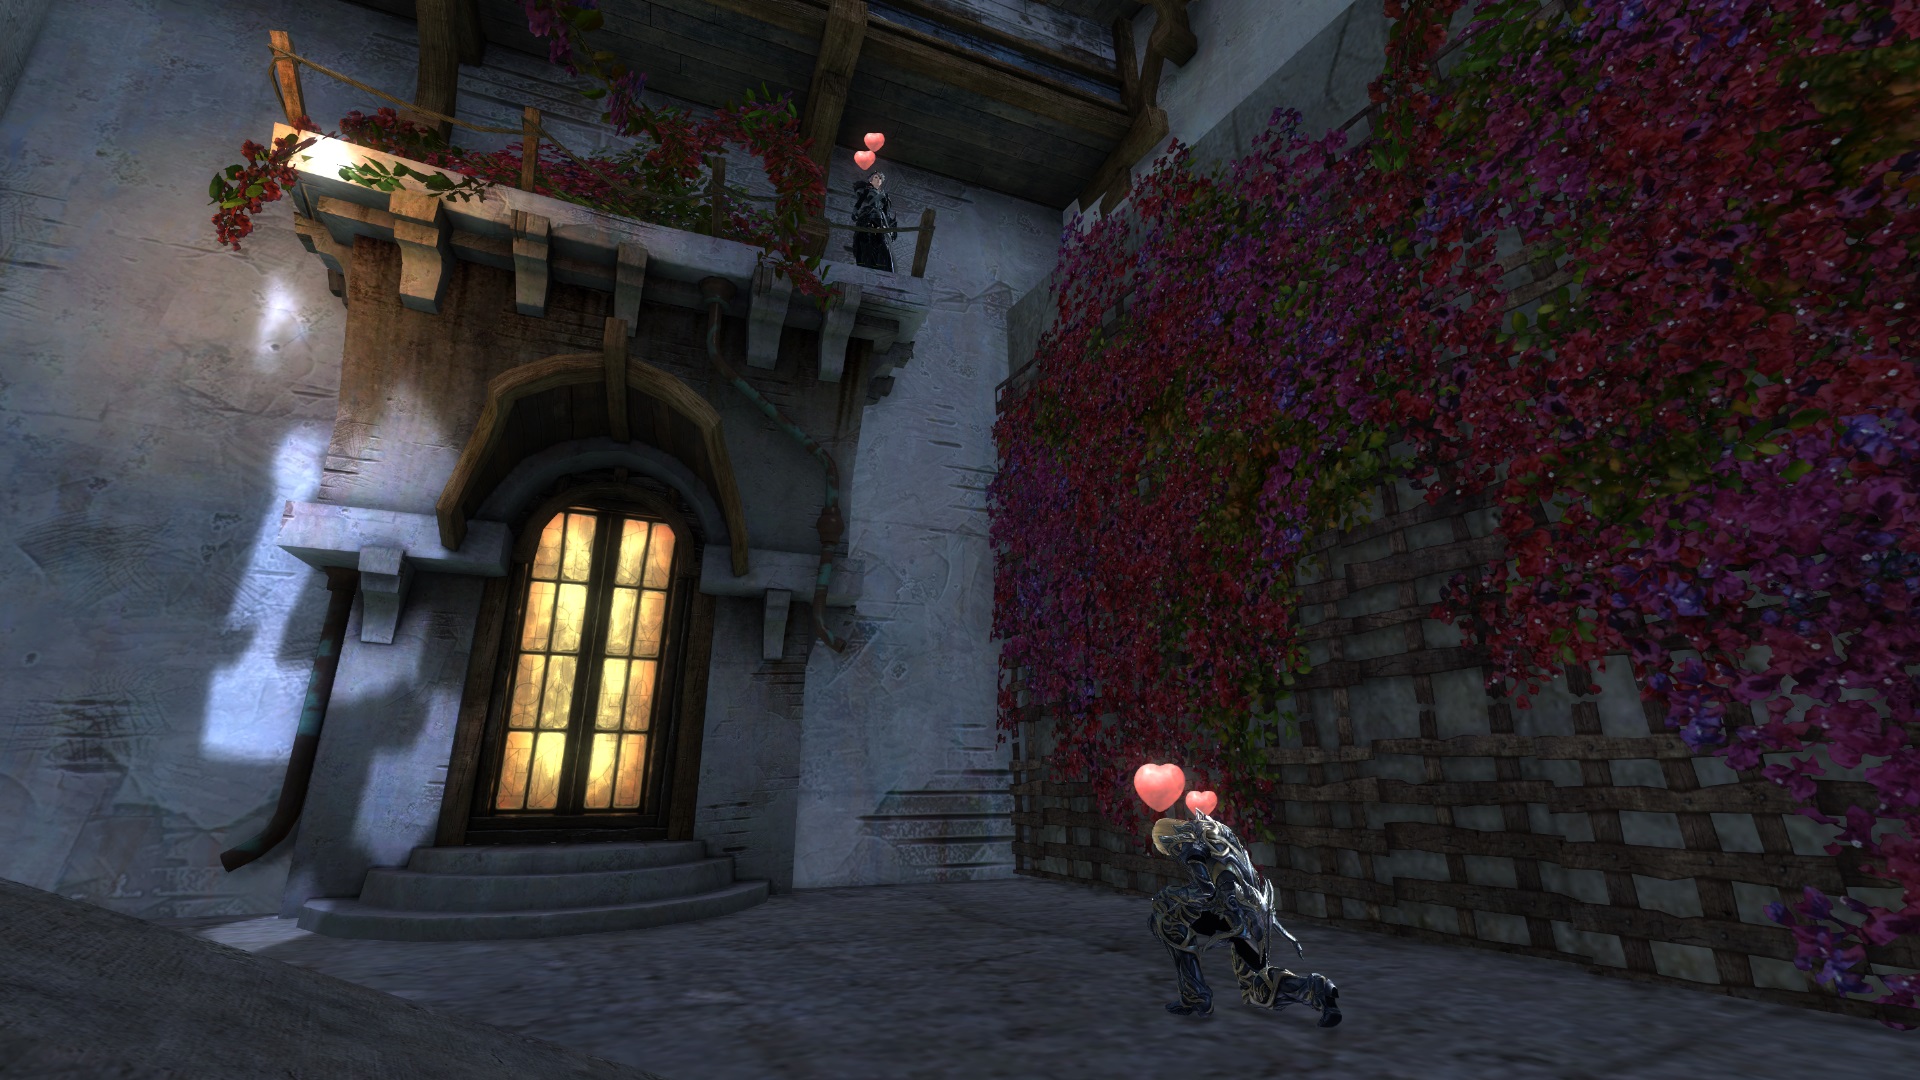
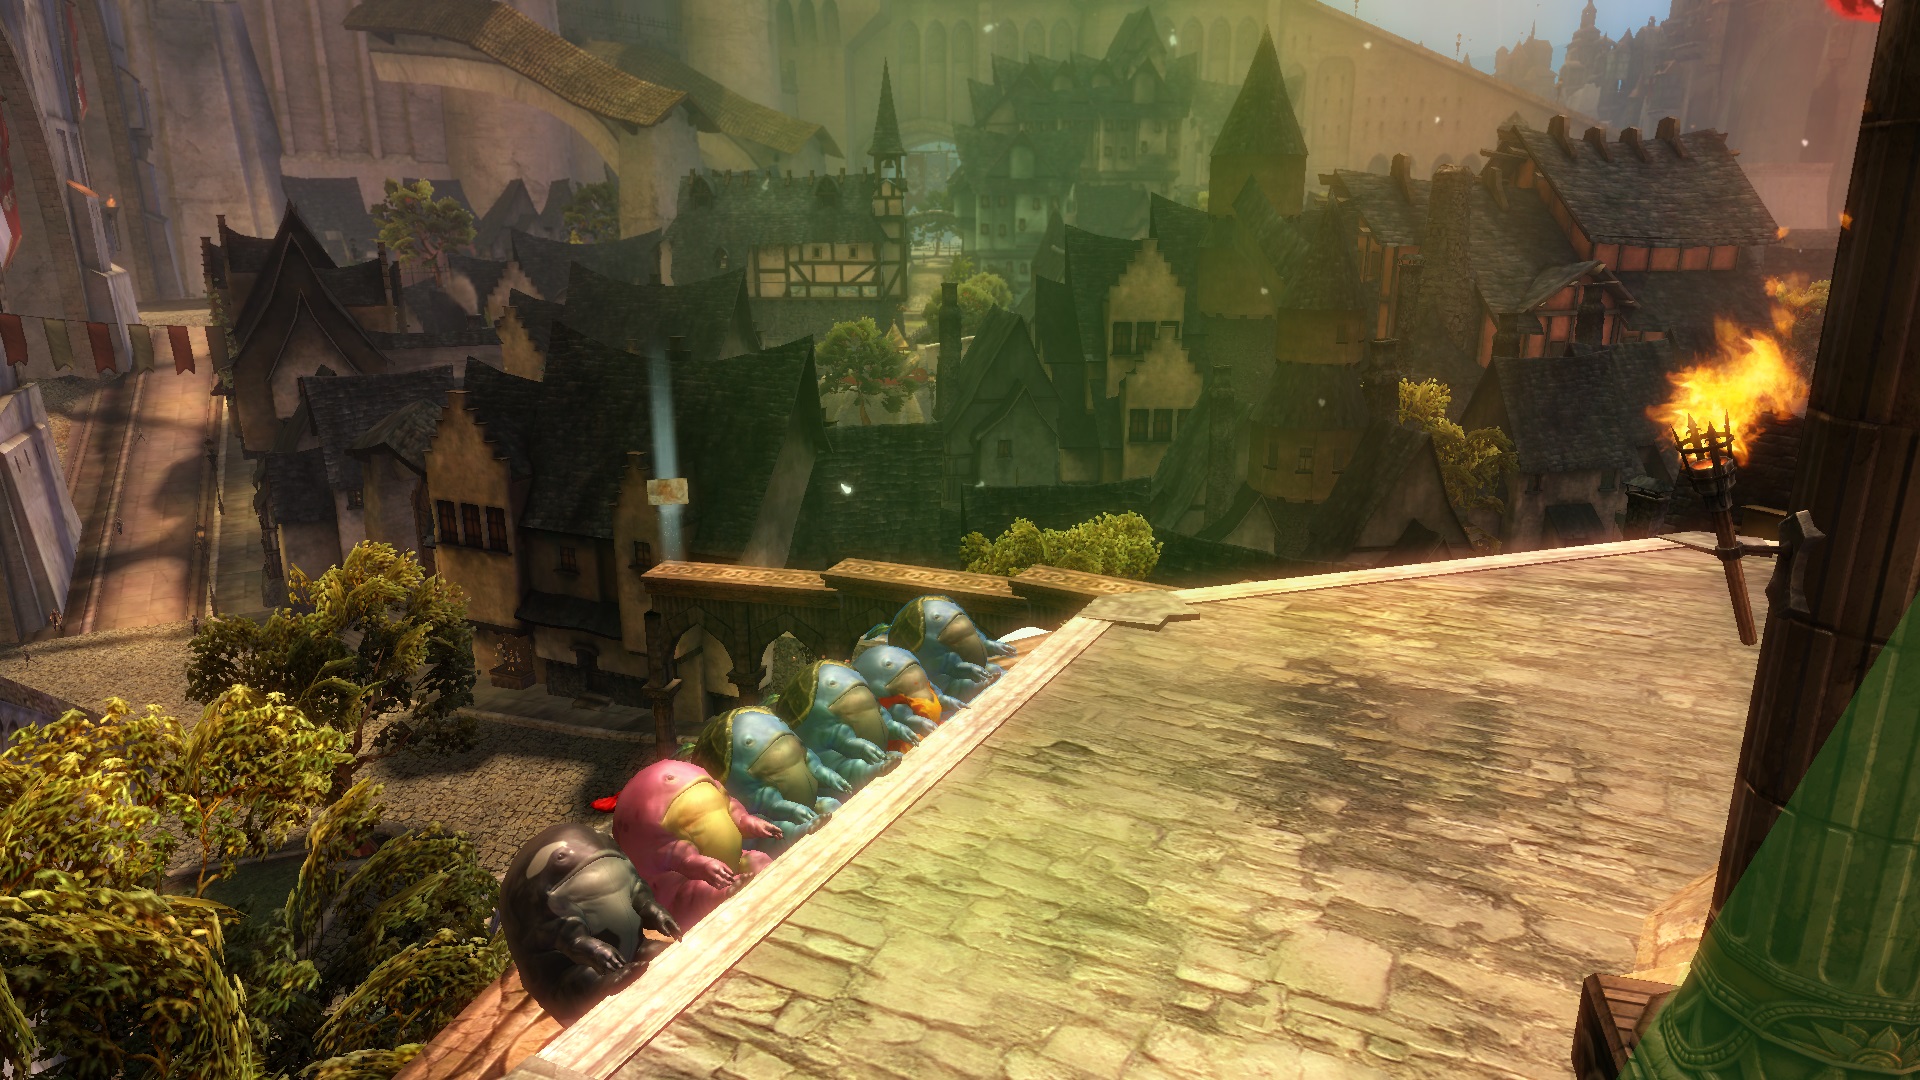
And here is our first screenshot for Monday, May 8 2017:
"Day 100: Still didn't notice the intruder!"
This thread will lock itself on Wednesday, May 10 2017, 18:00 CEST. Be sure to post your reenacted screenshots before that time!
Have fun!
-
Raids require a lot of coordination and fast communication between team members. We use TeamSpeak to coordinate and you will be required to at least join and listen, even if you do not talk yourself. However, at some encounters there are special tasks and generally there are roles which you cannot fulfil, if you are not able to talk.
-
At the beginnig, you should be completely fine with full exotic gear with stats, runes and sigils that are appropriate for your class and it's role within the raid squad.
What stats, runes and sigils to use depends very much on your class, it's build and your personal playstyle, so I cannot give a general answer. But, the following should give you an idea of what most common class setups aim for (I hope). Those are just examples, so if you have something different: as long as your build works well with it, it's completely fine
Toughness Stats
Some bosses require a tank and aggro on the player with the highest toughness stat in the group. Most tanks will have at least 1,401 toughness, so as long as you are below that, you will be fine. You should pay close attention to any traits and skills that might increase your toughness (or that of others! pls don't use those
) and factor that into your stat choice. As an example, PS Warriors get 400 additional toughness while reviving through the Determined Revival trait in the Tactics specialization. So a Warrior should not have any toughness stats on their gear to make sure to always remain below the toughness of the tank (or make sure to never revive anyone ).
Healers
Most commonly, healers use a mix of Cleric's and Magi's stats. Cleric's trinkets are easier to obtain than Magi's, but they have toughness on them, so you should be careful with them.
For runes your best choice is probably Superior Runes of the Monk, which you can get for dungeon tokens from the Ascalonian Catacombs. It takes some farming, but the good thing about this is, that you can buy exotic Magi's armor for the tokens, which then already has the Monk Rune in it
Other than gear you buy for Karma, this gear is salvagable, so if you ever want to upgrade your gear, you can save the rune! If you don't want to farm the dungeon (or the pvp/wvw reward track), a cheap alternative is Superior Runes of Water.
Most healers use a Superior Sigil of Transference and a Superior Sigil of Water.
Condition DPS
Most condition DPS setups aim for something like 100% condition duration on the primary conditions they apply (with food!). For that, your gear should mainly have Viper's stats. Once you are at the desired condition duration, you usually fill the rest of your gear with Sinister stats.
For runes you really need to see what complements your build best, most common options are Superior Runes of the Berserker, or 4x Superior Rune of the Nightmare/2x Superior Rune of the Trapper. The Nightmare Runes you can obtain for dungeon tokens from Twilight Arbor. Some builds work well with Superior Runes of Thorns. You can get those for Airship Parts at the Itzel Vendor in Verdant Brink.
Options for sigils are most commonly Superior Sigil of Geomancy, Superior Sigil of Earth, Superior Sigil of Bursting, Superior Sigil of Malice, or Superior Sigil of Agony, depending on what fits best for your build and the rest of your gear.
Power DPS
Power DPS classes generally use Berserker's stats. Critical Chance is important for power builds, so if your Critical Chance is low (it should be around 64% without food, boons and effects, but with your own class specific modifiers), you can substitute some Berserker's stats with Assassin's stats or use a Superior Sigil of Accuracy (7% Critical Chance).
Most guides tell you to use Superior Runes of the Scholar, which give you a 10% damage increase when your health is above 90%. For beginners, I would recommend Superior Runes of the Flame Legion instead. They give you only a 7% damage increase against burning foes, but enemies in raids usually have burning stacks applied to them, so that bonus damage is pretty much certain. (Also, they are a lot cheaper
)
For Sigils, there is basically no way around the Superior Sigil of Force, even though it's rather expensive
. For the second sigil the Superior Sigil of Air or Superior Sigil of Accuracy are most common, depending on your build's Critical Chance.
Note: Other than condition dps or healer classes, power dps classes usually really feel an increase in their character's damage when upgrading gear from exotic to ascended. If you have the possibility or the resources to get an ascended weapon for your character, it would be worth it, as it would increase the damage of your weapon skills by 5%. Upgrading trinkets is slightly less effective (still worth it!), but they are relatively easy to obtain, for example for Fractal Relics, Guild Commendations or Laurels. Armor isn't really worth it at the beginning, so personally I wouldn't worry about it, unless you have some lying around
Remarks
Ultimately, raids get harder the further you advance, so depending on your choice of class, you might want to upgrade at least some components to ascended somewhere along the way. But in the beginning that is really not necessary
Chronomancers and PS Warriors have a bit more "special needs", and a bunch of different options, so I didn't want to go into details, unless that's what you want to play and need it?
If you don't have every item in the best stat combination or are missing (for example) a back piece, it's not a tragedy. Your gear doesn't have to be perfect! If you are unsure about it, you can always contact a member of the Raid Team directly and we'll try to sort it out with you.
I hope this helped!
-
5
-
-
Lacie and went to search and are pretty sure we found you :-)
So here is a very easy one.
-
-
-
Viridian#2553
Thanks
Lelling: confirmed


Raid First Kill Screenshots
in Tyrian Tavern
Posted · Report reply
Unfortunately Vale Guardian didn't leave its statue behind, so we had to take a screenshot without it
Thanks to @Shadowfox, @Gamerd, @svrsnk, @Zalaah, @Jigokusan, @Viridian, @Naedry, @Klevi, @poofoo and @DiePlz for all the fun
Congratz to @poofoo, @svrsnk, @Naedry, @Gamerd, @Zalaah and @DiePlz for their first kills! You guys were all amazing